Chocolate Babka

DSC04910

No matter how much I try to reason with the results of this election, no matter how much I try to tell myself that this is not the end of the world, that four years isn’t enough time to reverse all the progress we’ve made in the last eight, my mind keeps stubbornly coming back to this: Once again, a smart, competent, incredibly qualified woman lost the job to an unqualified, insulting, brutish man.

No matter how much I try to understand what drove so many people to vote for him, no matter how much I try to tell myself that perhaps I (we) really weren’t listening to them, didn’t understand their plight, that their fears and hopes were not taken as seriously as they should have been, my brain keeps repeating this: Half of the voters (slightly less than half to be exact) either chose to ignore or chose to reward (with the Presidency!) speech and behavior that expressed hate for just about everyone other than white, able-bodied, heterosexual, Christian men.
DSC04916

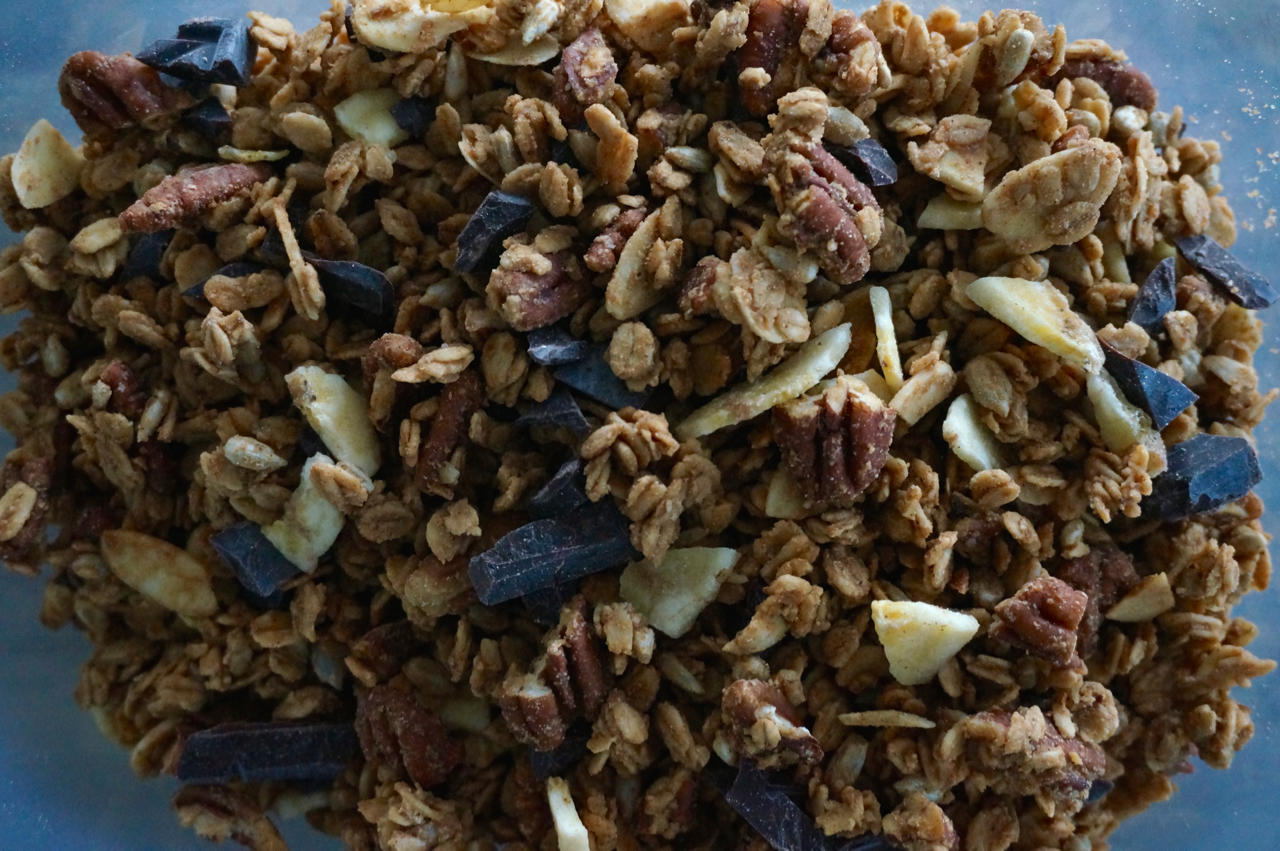
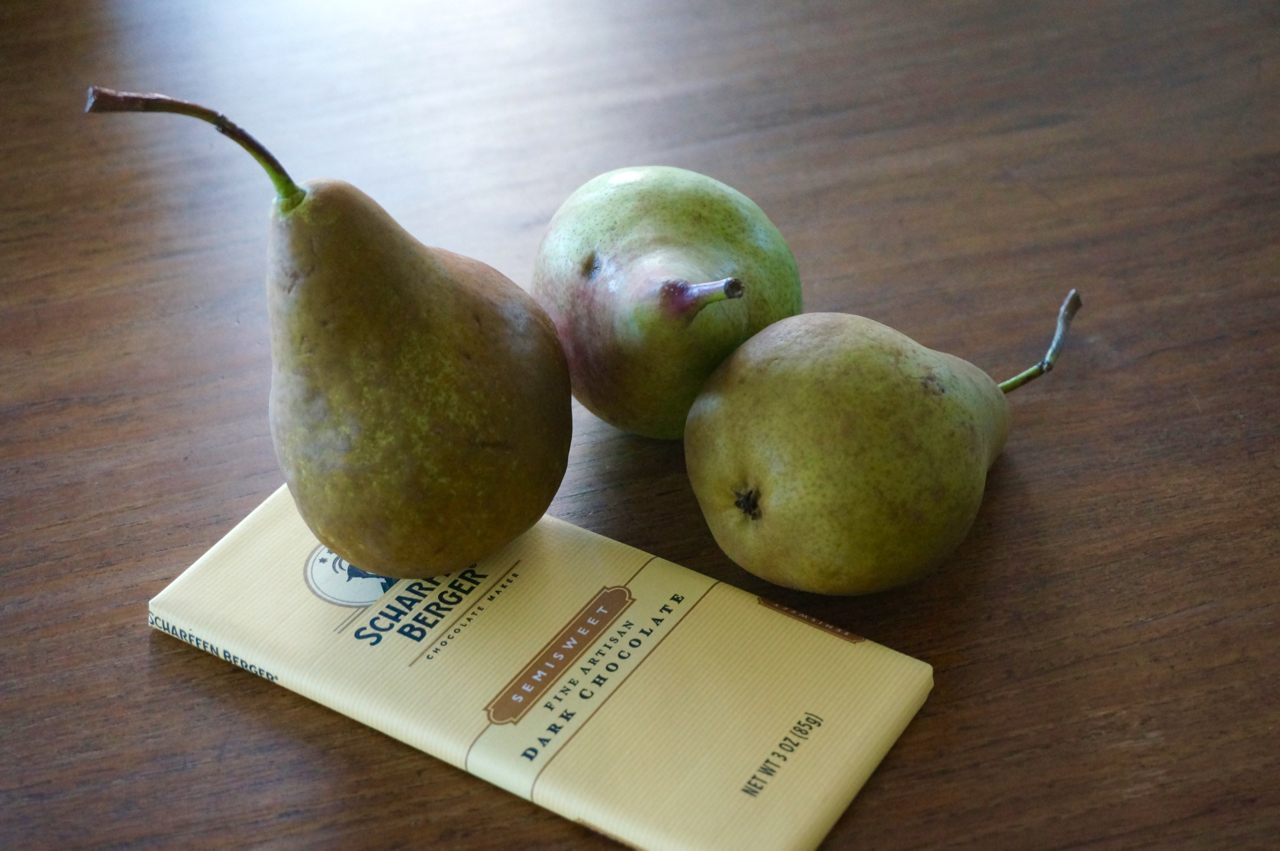
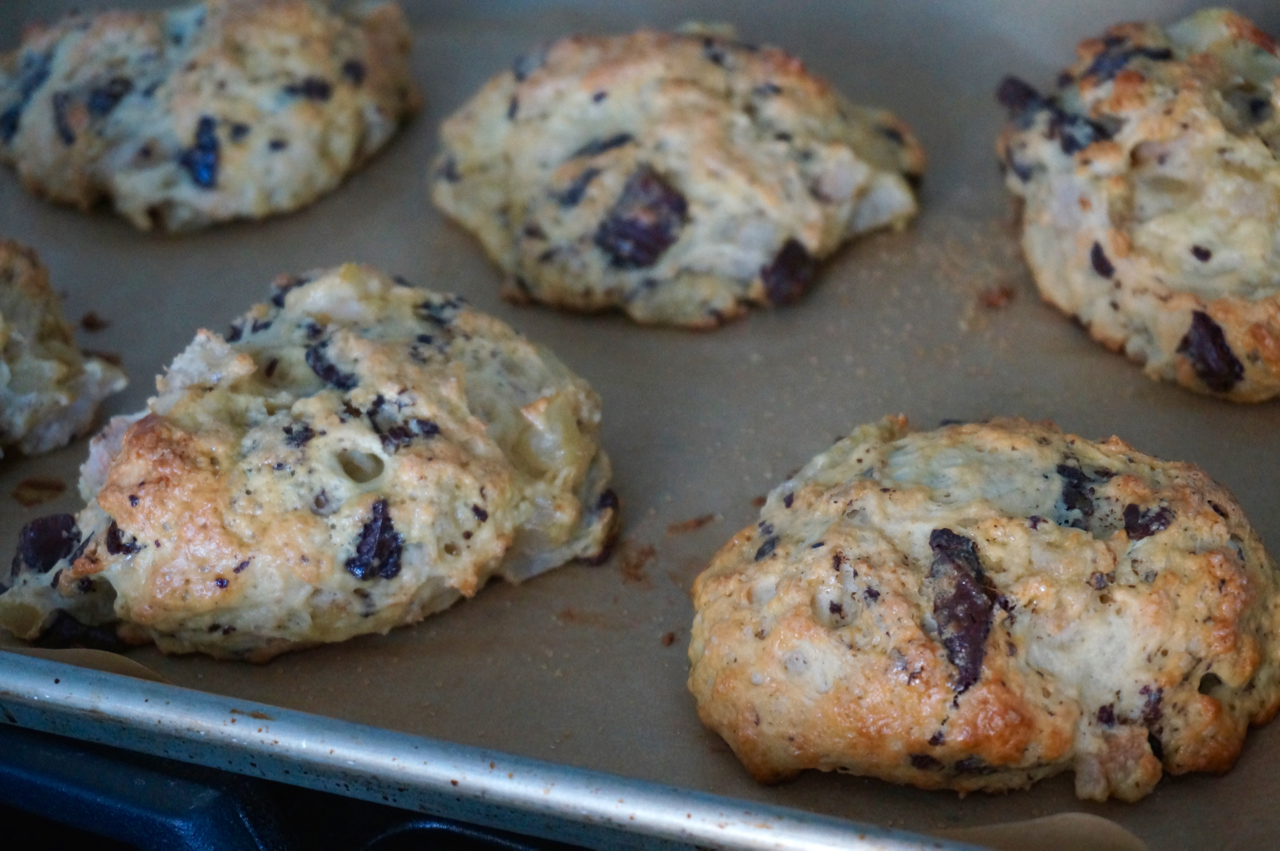
And yet, life goes on. So be good to one another. Continue to defend the rights of those who fought so hard for them. Take time to enjoy those that you love and the things that bring you joy. Remain hopeful but vigilant. Cook and eat great food. Make this chocolate babka and forget all your worries for those few minutes when you bite into a soft, luxurious slice of chocolate heaven.

And always remember: progress never happens in a straight line.
DSC04923

Chocolate Babka – Adapted from Bon Appétit

Ingredients:

½ cup whole milk, warmed
1 ¼-ounce envelope active dry yeast (about 2¼ teaspoons)
¼ cup granulated sugar, plus more
1 large egg
1 large egg yolk
½ teaspoon kosher salt
2 cups all-purpose flour, plus more for surface
7 tablespoons unsalted butter, room temperature
2 tablespoons unsalted butter
3 ounces bittersweet chocolate, finely chopped
2 tablespoons unsweetened cocoa powder
1 tablespoon granulated sugar
1/4 teaspoon ground cinnamon
1/8 teaspoon kosher salt
1 large egg
1 tablespoon heavy cream
2 tablespoon turbinado sugar

Directions:

Pour milk into a measuring glass or small bowl; sprinkle yeast and a pinch of granulated sugar over milk. Let stand until foamy, about 5 minutes.

Whisk egg, egg yolk, and remaining ¼ cup granulated sugar in a medium bowl until smooth. Whisk in yeast mixture.

Combine salt and 2 cups flour in the bowl of an electric mixer fitted with the paddle attachment. Add egg mixture and beat on low speed until nearly incorporated, about 30 seconds. Switch to dough hook and add 7 Tbsp. butter; beat on medium-low until butter is completely incorporated, about 8–10 minutes. The dough will be sticky.

Using a spatula or a spoon, scrape dough onto a lightly floured surface and using a spatula or dough scraper, fold it several times from the edge over the top, until very smooth (dough will still be wet and a little sticky). Transfer to a large buttered bowl. Cover with plastic wrap and let rise in a warm place until doubled in size, 1½–2 hours, then chill 45 minutes.

Preheat oven to 350°. Generously butter a 8½x4½” loaf pan. Heat chocolate, cocoa, 2 tbsp. butter, 1 tbsp. granulated sugar, ¼ tsp. cinnamon, and ⅛ tsp. salt in a heatproof bowl set over a saucepan of simmering water, stirring occasionally, until chocolate and butter are melted and mixture is smooth. (Alternatively, microwave on medium power 1 minute, stirring halfway through.)

Turn out chilled dough onto a clean lightly floured surface. Roll out to a 22×12″ rectangle and orient so a long side is facing you. Using an offset spatula, spread chocolate filling over dough to extend to the edges. Roll up dough away from you like a jelly roll, pulling lightly on it as you roll to maintain thickness. (Use a metal bench scraper if needed to help dough release from surface.)
DSC05268

Cut log in half crosswise. Set halves so they are side by side and touching. A long side should still be facing you. Place one half over the other to make an X, then twist the two ends on one side twice. Repeat on opposite side. (You should have a total of 4 twists.) Transfer bread to pan, cover with plastic wrap, and let rise 30 minutes.

Whisk egg and cream in a small bowl and brush egg wash over loaf. Sprinkle top with turbinado sugar.

DSC05272

Bake babka, rotating pan halfway through, until golden brown, 50–60 minutes. Transfer pan to a wire rack and let babka cool in pan 15 minutes, then turn out onto rack, running a paring knife around edges to help loosen if needed. Let cool completely before slicing.

DSC05274

Vegan Chocolate Banana Muffins

DSC05027

Our friend Lisa visited us from Florida last weekend. She’s my formerly omnivore friend who became vegan and broke my heart (though, of course, I still love her to death). We have been friends since our college days and we hung out over the weekend with yet another college friend, Brad, who lives in NY with his partner Denny. Even though we’ve known each other for 23 years, we still never run out of things to talk about. On Saturday, we took the train to the New York Botanic Gardens to see the cherry trees but we were a little too early. The majority of them were still bare, though a few were in full bloom, resplendent in pink and white flowers. We walked around, took pictures and then hopped in a cab to go back to our apartment for Mai Tais and dinner.DSC05041

With everyone’s help in the kitchen, I prepared a full vegan meal that ended up being very satisfying, even for the non-vegans among us. I started us off with crispy broccoli in black vinegar and then served a sweet potato, kohlrabi, and peanut stew, topped with some Korean gochujang paste and crushed peanuts. We finished with freshly baked vegan chocolate chip cookies. I tried the recipe from Ovenly for the first time and though we ended up eating two cookies each, I will just say that I will stick with my favorite non-vegan chocolate chip cookie recipe in the future.

But the real hit was breakfast. I saw this recipe for vegan chocolate banana muffins many months ago on Chocolate & Zucchini and saved it for Lisa’s next visit. I finally made them last Friday and we ate them throughout the weekend. I can’t believe I’m going to say this about a vegan baked good, but these muffins are amazing! They are just dense enough that they feel substantial and not cake-y, but they are delightfully moist and tender. The flavor is pure banana and chocolate, along with some deeper notes from the coconut sugar that I added to the recipe. And the turbinado sugar on top adds a playful crunch to each bite. Altogether, they are really irresistible.
DSC05035

Vegan Chocolate Banana Muffins – Adapted from Chocolate & Zucchini

Ingredients:

130 grams (1 cup) all-purpose flour
130 grams (1 cup) rice flour
1/2 teaspoon baking soda
1/2 teaspoon fine sea salt
50 grams (1/4 cup) white sugar
100 grams (1/2 cup) coconut sugar
150 grams (5 1/3 ounces) good-quality bittersweet or semisweet chocolate, roughly chopped
3 very ripe bananas, (about 350 grams or 3/4 pound without the skin)
60 ml (1/4 cup) vegetable oil
60 ml (1/4 cup) virgin and unrefined coconut oil
2 tablespoons brandy or cognac (substitute with apple juice if you do not want to use alcohol)
1/4 teaspoon cider vinegar
1 tablespoon turbinado sugar for topping

Directions:

Preheat the oven to 350°F and line a 12-muffin muffin pan with muffin liners (or lightly grease and flour the muffin pan).

In a medium bowl, combine the flours, baking soda, salt, sugars, and chopped chocolate. Stir well to combine. Set aside. In a second medium bowl, use a fork to mash the bananas with the oils, brandy/cognac, and vinegar until thoroughly combined.

Add the wet ingredients into the dry ones and use a spatula to mix together until no trace of flour remains, without overmixing.

Scoop into the muffin molds, and sprinkle the tops with the turbinado sugar. Bake for 30 minutes, until the tops are nicely browned. Let cool on a rack before serving.

Chocolate Fudge Cake

DSC05012

One day, a Sears catalog came into our lives. My dad was working with Americans and somebody gave it to him. He brought it home and handed it to me and my sister. It was as thick as a phone book and it quickly became one of our favorite possessions. We didn’t know what Sears was or even what catalog shopping was. But those glossy pages showed us that there was a whole other world out there, one where kids had full-sized pinball machines in their bedrooms or spent the night in colorful tents in their back yards or played with dolls and remote controlled cars that we had never seen before. It was a world we fantasized about, my sister and I. We made a game of flipping through the pages and imagining what we would buy if we could and how it would change our lives.DSC04998

There was one page that I always paused on for just a few seconds longer. It was the page that featured an Easy-Bake Oven. I couldn’t believe that there was an oven that a kid could get and use to bake desserts. It seemed impossible. Out of all the toys and games in that catalog, the Easy-Bake Oven was the one I longed for the most (though the pinball machine was a very close second). I never expressed this wish out loud, since this was a toy that only girls were supposed to like, but secretly I dreamed of having one and making little chocolate cakes just like the ones the smiling girls in the photograph were holding in their hands. Of course, I never got an Easy-Bake Oven and it wasn’t until many years later, when I moved to the U.S. as an adult that I learned the truth about them. That they used a light bulb to heat their interiors and that what you could bake in them was never really that great (though the newest versions no longer use light bulbs but are regular mini ovens).DSC05021

I now make my own chocolate cakes, like this one, which can only be made in a real oven, not at Easy-Bake one. It is a luscious chocolate cake with layers of chocolate ganache, covered in a beautiful shiny glaze of even more chocolate. It’s the ultimate chocolate lover’s cake. Moist, intense, addictive. And yet, not hard to make. The cake part is made in a single bowl, without even the need for a mixer. And the filling and glaze are made in the microwave in minutes. It should be called the Easy-Bake Chocolate Cake.
DSC04993

Chocolate Fudge Cake – Slightly adapted from King Arthur Flour

Ingredients:

Cake
2 cups (14 ounces) sugar
2 cups (8 1/2 ounces) all purpose flour
2 tablespoons (3/8 ounce) cornstarch
3/4 cup (2 1/4 ounces) Double-Dutch Dark Cocoa or Dutch-process cocoa
2 teaspoons baking powder
2 teaspoons espresso powder or instant coffee granules
1/2 teaspoon baking soda
1 teaspoon salt
4 large eggs
3/4 cup (5 1/4 ounces) vegetable oil
2 teaspoons vanilla extract
1 1/4 cups (10 ounces) water
Filling
12 ounces bittersweet or semisweet chocolate
6 ounces heavy cream
3 tablespoons of your favorite liqueur (such as Frangelico, Amaretto, Grand Marnier, Framboise, or any other flavor that goes well with chocolate)
Glaze
8 ounces bittersweet or semisweet chocolate
4 ounces heavy cream

Directions:

Preheat the oven to 350°F. Lightly grease and flour (or grease, then line with parchment, then grease again) two 8″ x 2″ round cake pans or two 9″ x 2″ round cake pans . Note: If you are using 8″ pans, they must be at least 2″ tall.

Make the cake: Whisk together the dry ingredients in a large bowl. Add the eggs, oil, and vanilla, and beat with a spatula until smooth. Gradually add the water, mixing with a spatula (or whisk once the mixture loosens up) until smooth. Try not to overmix it. Pour the batter into the prepared pans.

Bake the cakes for 35 to 38 minutes, or until a cake tester inserted into the center comes out clean. Cool the cakes in the pans for 15 minutes, then turn them out of the pans to cool completely on a rack.

Make the filling: Combine the chocolate and cream in a microwave-safe bowl, and heat for one minute until the cream is hot, and the chocolate is soft. If necessary, heat again in 15 second increments. Stir to melt the chocolate completely, reheating very briefly if necessary. Add the liqueur and stir to mix well. Set aside until it cools and thickens (if you use it immediately, your cake layers will slip and slide). You can hasten the cooling by putting the bowl in the fridge but remember to check it often and to give it a good stir before you use it on the cake.

Using a sharp, long, serrated knife, divide the cooled cakes in half horizontally, to make four layers. Place one layer on a serving plate, and spread with a third of the filling. Repeat with the next two layers. Top with the final cake layer.

Make the glaze: Combine the chocolate and cream in a microwave-safe bowl, and heat for one minute until the cream is hot, and the chocolate is soft. If necessary, heat again in 15 second increments. Stir to melt the chocolate completely, reheating very briefly if necessary. Pour over the cake immediately and spread the glaze over the top of the cake with an offset spatula, letting it drip over the edges and down the sides. Once it’s done dripping, you may smooth the sides with the spatula, if desired. If you want to add some decorations on the top (like I did with the malted milk balls in the photos above), add them now, before the glaze fully sets. Allow the cake to rest, covered with a cake cover (or a big turned-over bowl) till the chocolate is set; overnight is good, though several hours are sufficient.

Chocolate Orange Squares

DSC04964What is it with mint in desserts? I’ve never understood its appeal. Mint chocolate chip ice cream? For me, it’s like eating toothpaste with chocolate. Sure, there have been a handful of times when I had a thin mint after dinner because someone offered them, but it didn’t feel like dessert. It was more like chewing gum after dinner. (As I am writing this I am realizing that I sound very much like our French friends who complain about Americans’ obsession with cinnamon in desserts. Je vous comprends mes amis, finalement!)
DSC04953

So when Melissa Clark posted a new video on the New York Times website where she made mint chocolate squares, I watched it (because I will watch anything with her in it) and then forgot about it. I was never going to make them. But a couple of days later I had a sudden inspiration. Why not replace the mint in the recipe with something else? And what goes better with chocolate than orange? So after a few easy replacements, these chocolate orange squares were born.
DSC04955

This isn’t a difficult recipe but it does happen in three steps, so it takes a little bit of time, though most of the time is just waiting for things to cool down or chill in the fridge. The great thing about these, though, is that you can pop them in the freezer in a ziploc bag and whenever you want a sweet bite (emphasis on ‘bite’; these are rich so you won’t be eating them by the handful), you just take one out and leave it on the counter for 20-30 minutes to lose its chill before eating it. DSC04961

Chocolate Orange Squares – Adapted from the New York Times

Makes 36 squares (or 16 larger ones)

Ingredients:

For the chocolate shortbread:
1 cup/125 grams all-purpose flour
½ cup/100 grams granulated sugar
2 tablespoons/15 grams unsweetened cocoa powder
¼ teaspoon kosher salt
8 tablespoons/113 grams unsalted butter (1 stick)

For the orange filling and chocolate top:
3 ¼ cups/405 grams confectioners’ sugar
3 tablespoons/43 grams unsalted butter, softened
¼ cup/60 milliliters heavy cream
2 teaspoons orange juice
1 ½ teaspoons finely grated orange zest
9 ounces/255 grams bittersweet chocolate (at least 60 percent cocoa solids), chopped
½ teaspoon coconut oil (optional)

Directions:

1. Heat oven to 325 degrees. Line a 9-inch-square baking pan with parchment paper, allowing 2 inches of paper to hang over the sides.

2. Make the shortbread: In a food processor, pulse together flour, sugar, cocoa powder and salt. Add butter and process until a smooth dough forms. Press dough evenly into the bottom of prepared baking pan. Bake until firm to the touch, and sides of the crust are beginning to pull away from the pan, about 25-30 minutes. Cool completely.

3. Make the filling: In a mixer fitted with the paddle attachment, combine confectioners’ sugar, butter, cream, orange juice, and zest. Beat until mixture forms a thick, smooth paste. Press filling evenly over shortbread. It will be a little sticky. Use an offset spatula and your fingers to coax it into place. Cover with plastic wrap and chill to set the filling for at least 1 hour and up to overnight.

4. Use parchment paper overhang to lift the shortbread and filling out of the baking pan and onto a cutting board. Cut into 1 1/2-inch squares (there should be 36 squares). Place squares on a rack placed over a parchment-lined sheet tray, and let them come to room temperature for about 15 minutes.

5. In the top of a double boiler or in a heatproof bowl set over a pan of simmering water, melt 7 ounces chocolate, stirring occasionally, until smooth. Remove from heat, add remaining 2 ounces chocolate and let sit for 2 minutes.

6. Add coconut oil, if using, and stir the chocolate until smooth. Spoon 1 teaspoon chocolate on top of a cut square, using the back of the spoon to spread chocolate to the edges. Be sure to fully cover the top of the square with chocolate. (Leave the sides exposed, though it’s O.K. if some of the chocolate drips down.) Repeat with remaining squares.

7. Let squares sit at room temperature until chocolate is set, at least 1 hour. Serve them at room temperature or chill in the fridge first. You can also store them in the freezer. Let sit on counter for 20-30 minutes before eating if you freeze them.

Easy Chocolate Buttercream Frosting

DSC04295 (1)

When I lived in the suburbs of New Jersey, I took a cake decorating class. It took place in a kitchen supply store in a strip mall (where else?). I was in my mid twenties,  going to grad school, and looking for something fun to do. As it turns out so were about ten middle-aged-to retired New Jersey housewives who were my classmates for this course. What I do remember from the course was that I cut myself with one of the piping tips and that I made little sugar roses that go on cakes. I also learned how to properly hold a frosting bag and how to alternate pressure to achieve the right effect. After the class, though, I rarely frosted and decorated a cake. Mostly because I hated the hassle of making the frosting itself.

But then came Smitten Kitchen and Deb’s super easy buttercream frosting recipe. It does require a food processor, as well as melting the chocolate and letting it cool, but it consists of throwing everything in said food processor and running it until they magically transform into a delicious, smooth frosting. After that, it’s up to you what to do with it. In the photo below, I made our favorite banana bread, and then sliced it in half and filled and frosted it. Needless to say, it was very delicious.
DSC04304 (1)

Easy Chocolate Buttercream Frosting – Slightly adapted from Smitten Kitchen

Ingredients:

2 ounces (55 grams) unsweetened chocolate, melted and cooled
1 1/2 cups (180 grams) powdered sugar (sifted if lumpy)
1/2 cup (1 stick or 4 ounces or 115 grams) unsalted butter, at room temperature
Pinch of fine sea salt (optional)
1 tablespoon cream or whole milk
1/2 teaspoon vanilla extract

Directions:

Place all ingredients in a food processor and run machine to mix. Scrape down bowl then process until smooth and somewhat fluffed. If you don’t have a food processor, you could do this in a mixer by beating the butter, sugar and salt first, then adding the rest of the ingredients and beating until smooth.

Frost or fill your cake immediately

Peanut Butter, Chocolate, and Banana Granola

DSC04292 (1)

It’s customary to reflect on the past twelve months this time of year. Best-of-the-year lists are compiled, retrospectives are assembled, Barbara Walters unveils the people that fascinated her, and Oprah tempts us with her favorite things. We look back with sadness at the bad things that happened and with joy at the milestones we accomplished. And as the midnight hour of December 31st approaches, we hope that this arbitrary moment in time, chosen by men centuries ago, will somehow be unique, a marker of change. People make resolutions, to do less of some things and more of others, to be someone other than who they’ve always been, to want less and give more. Some drink and kiss, penned like abused animals in Times Square, others watch fireworks on their TV sets, and some are asleep long before the ball drops. In the end, the new year is always the same, like a bowl of granola: mostly familiar days, one after the other, studded with the occasional sweet surprise or bitter moment.

Happy New Year.

Peanut Butter, Chocolate, and Banana Granola – Adapted from David Lebovitz

Ingredients:

3 cups (300g) rolled oats (not the quick cooking kind)
1 cup (150g) roasted pecans, very coarsely chopped
1/2 cup (70g) sunflower seeds
1 teaspoon ground cinnamon
1/2 teaspoon kosher salt
1/2 cup (130g) smooth peanut butter (regular or natural)
1/4 cup (80g) maple syrup
1/4 cup (85g) honey
1/4 cup (60g) packed light brown sugar
2 tablespoons water
4oz (115g) dark chocolate, chopped
1/2 cup (45g) sweetened banana chips, chopped

Directions:

Preheat the oven to 325ºF (165ºC.)

In a large bowl, mix together the oats, chopped pecans, sunflower seeds, cinnamon, and salt.

In a small saucepan, warm the peanut butter, maple syrup, honey, brown sugar, and water over low heat, stirring constantly, until the mixture is smooth.

Scrape the peanut butter mixture into the dry ingredients and mix it in well.

Transfer the granola mixture to a baking sheet and spread it in an even layer. Toast the granola in the oven for 25 to 30 minutes, stirring a few times during baking, until the granola is a golden brown. (It will crisp up as it cools.) Remove from oven and let cool completely. Once cool, mix in chocolate and banana chips.

Storage: Store the granola in an airtight container at room temperature. It will keep for one to two months.

Yogurt Scones with Roasted Pears and Chocolate Chunks

DSC04252

Dave and Lorie, Steve’s brother and sister-in-law were in New York city last weekend. The flew up from Raleigh, NC to celebrate their 25th wedding anniversary. We met up with them for brunch on Sunday at the Bryant Park Grill, a restaurant right behind the New York Public Library on the edge of Bryant Park. We had just been seated at our table and placed our drink orders when Lorie turned to me and half-whispered: Is that who I think it is, sitting behind you? I turned around and saw a handsome, older man, with perfect hair, wearing a black dress shirt and a dark, orange tan, sitting right next to me. I recognized him immediately. It’s Mitt Romney, I half-whispered back to Lorie. We both smiled and the four of us went back to catching up.

That’s one of the things I love about living in New York city. Not the celebrity sightings per se, but the fact that when you do see someone famous, they are often doing exactly what you are doing: walking the streets (I walked next to Ted Donovan the very next day after the Romney sighting), taking the subway, eating at a restaurant right next to you. The walking-centered life of the city and the sheer density of it means that no matter how famous you are, it’s hard to hide behind a limo’s darkened windows or in private rooms in restaurants. It also means that New Yorkers will see you and go on with their lives (most of the time). You won’t be hassled or stopped for autographs and selfies.

So, the next time you are in New York, or if you live here, and you are standing in line at a coffee shop ordering your half-caf latte and a roasted pear and chocolate chunk scone, look around you. That woman with the long, curly hair standing behind you might just be Sarah Jessica Parker. And if she is, don’t freak out and yell Carrie! in a high-pitched girlie voice. Be cool and act like nothing happened.

Oh who am I kidding! If you do see SJP, you have my permission to go fanboy/fangirl-crazy. But just this once. You’re back to your cool and aloof New Yorker self after that.

DSC04257

Yogurt Scones with Roasted Pears and Chocolate Chunks – Adapted from Smitten Kitchen

Ingredients:

2 large (or 3 small) firm pears
1 1/2 cups (190 grams) all-purpose flour
1/4 cup (50 grams) brown sugar
1 1/2 teaspoons (8 grams) baking powder
1/2 teaspoon table salt
3/4 cup (7 oz) Greek yogurt (full fat)
1/4 cup (60 ml) heavy cream
1 large egg
1/4 cup (3 ounces or 85 grams) semisweet or bittersweet chocolate, chopped in chunks
1 large egg and 1 tablespoon water, whisked together
1 tablespoon turbinado sugar

Directions:

Heat oven to 375°F. Peel and core the pears and cut them into 1/2-inch cubes. Line a large baking sheet with parchment paper. Arrange pear pieces on parchment and roast until they feel dry to the touch and start to brown underneath, about 25-30 minutes. Remove from oven but leave oven on. Allow pear pieces to cool while preparing the rest of the recipe.

In a large bowl, whisk flour, baking powder, sugar and salt together. In a separate medium bowl, whisk together yogurt, cream, and 1 egg until combined. Pour yogurt mixture over flour mixture and gently fold it with a spatula until it just comes together. Add cooled pear pieces and chocolate chunks and fold a few more times. Don’t overtax.

Dump dough on a lightly floured surface and pat it into a 6-inch round. Cut into 6 wedges and transfer to baking sheet lined with parchment paper, at least two inches apart. Brush with egg and water mixture and sprinkle with 1 tablespoon of turbinado sugar.

Bake scones until firm and golden, about 30 minutes. Transfer to a cooling rack to cool.