Sautéed Fennel and Maitake Mushrooms

DSC04929

Every now and then, I’ll cook something on a weeknight, something I put together on the fly without much thought, and it ends up being really, really good. When that happens, I turn to Steve and using my finest imitation of Julia Child’s voice I exclaim “How do I do it?” It never fails to make us laugh.

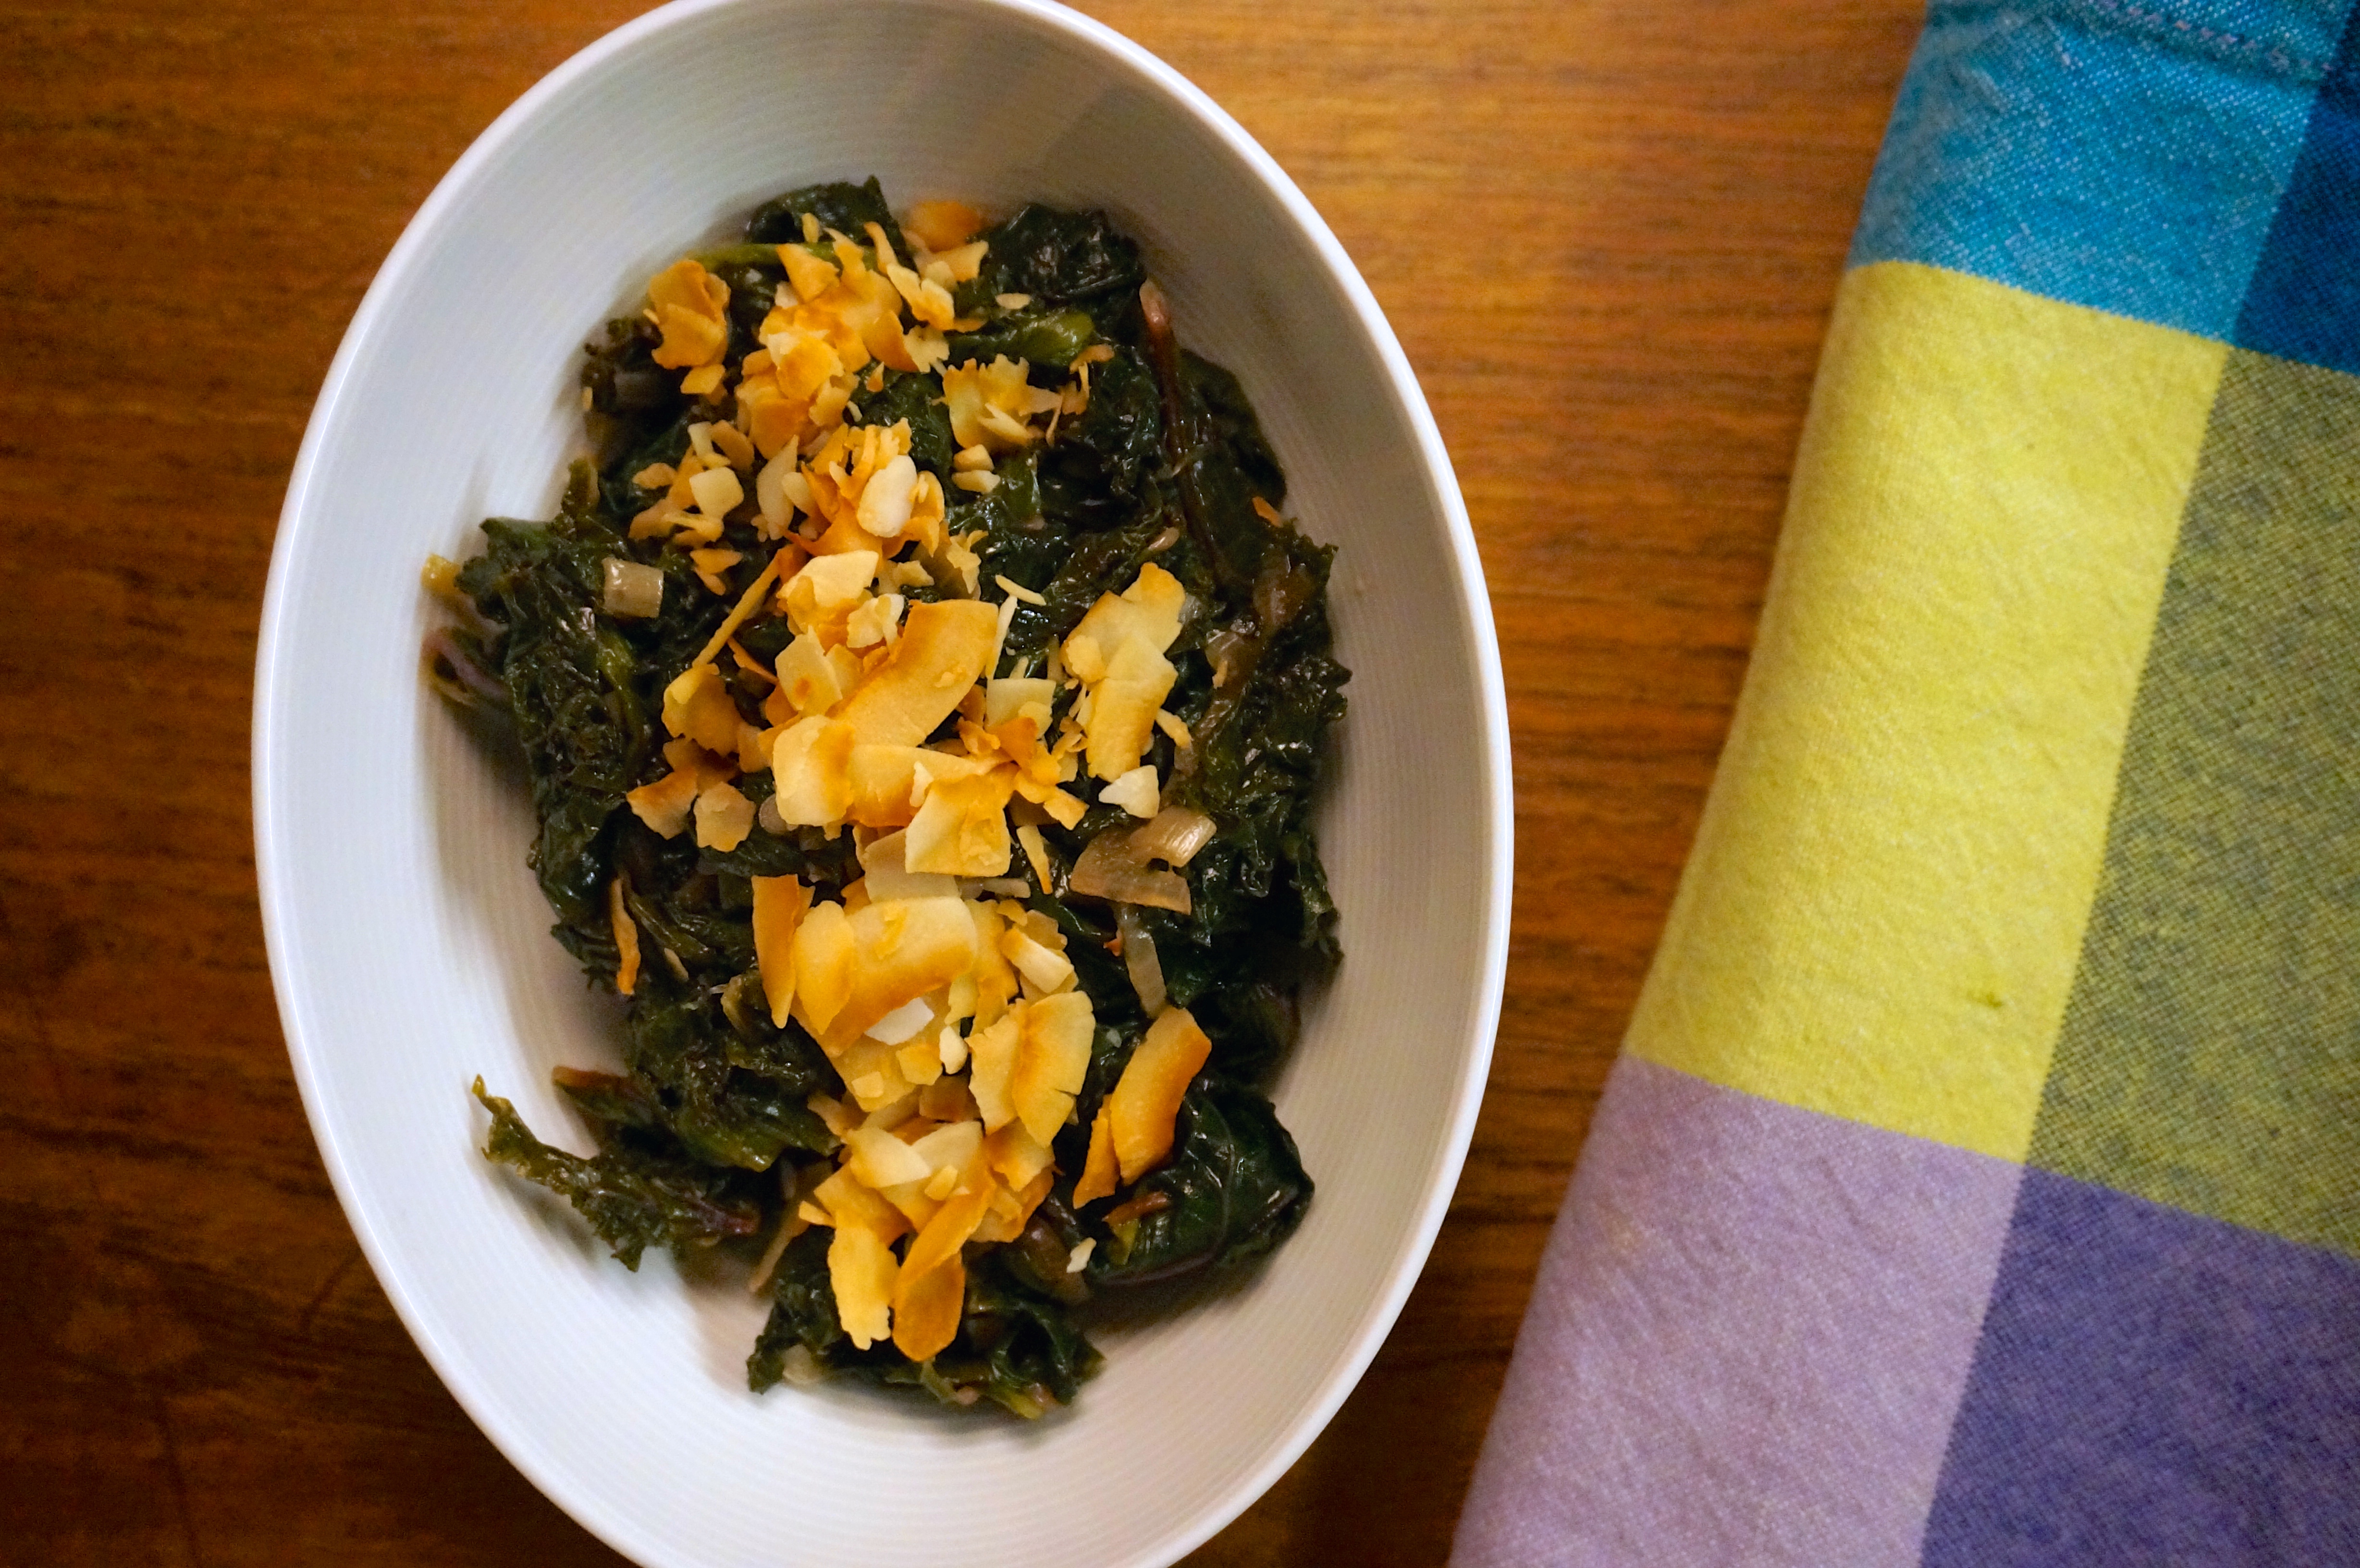
I made today’s recipe a few weeks ago and since then I’ve made it another three or four times, each time being astonished at how good it is. I had never cooked maitake mushrooms before. They are also known as hen-of-the-woods mushrooms and they are a type that must be cooked to be eaten. Their pompom-like fronds separate easily by hand and when they are sautéed in oil or butter they get crispy on the edges but remain satisfyingly meaty elsewhere.

It turns out that they also pair perfectly with caramelized fennel. Add some garlic and lemon zest in the mix, and you have a mouthwatering side dish. The flavor is deep. There’s sweetness and acidity but only as side notes. The star is the rich, umami flavor that both the mushroom and the fennel (along with the garlic) provide.

If you can find maitake mushrooms, you have to make this dish. It’s easy to put together and I guarantee that as soon as you take the last bite, you’ll start planning to make it again.
DSC04936

Sautéed Fennel and Maitake Mushrooms

Makes 2-3 servings as a side dish

Note: Maitake mushrooms are usually grown on oak so they are clean. But if you want to wash yours, do it right before you cook them. Mine are grown organically on pieces of oak so I don’t wash them.

Ingredients:

1 head of maitake (hen-of-the woods) mushrooms (about 6-8 inches in diameter)
1 medium sized fennel head
2 small garlic cloves, finely chopped
zest of one lemon (preferably done on a microplane)
salt and pepper
1/2 cup olive oil

Directions:

Remove the tough core of the maitake mushrooms, if there is any. With your hands, gently separate the fronds into bite size pieces. Set aside.

Cut the fennel head lengthwise into four sections. Remove and discard the core from each section and then slice it thinly with a sharp knife.

In a large sauté pan, heat 3 tablespoons of olive oil over medium high heat and add the sliced fennel. Sauté, stirring often until the fennel has caramelized, with the edges starting to brown, about 8 minutes. Using a slotted spoon, remove the fennel from the pan.

Depending on how much olive oil is left in your pan, add more to have about 3 tablespoons. Heat it over medium high heat and add the mushrooms. Sauté until they are cooked through and the edges are just starting to crisp, about 4-5 minutes (add more olive oil if it looks too dry). Add the chopped garlic and sauté for another 30-60 seconds until the garlic starts to smell.

Add the cooked fennel back in the pan, as well as the lemon zest and salt and pepper to taste. Give it a good stir for a few seconds and remove from the pan onto serving plates.

You can squeeze some lemon juice on top if you want some additional acidity. Serve immediately.

Miso-Creamed Kale

DSC03502

Our trip to Cyprus was fantastic. In just a week, we did so much. We visited an ancient amphitheater, perched on a hill, overlooking the Mediterranean sea. We went to the little mountain church where I was baptized, built in the 15th century and still standing. In the village, where we stayed for part of the time, we got a private tour of the Byzantine icons museum from the most exuberant guide we’ve ever encountered, an elderly Cypriot man who told tales and mixed myths with science and at some point, serenaded us with a Byzantine hymn. We walked in the remains of a settlement from 9,000 B.C., their houses and retaining wall still partially intact.

And of course we ate. There was the dinner my mom prepared, with homemade pastitsiokoupepia (stuffed grape leaves), and kleftiko (lamb cooked in the oven until it melts in your mouth). She made a Lebanese mahallebi, a dessert of custard, pistachios and syrup, that we kept searching for during the rest of our trip, with no luck. We ate shamali, a syrup-soaked semolina cake that I absolutely love, and kolokotes (turnovers with pumpkin, bulgur wheat, and raisins). We had Syrian food as well, with deeply flavored muhammara, lovely fattoush salads, and the most delicious chicken livers I’ve ever eaten. They tasted of olive oil, lemon juice, and cumin. One rainy afternoon, we ate pork souvlaki and sheftalies (ground meat with spices, wrapped in caul fat) cooked over coals and served in the large, oval-shaped pita bread of Cyprus.

By the end of our trip, though, I started to really crave food from somewhere else. I wanted Chinese dumplings and mu shoo pork. I wanted pad thai or chicken laarb salad. I wanted kale with shitake mushrooms, smothered in a miso cream sauce. Something that didn’t include olive oil or lemon juice or ground lamb with parsley and onions or salad with tomatoes, cucumbers, and feta cheese .

Of course, it’s been just five days since we came back, and I’m already wishing I could get my hands on some sheftalies for dinner tonight.

DSC03472Miso-Creamed Kale – From Food52’s Genius Recipes

Ingredients:

3 to 4 tablespoons unsalted butter, divided
1 large shallot, thinly sliced
2 cloves garlic, thinly sliced
Salt and freshly ground black pepper
1 bunch lacinato kale, stems removed, roughly chopped
1/2 cup shimeji mushrooms with stems, or shitake mushroom tops
1 tablespoon low-sodium soy sauce
1/4 cup dry vermouth
1/2 cup heavy cream
1 tablespoon white (shiro) miso, or more to taste

Directions:

1. Place 2 tablespoons of the butter in a large, heavy-bottomed pan over medium heat. When melted, add the shallot, garlic, and a pinch of salt and pepper. Cook over low heat without letting the garlic and shallots color, about 3 to 4 minutes. Add the kale and continue to cook for a few more minutes until wilted. If it won’t all fit in the pan, just add what’s left after it’s cooked down a bit.

2. Meanwhile, in a small pan set over medium-high heat, melt 1 tablespoon of butter. Add the mushrooms and cook until softened and cooked through, about 5 minutes. If the mushrooms become too dry, add another tablespoon of butter. Stir in the soy sauce, cook another minute and turn off the heat.

3. Once the kale is wilted and soft, increase the heat to medium high, add the vermouth and cook until it’s just evaporated, about 1 minute. Add the cream and miso, stirring until completely incorporated. Reduce heat to medium and cook about 2 more minutes until the sauce reduces slightly and tightens up the around the kale. Taste for seasoning (but don’t forget the mushrooms have soy sauce). Place the kale on a warm platter and scatter the mushrooms over the top. Serve immediately.

Miso-Glazed Turnips

DSC03867

I started learning English when I was 8 years old. My parents enrolled me in after-school lessons that took place at a private high school called The English School. In my first two years there, my teachers spoke Greek, so they would explain things that we learned in a language we understood. Towards the end of my second year, though, I found out that starting the following year, my teachers would only speak English. I was terrified. How would they be able to explain things to me? It took one lesson that following year to ease my fears. I hadn’t realized that I had already learned enough English to be able to communicate with the teacher.

DSC03866

One day, our exercise revolved around a fairy tale called “The Enormous Turnip.” It’s an old Russian fable of a farmer who plants a turnip that grows so large that he can’t pull it out of the ground. He calls his wife to help and then progressively more and more people and animals come to help them pull it out. It’s not until the tiny mouse joins them that they are able to finally pull the turnip out of the ground.

We read the story in class and we all had one question: What the hell is a turnip? We had never seen or eaten one. There wasn’t even a Greek word for it. The teacher struggled to explain that it was a root vegetable like a carrot but round and purple-white. It took a couple of decades for me to finally eat a turnip and when I did, I loved it.

Its pungent, almost medicinal smell is tempered by a sweetness that is especially brought out by roasting it or sautéing it. This recipe is simple but it creates a really flavorful side dish that can accompany either meat or seafood.

turnipMiso-Glazed Turnips – Slightly adapted from Bon Appétit

Ingredients:

1 pound small turnips, trimmed, scrubbed, cut into 1” wedges (peeled or unpeeled)
2 tablespoons white miso
2 tablespoons unsalted butter
1 teaspoon sugar
¾ cup water
Kosher salt and freshly ground black pepper
2 tablespoons fresh lemon juice

Directions:

Combine turnips, miso, butter, sugar and water in a medium skillet.

Bring to a boil over medium-high heat and cook turnips, turning occasionally, until they are tender and liquid is evaporated.

Once all the liquid has cooked off, keep cooking turnips, tossing occasionally, until they are golden brown and caramelized and the sauce thickens and glazes the vegetables, about 5 minutes longer.

Add lemon juice and a splash of water to pan and swirl to coat turnips. Season with salt and pepper.

Pickled Watermelon Rind

DSC03238

I confess that in my goal to post on this blog every week, I sometimes have to share recipes that I simply like, instead of recipes that I absolutely, positively, totally ADORE! It’s just not possible to find a new recipe every week that is a life changer. But once in a while, I do find a recipe that results in something so delicious, so interesting, so enticing, that I can’t wait to share it with anyone who’s willing to listen.

This is one of those recipes. Pickled watermelon rind is nothing new,  though it’s somewhat new to me. Where I grew up, a traditional desert was watermelon rind that had been preserved in a heavy sugar syrup. It was always kept in the fridge and served ice cold in the hot summer months. It has always been one of my favorites.

DSC03093

So when I saw this recipe for pickled watermelon rind in Bon Appétit, I was a little put off by the idea of a pickled version of one of my favorite desserts. So I ignored it. But then, the wonderful guys of the Bitten Word blog made it and they gushed about it so much that I decided to give it a try myself.

It was an easy process. Peel the rind, cut it into pieces, cook it for a little while in the pickling liquid, and pour everything in a glass jar. A few hours in the fridge and Steve and I took our first bite of the golden-green-red cubes. We didn’t say a word for a few seconds and then we both started laughing and crying out “oh my god! this is so amazing!”

Yes, it’s that good. It’s sweet and sour and a tiny bit spicy, with that distinct flavor of the star anise to round everything out. And the texture is simply miraculous. Each bite goes from crunchy to soft, while always incredibly juicy. It’s a great side dish to heavily spiced or spicy foods, goes great with seafood, or as a little starter snack before dinner. Though I would probably even consider having it as dessert.

DSC03230

Pickled Watermelon Rind – Slightly dapted from Bon Appétit

Ingredients:

About 4 lbs of watermelon
1 large (or two small) thai red chile, cut in half lengthwise, seeds removed
1 1″ piece peeled ginger, thinly sliced
2 star anise pods
4 teaspoons kosher salt
1 teaspoon black peppercorns
1 cup sugar
1 cup unseasoned rice vinegar
1/2 cup water

Directions:

Using a vegetable peeler, remove tough green rind from watermelon; discard.

Slice watermelon in about 1″ thick slices. Cut away all but ¼” flesh from each slice; reserve flesh for another use. Cut rind into 1″ pieces. (You should have about 4 cups.)

Bring chile, ginger, star anise, salt, peppercorns, sugar, vinegar, and ½ cup water to a boil in a large saucepan, stirring to dissolve sugar and salt. Add watermelon rind and return to a boil; reduce heat and simmer until just crisp tender (this will take anywhere between 5 and 15 minutes; use a fork or knife to test a piece). Remove from heat and let cool, setting a small lid or plate directly on top of rind to keep submerged in brine, if needed.

Transfer rind and liquid to an airtight container (I used a 3 cup – 24 oz mason jar); cover and chill at least 12 hours.

DO AHEAD: Watermelon rind can be pickled 2 weeks ahead. Keep chilled.

Braised Kale with Lime and Coconut

DSC02548

I have a new addiction. It’s called Good Eggs and it’s a relatively new online company where you can order fresh food from local farmers and producers and have it delivered at home. It’s only available in Brooklyn, New Orleans, Los Angeles, and San Francisco for now. I ordered for the first time last week and I was immediately hooked. This is basically the kind of stuff you’d find at Union Square Market, but ordered online and brought to your door.

DSC02540

Don’t get me wrong, I love going to the farmer’s market. Both the one at Union Square and the smaller one near us in Brooklyn. At the peak of the season, I’ve been known to get teary-eyed over the bounty of fruits and vegetables surrounding me (I can get pretty emotional about food). But getting to the market isn’t always possible, especially since it’s not available every day. And some of the producers don’t sell at the market. So Good Eggs comes in handy.

DSC02491


One of the things I ordered last week was sorrel, which I had read about but never tasted. Oh my goodness, it was a revelation! When Steve came home, I didn’t say a word and I just handed him a sorrel leaf and told him to eat it. His eyes opened wide. “What is that?” he exclaimed. Its sharp lemony flavor is such a surprise and lends itself to so many different uses.

But today is not about sorrel, whose season is pretty much over (next year, I’ll have a recipe with sorrel, when its season comes around again). Today is about kale. I know you’re probably sick of kale. It comes in salads, in smoothies, roasted until crispy or added to soups. Pretty soon it will be in desserts. But the other day, as I was trying to think of a different way of preparing it, I came up with this recipe that seemed different than any other way I had tasted kale before. It combines the sweetness of maple syrup with the zing of lime along with the nuttiness of toasted coconut flakes. Next year, maybe I’ll throw in some sorrel too.

DSC02546

Braised Kale with Lime and Coconut

Serves 2

Ingredients:

1 tablespoon olive oil
12oz kale
1 medium shallot, thinly sliced
2 garlic cloves, minced
1/2 cup chicken stock
½ teaspoon salt
black pepper
¾ tablespoon maple syrup
1/4 cup unsweetened coconut flakes, toasted at 350º F until golden brown
juice of half a lime

Directions:

In a large soup pot, heat the olive oil. Add the shallot and cook over moderately high heat until softened and just beginning to brown. Add garlic and cook over moderately high heat, stirring, just until fragrant, about 30 seconds. Add the chicken stock, then add the kale in large handfuls, letting it wilt slightly before adding more. Season with salt and pepper, cover and cook over moderate heat until the kale is tender, about 5 minutes.

Remove the lid and cook until much of the liquid has evaporated, about 5 minutes longer. Add the maple syrup and lime juice and cook another 3 minutes.

Serve with toasted coconut flakes sprinkled on top.

Roasted Broccoli with Anchovies and Black Garlic

DSC02299

I guess I know that a once obscure food item has gone mainstream when I can find it at my corner grocery store, right in the produce aisle. I’m talking about black garlic, a onetime rare delicacy that I am hoping will continue its trend to easy access (In addition to our corner store, I also found it at Trader Joe’s and I’m sure it’s available at Whole Foods). Black garlic is regular garlic that has been aged in a hot environment (often referred to as “fermentation,” though the term is under dispute) over several weeks until it turns coal black. Each clove is soft and slightly sticky, almost jelly-like, with a taste that’s sweet with tones of tarragon and molasses, but still clinging to its mellow garlic flavor. It’s delicious, versatile (it stays good for a long time), and incredibly addictive.

DSC02303

A few weeks ago I was putting together dinner for us and I decided to come up with a new dressing for roasted broccoli, instead of the usual lemon zest, parmesan, and olive oil that I use. I had some leftover anchovies packed in oil and a head of half-used black garlic and I thought, salty and sweet, all I need is some fat and some acid to make the perfect dressing. So, I experimented a little and ended up with this recipe. It makes for an extremely satisfying side dish, one that would probably overwhelm any main dish you pair it with, so choose something simple, like grilled chicken or tuna steaks (as we did in the photo below).

DSC02320

Roasted Broccoli with Anchovies and Black Garlic

Makes 2-3 servings

Ingredients:

12 oz (350 g) of fresh broccoli florets (from three broccoli stems)
1½ tablespoon olive oil
freshly ground black pepper
4-5 anchovy fillets packed in olive oil, drained and chopped into small pieces
2 tablespoons olive oil
1 tablespoon freshly squeezed lemon juice
4-5 cloves black garlic, sliced into thin slices
½ tablespoon balsamic vinegar

Directions:

Preheat oven at 425º F. In a large bowl, toss broccoli, 1½ tablespoon olive oil, and freshly ground pepper (do not add salt to the broccoli). Spread on a baking sheet and roast for about 20 minutes, tossing once halfway through, until the broccoli starts to turn dark brown at the edges.

Meanwhile, make the dressing. In a small bowl combine the rest of the ingredients and whisk with a fork until combined. As soon as the broccoli is finished roasting, place it in a heatproof bowl, add the dressing and toss well. Serve immediately.

Sauteed Eggplant with Balsamic Vinegar

We get quite a lot of food fads in New York. Some are big and national (like kale or ramps). Some are small and local. The last few weeks have revealed one such small and local fad: fairy tale eggplants. No, they don’t turn into a horse-drawn carriage and whisk you away to the palace ball. Nor do they grant you three wishes. They are simply a breed of eggplants that grows really small, somewhere between 1 and 2 inches.

DSC01241

I had never heard of them before until this fall, when suddenly they appeared at the local markets and I started seeing some online chatter about them (like here and here). Steve and I bought some, of course, and had them simply roasted in the oven. I don’t think it was the best preparation for them, but we appreciated their delicate form and sweet taste.

DSC01289

I’ve always had a love-hate relationship with eggplant. I love to eat it but I’ve always hated cooking it. It seemed to me that every single recipe for eggplant called for salting it and draining the water out of it, or for charring it over an barbecue fire, something most New Yorkers can only dream of. Whenever I tried to cook eggplant it always ended undercooked or burned.

So, I generally stayed away from eggplant until I found this recipe. It turns out, you don’t have to go crazy with pre-cooking preparations for eggplant. You can just cook it on the spot, with a combination of sautéing and steaming in a single pan. No salting, no charring, and no draining. Since then, I’ve made this as a side dish countless times. Though I still dream of a barbecue fire where I can char eggplant for some delicious baba ganoush.

DSC01295

Sautéed Eggplant with Balsamic Vinegar – Adapted from Epicurious.com

Note: This recipe works best with long and skinny eggplants, such as japanese eggplants. If you have the more traditional thicker dark purple variety, slice it crosswise in 1.5 inch sections.

3-4 japanese eggplants (or other variety, see note above)
1/4-1/2 cup extra virgin olive oil
2 tablespoons balsamic vinegar
Sea salt
Freshly ground pepper

Slice eggplants lengthwise in half.  Lightly salt and pepper the slices and heat a sauté pan for which you have a lid over medium-high heat. Add olive oil to pan, and when it shimmers add eggplant, cut side down. Lower heat to medium and cook, covered, for about 6-7 minutes. Turn eggplant slices cut side up, recover the pan and cook for an additional 4-5 minutes or until eggplant is soft.

Turn the eggplant slices one more time, cut side down. Turn heat off. Immediately add balsamic vinegar in the pan. Cover the pan and shake back and forth for a few seconds. Let it rest, covered for 2-3 minutes, until the vinegar caramelizes a little.

Serve eggplant slices with balsamic vinegar sauce spooned on top and sprinkled with a little flaky sea salt and additional ground pepper.