

Nothing beats bread. Nothing. It requires a minimum of only two ingredients to make it, flour and water (yeast isn’t always necessary). It’s infinitely customizable. Add butter, milk, raisins, cinnamon, olives, nuts, seeds, pepperoni, cheese, and the list goes on and on. It’s adaptable. Eat it plain, toasted with butter, in a sandwich, in stuffing, in bread pudding, in bread crumbs, you name it.
Growing up we had access to two kinds of bread. The first was a round loaf of country style bread, with a golden brown crust and a moist interior filled with holes (like the bread you get at some Italian restaurants). On occasion, my dad would get lucky and buy one at the local bakery just as it came out of the oven. When he brought it home it was still warm so my sister and I would cut a thick slice each, slather it with butter, and top it with honey. It was heaven.

The other bread was a pre-sliced loaf of white bread. We called it slice. In fact, that’s what everyone still calls it back home. Thinking back, it was definitely inferior to the traditional round country bread, but as kids we loved slice. It was spongy and had no crust. And it made the best sandwiches with butter, halloumi cheese, and sliced cucumbers.
I don’t even walk by the bread aisle at the grocery store anymore. It makes me too angry. I just don’t understand how something as simple and perfect as bread can be so corrupted by big corporate interests. It’s frustrating and sad. So, I just make my own. I have two go-to recipes for bread. The first is the no-knead bread recipe that created an actual revolution in bread-making in the U.S. And the second is this recipe for white bread loaves. This bread requires no bread stone, no high powered oven, no special equipment, and no special skills. Technically, you could make it by hand, though a heavy-duty mixer makes it much easier.
Don’t be scared by the length of this recipe. It’s super simple, pretty much foolproof, and results in delicious, homemade white bread. Slice it up after it’s cooled down and have it any way you want. Though I’m here to tell you that you’ll want to toast it and slather it with salted butter and honey. Trust me on that one.

White Bread Loaves – Adapted from “Baking with Julia: Savor the Joys of Baking with America’s Best Bakers”
Makes 2 loaves
2 1/2 cups of warm water (105º F to 115º F)
1 tablespoon active dry yeast or 3/4 tablespoon instant yeast
1 tablespoon sugar
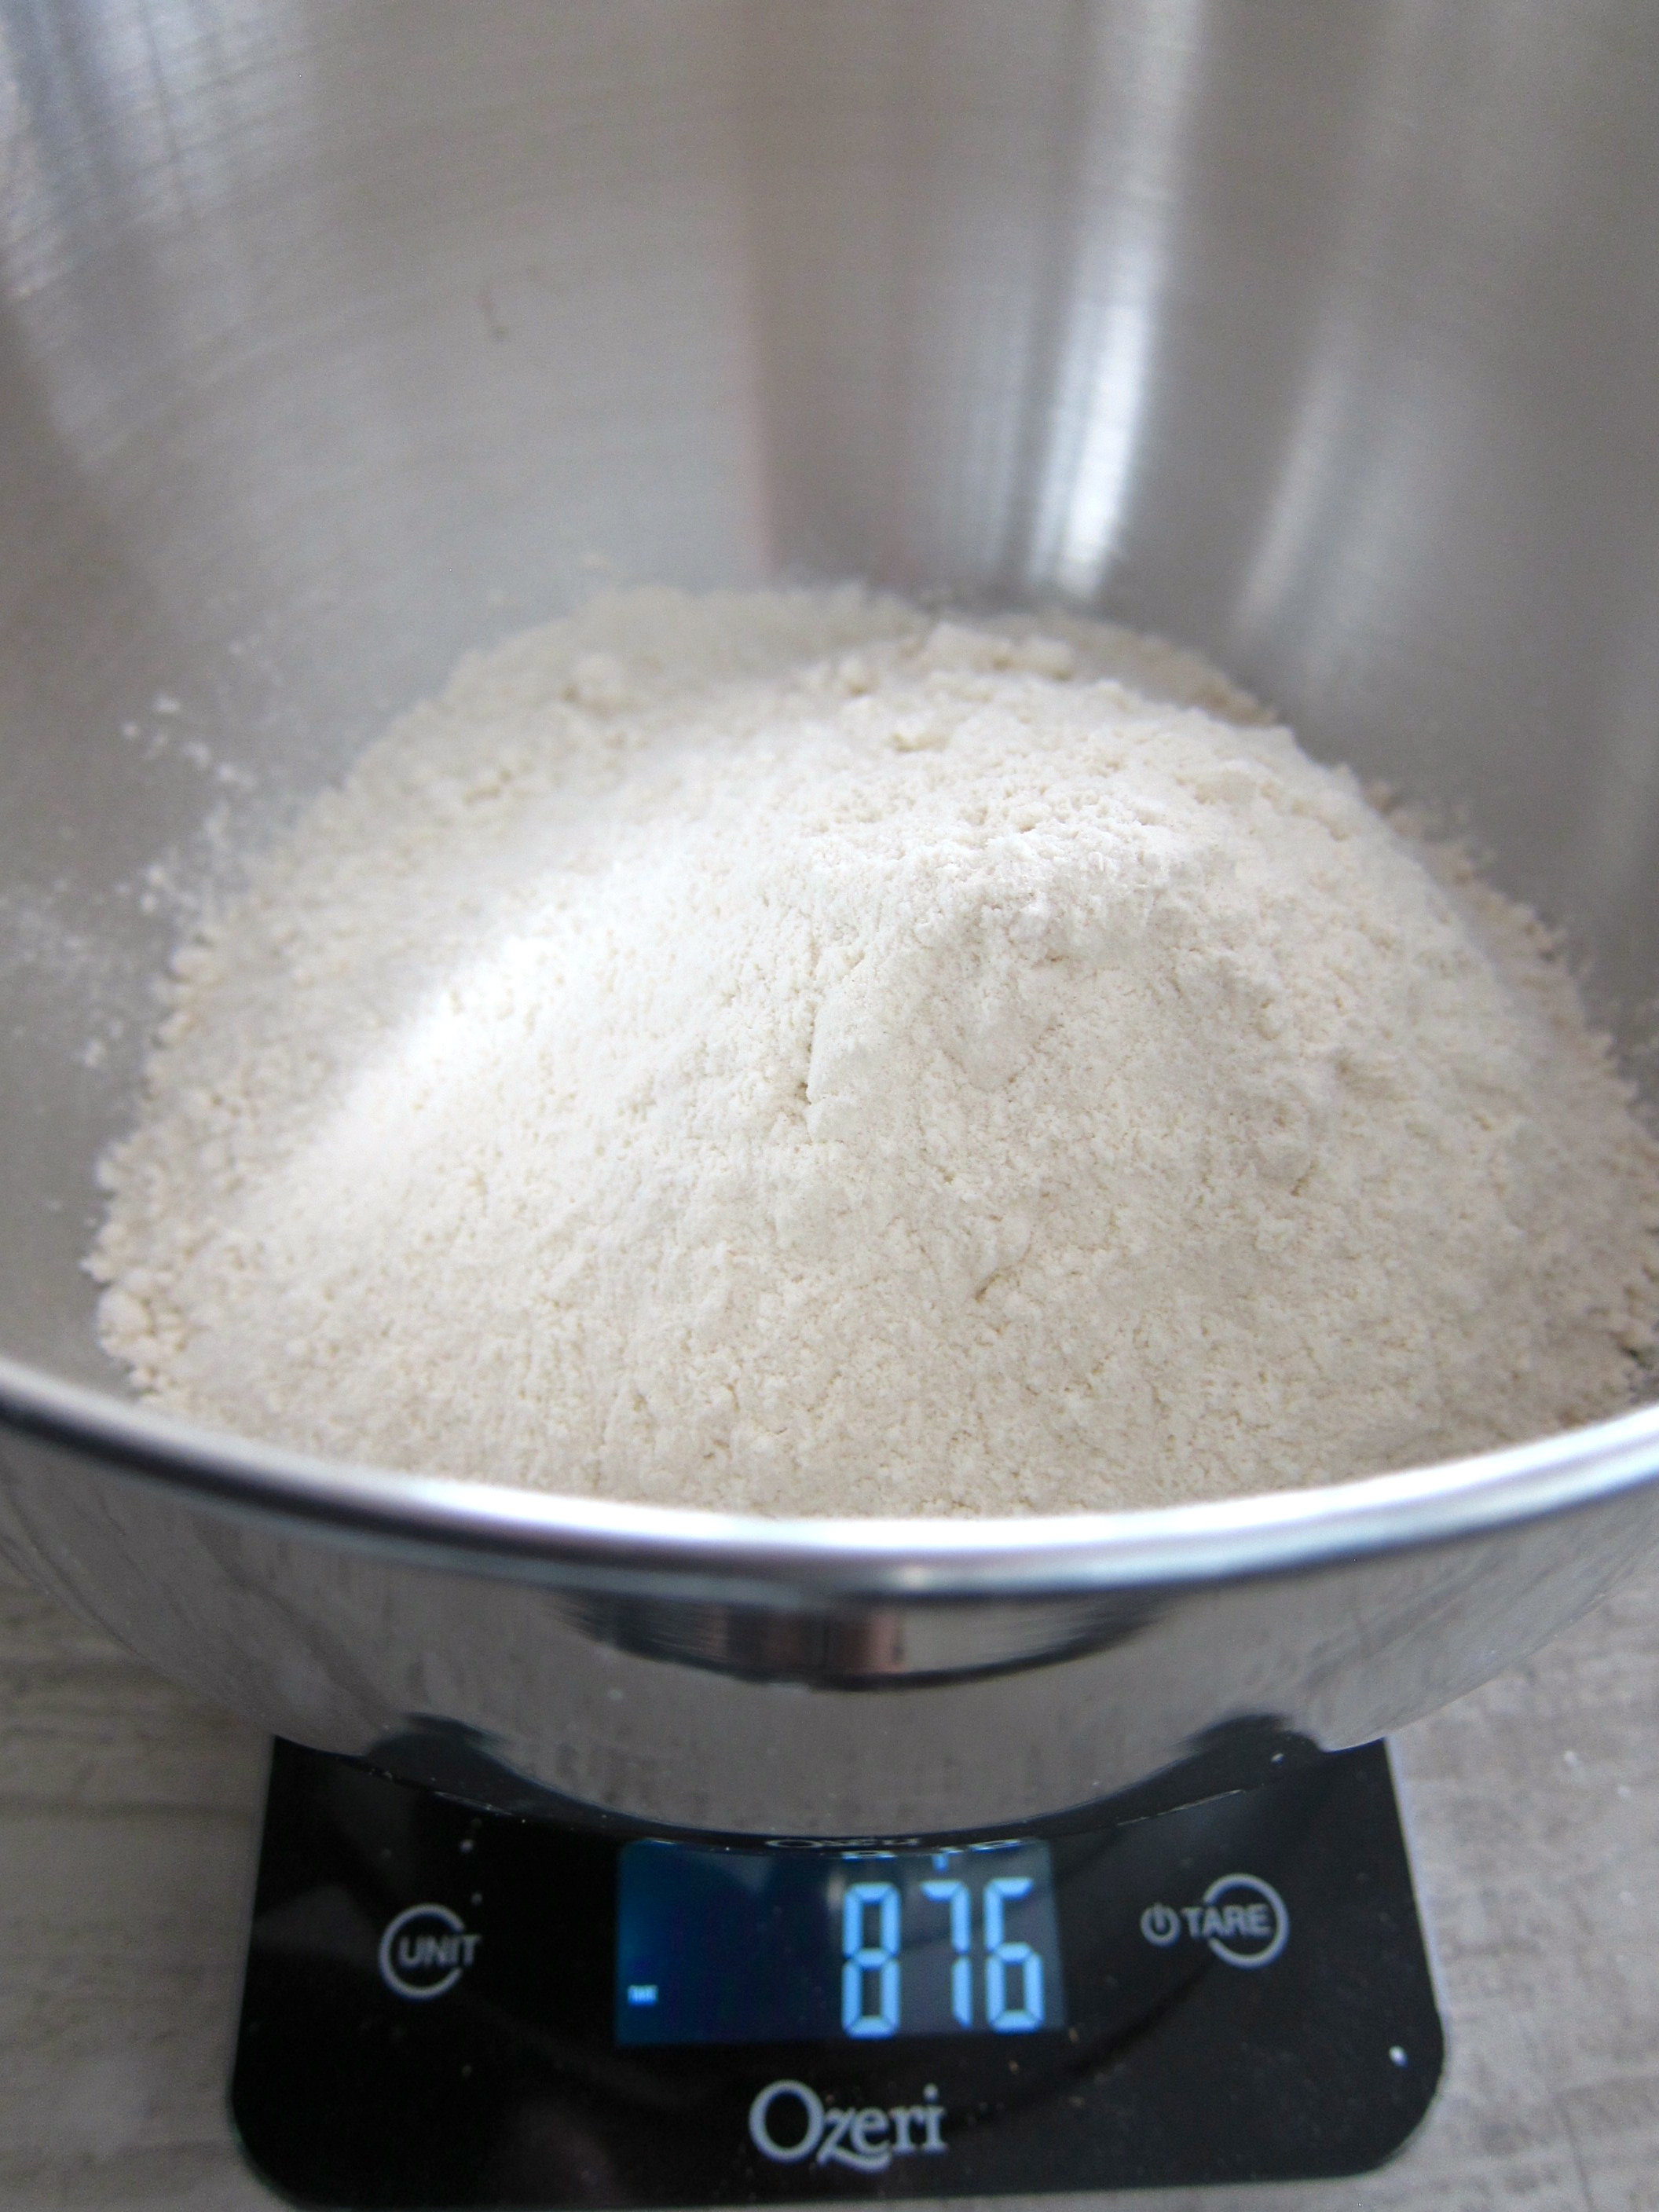
7 cups (875 gr) bread flour or unbleached all-purpose flour or combination of both
1 tablespoon salt
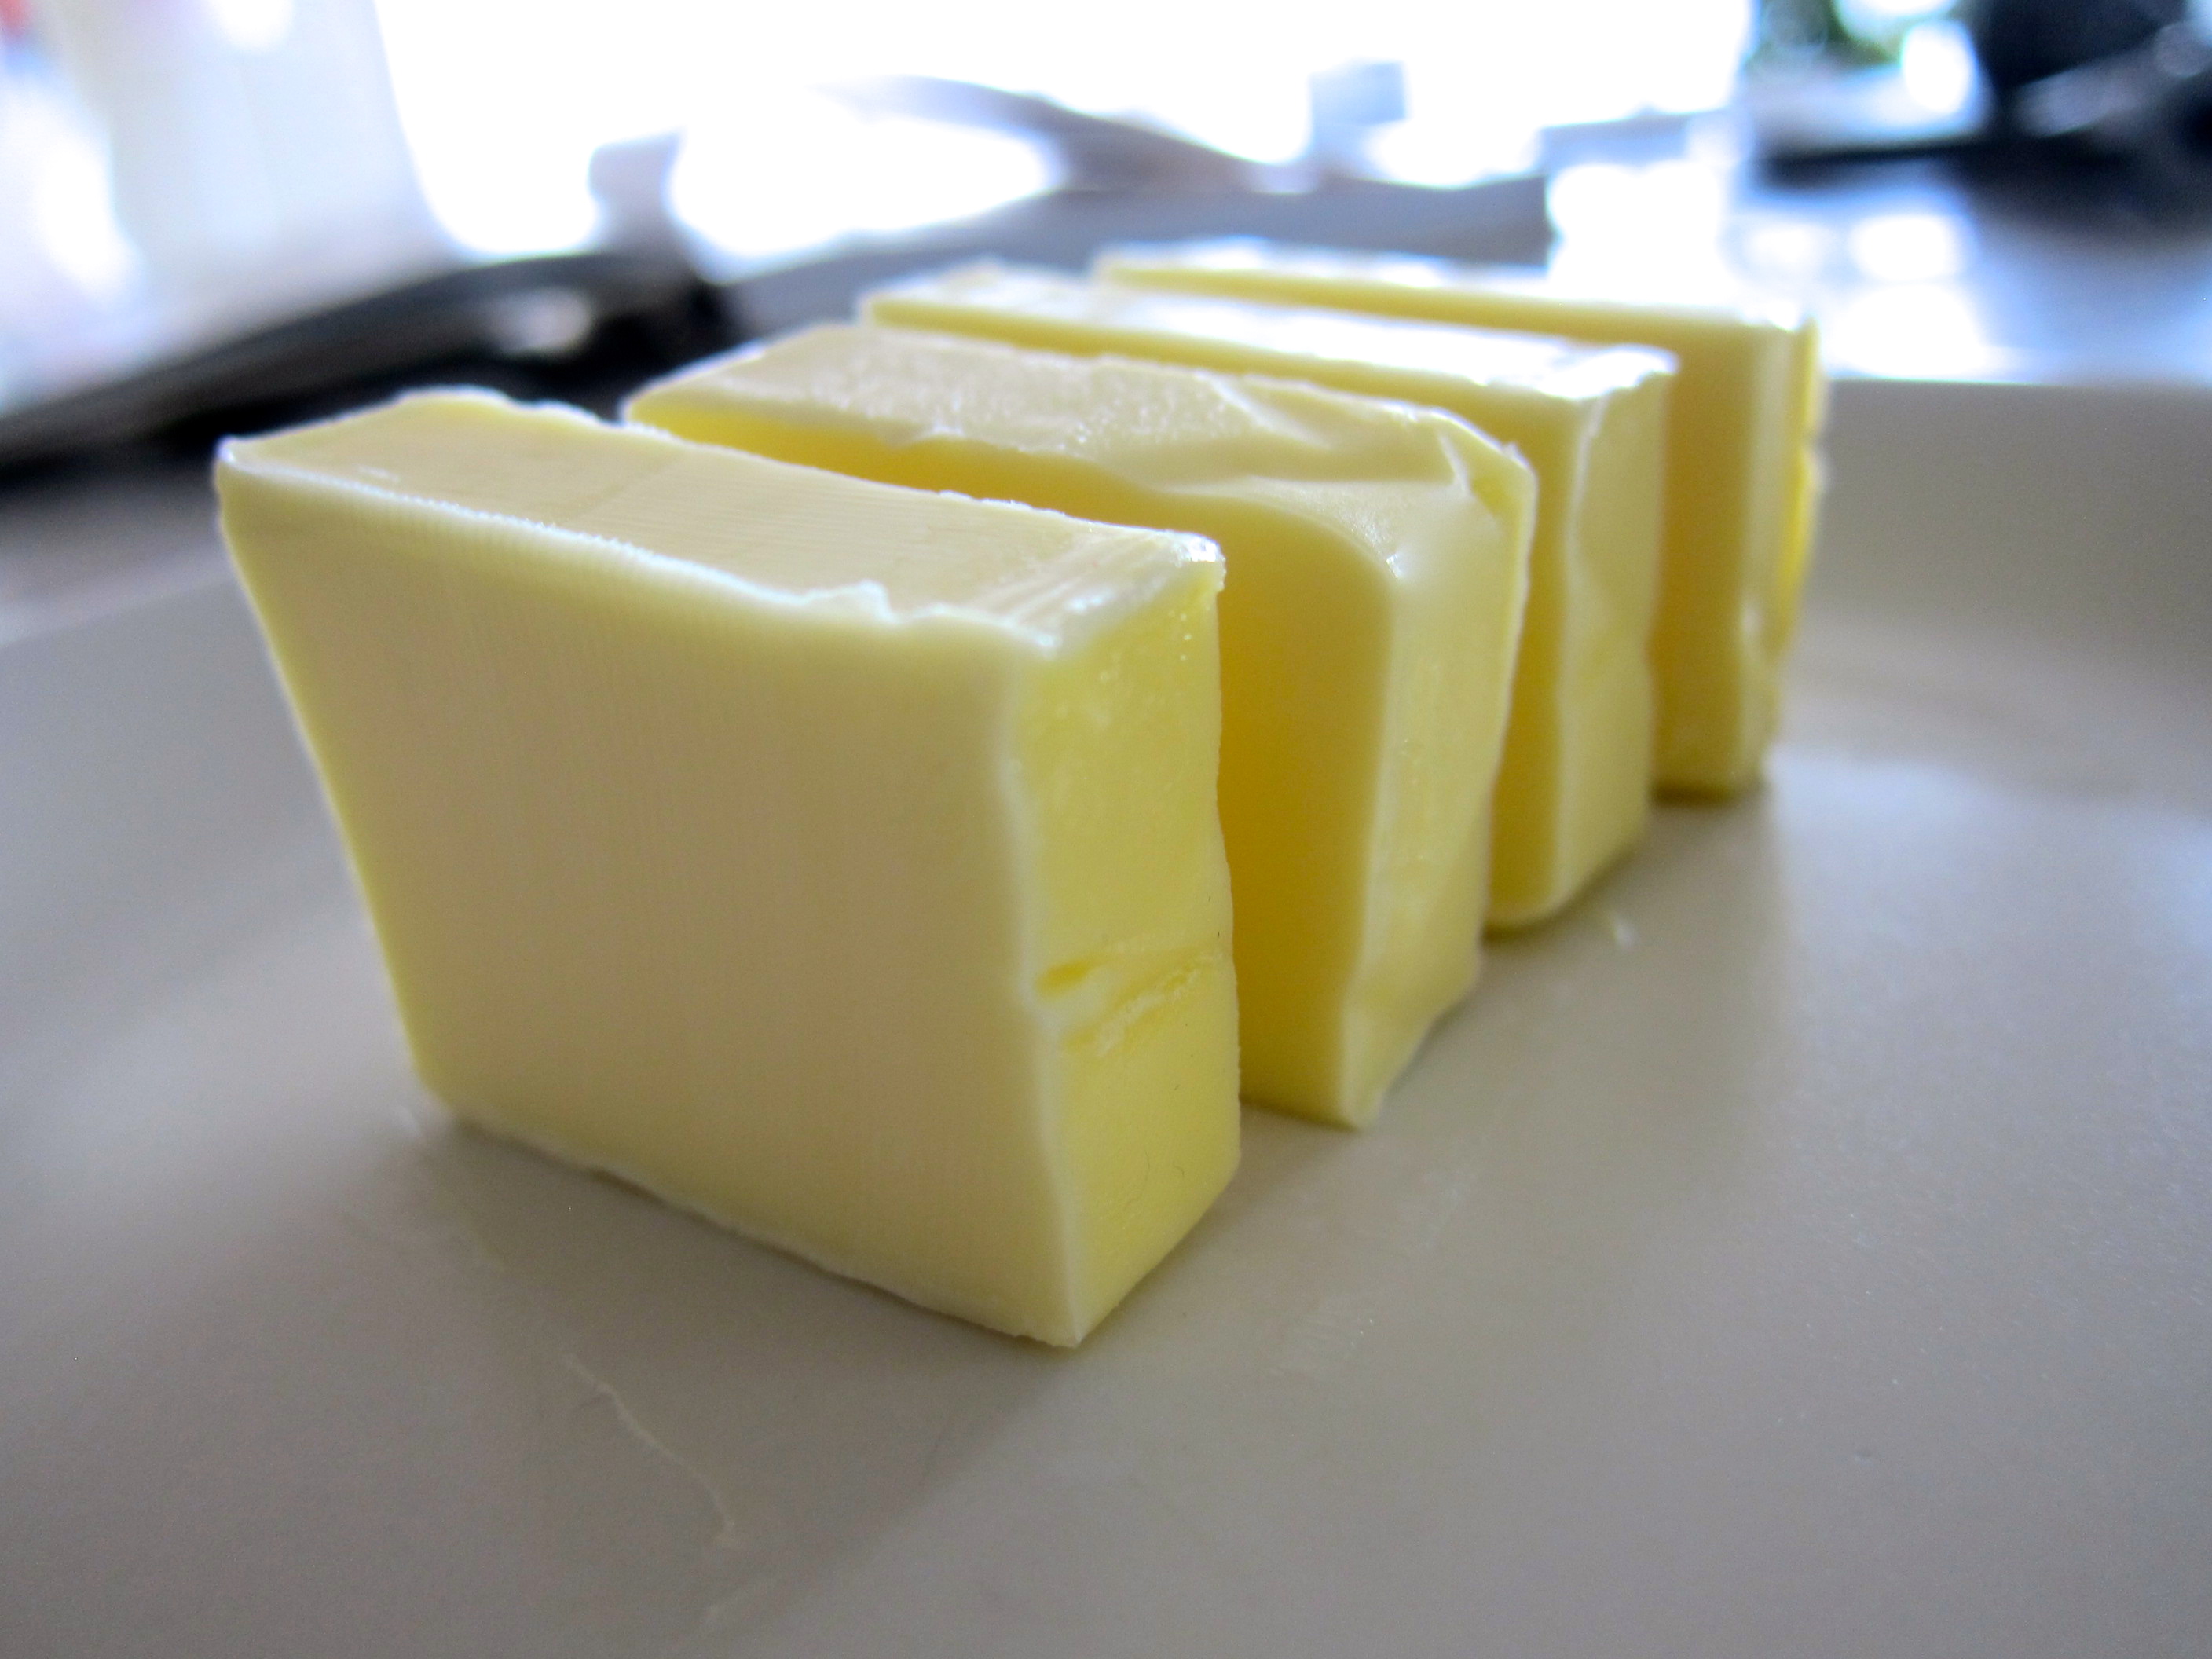
1/2 stick (4 tablespoons or 2oz) unsalted butter, at room temperature
1. If you are using active dry yeast: Pour 1/2 cup of the warm water in the bowl of a heavy-duty mixer. Sprinkle the yeast and the sugar and whisk to blend them. Let the mixture rest for about 5 minutes until the yeast bubbles. Add the flour and the salt. Slowly pour the remaining 2 cups of warm water in the bowl. Proceed with step 3 below.
2. If you are using instant yeast: In the bowl of a heavy-duty mixer, add the flour, the yeast, the sugar, and the salt. Slowly pour the 2 1/2 cups of warm water in the bowl.
3. Using the paddle attachment of the mixer, mix the dough at low speed for about a minute until it comes together.
4. Replace the paddle with the dough hook and mix at medium-low speed (2 or 3 on a KitchenAid mixer) for about 5 minutes, until the dough is smooth and elastic.
5. Keep the mixer running and add the butter one tablespoon at a time. Mix until each tablespoon is incorporated before adding the next. Your dough will seem to come apart but don’t worry, keep mixing and it will come together.
6. After the last tablespoon of butter is fully incorporated, stop the mixer and remove the dough. Shape it into a ball and place it in a large, lightly oiled bowl. Turn the dough around so that its entire surface gets covered with the oil. Cover the bowl tightly with plastic wrap and let the dough rise at room temperature until it doubles in volume, about 45-60 minutes.
7. When the dough has risen, butter two 8 1/2 – 4 1/2 inch loaf pans and set them aside. Preheat the oven at 375ºF, with a rack at the center of the oven.
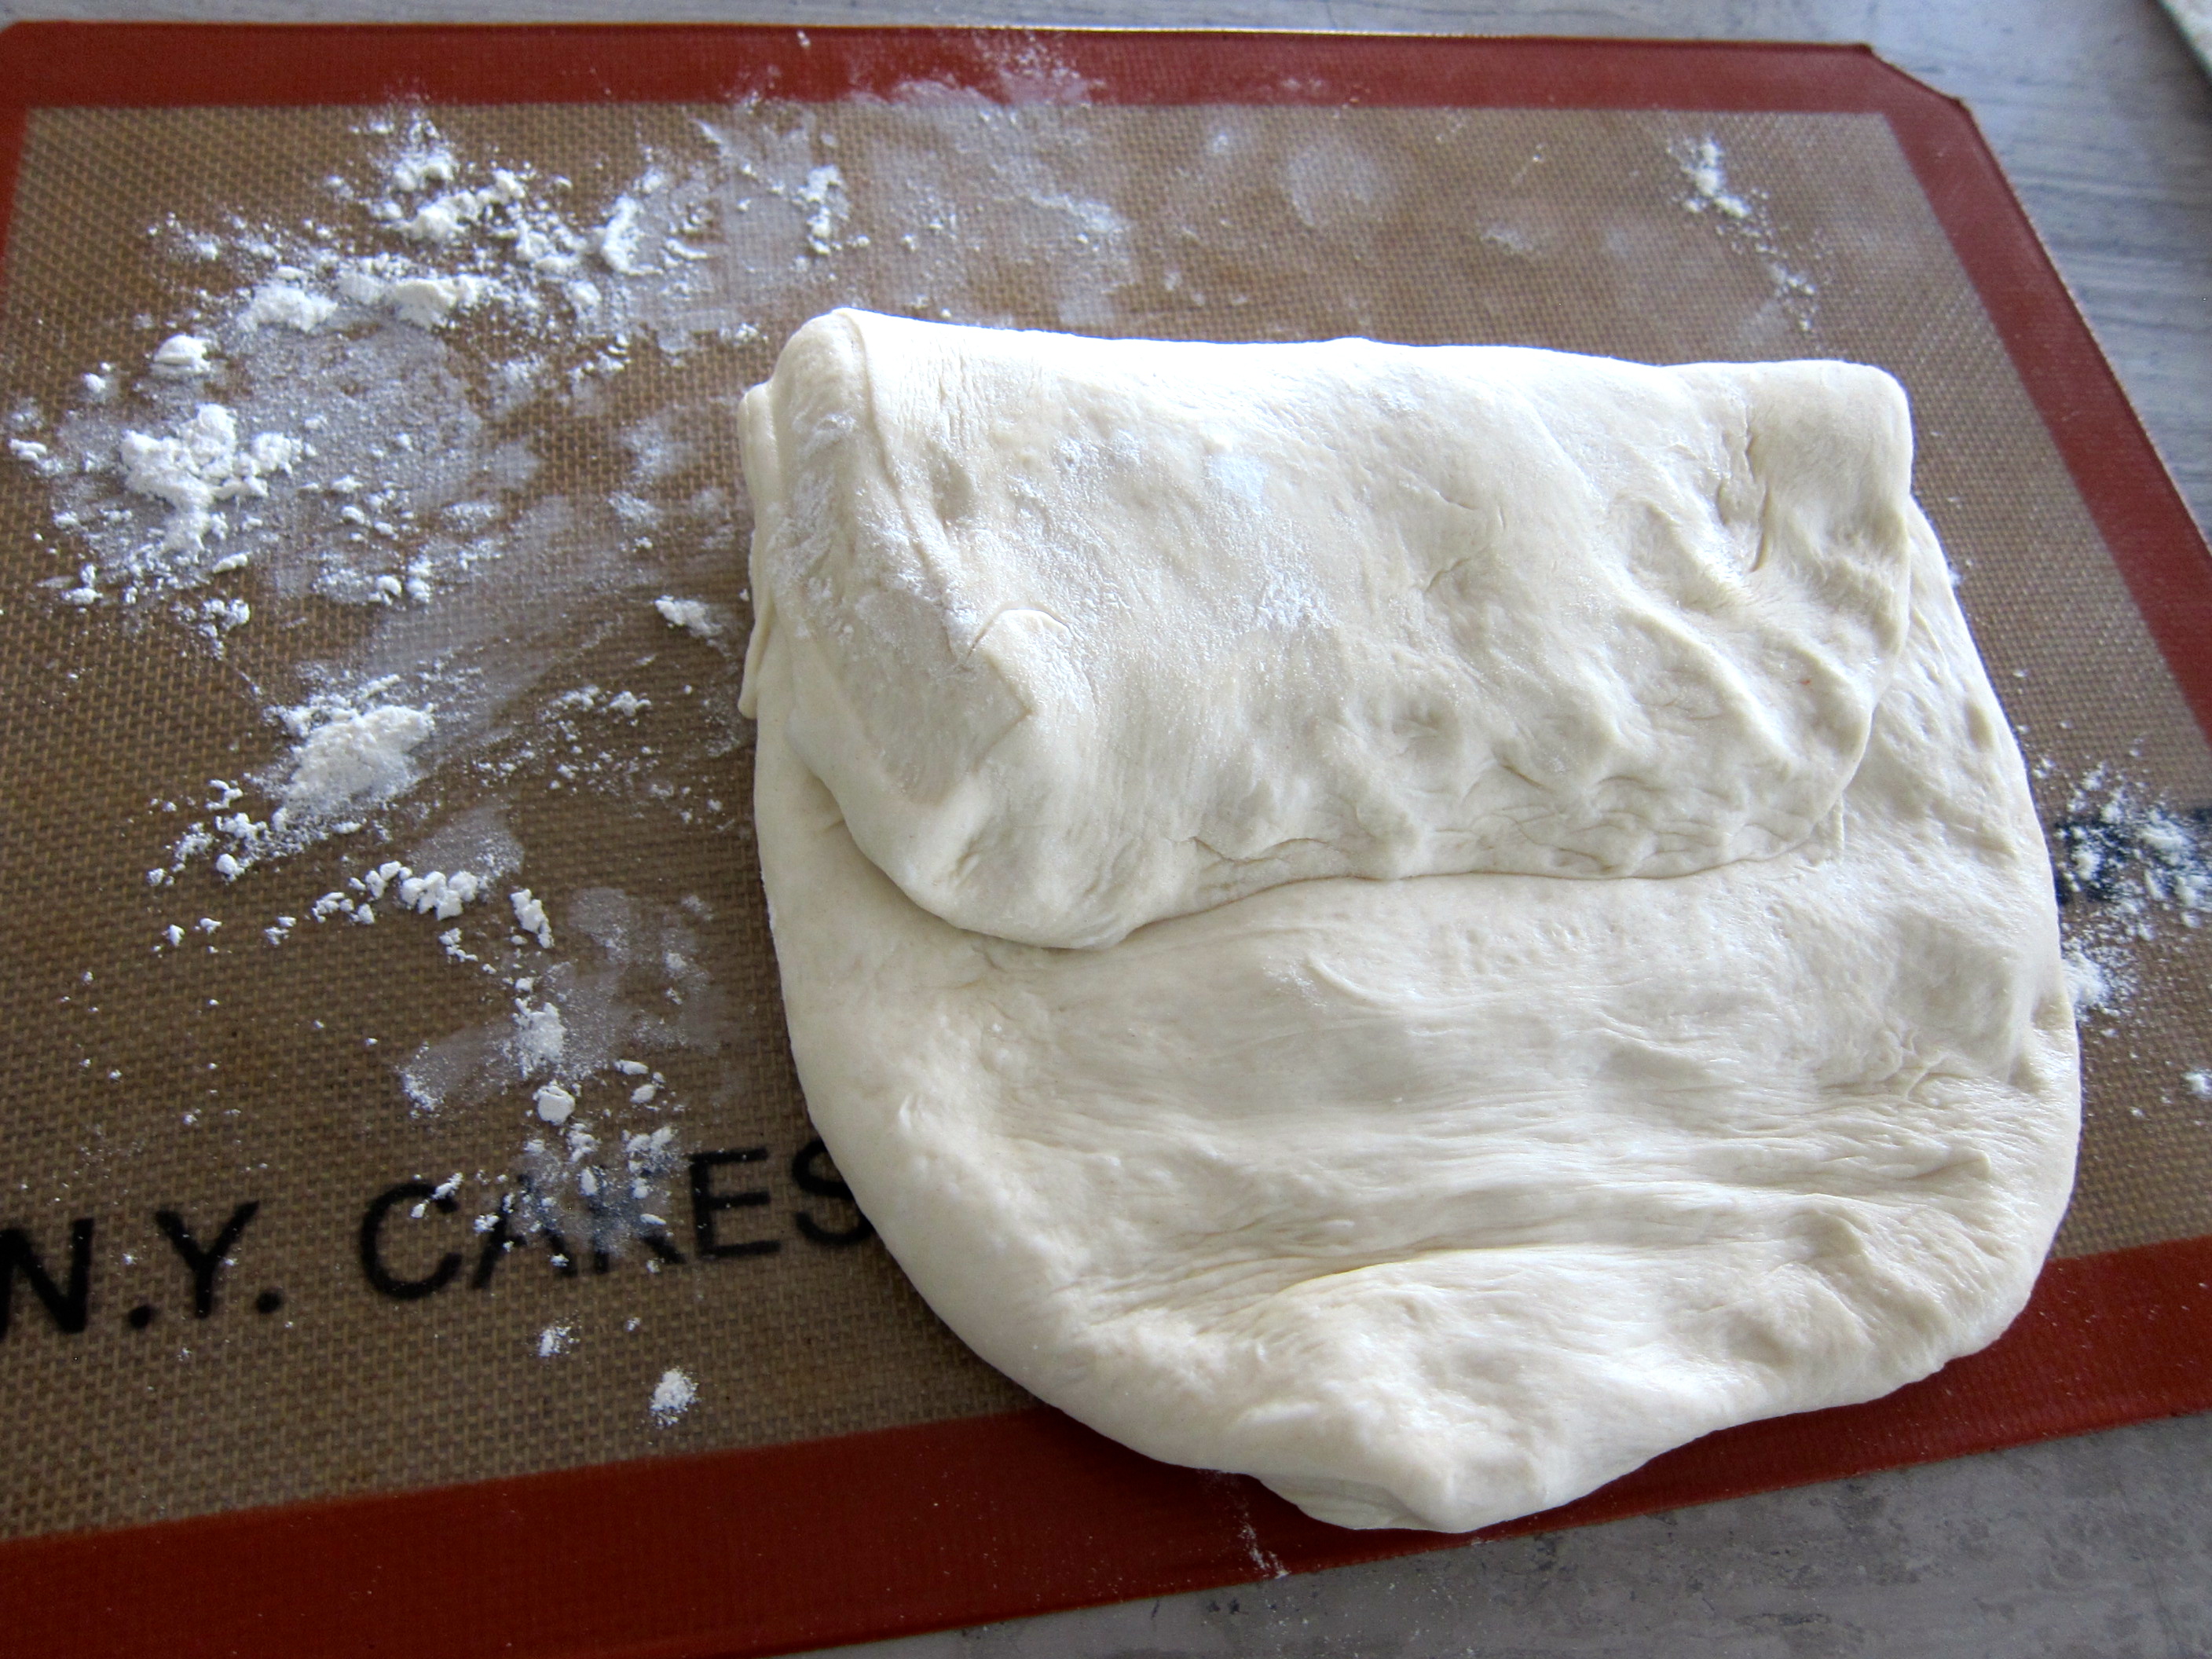
8.Take the dough out of the bowl and place it on a lightly floured surface. Divide the dough into two equal pieces. Working with one piece at a time, pat the dough using your fingertips into a rectangle about 8 inches by 10 inches. The short side should be facing you.

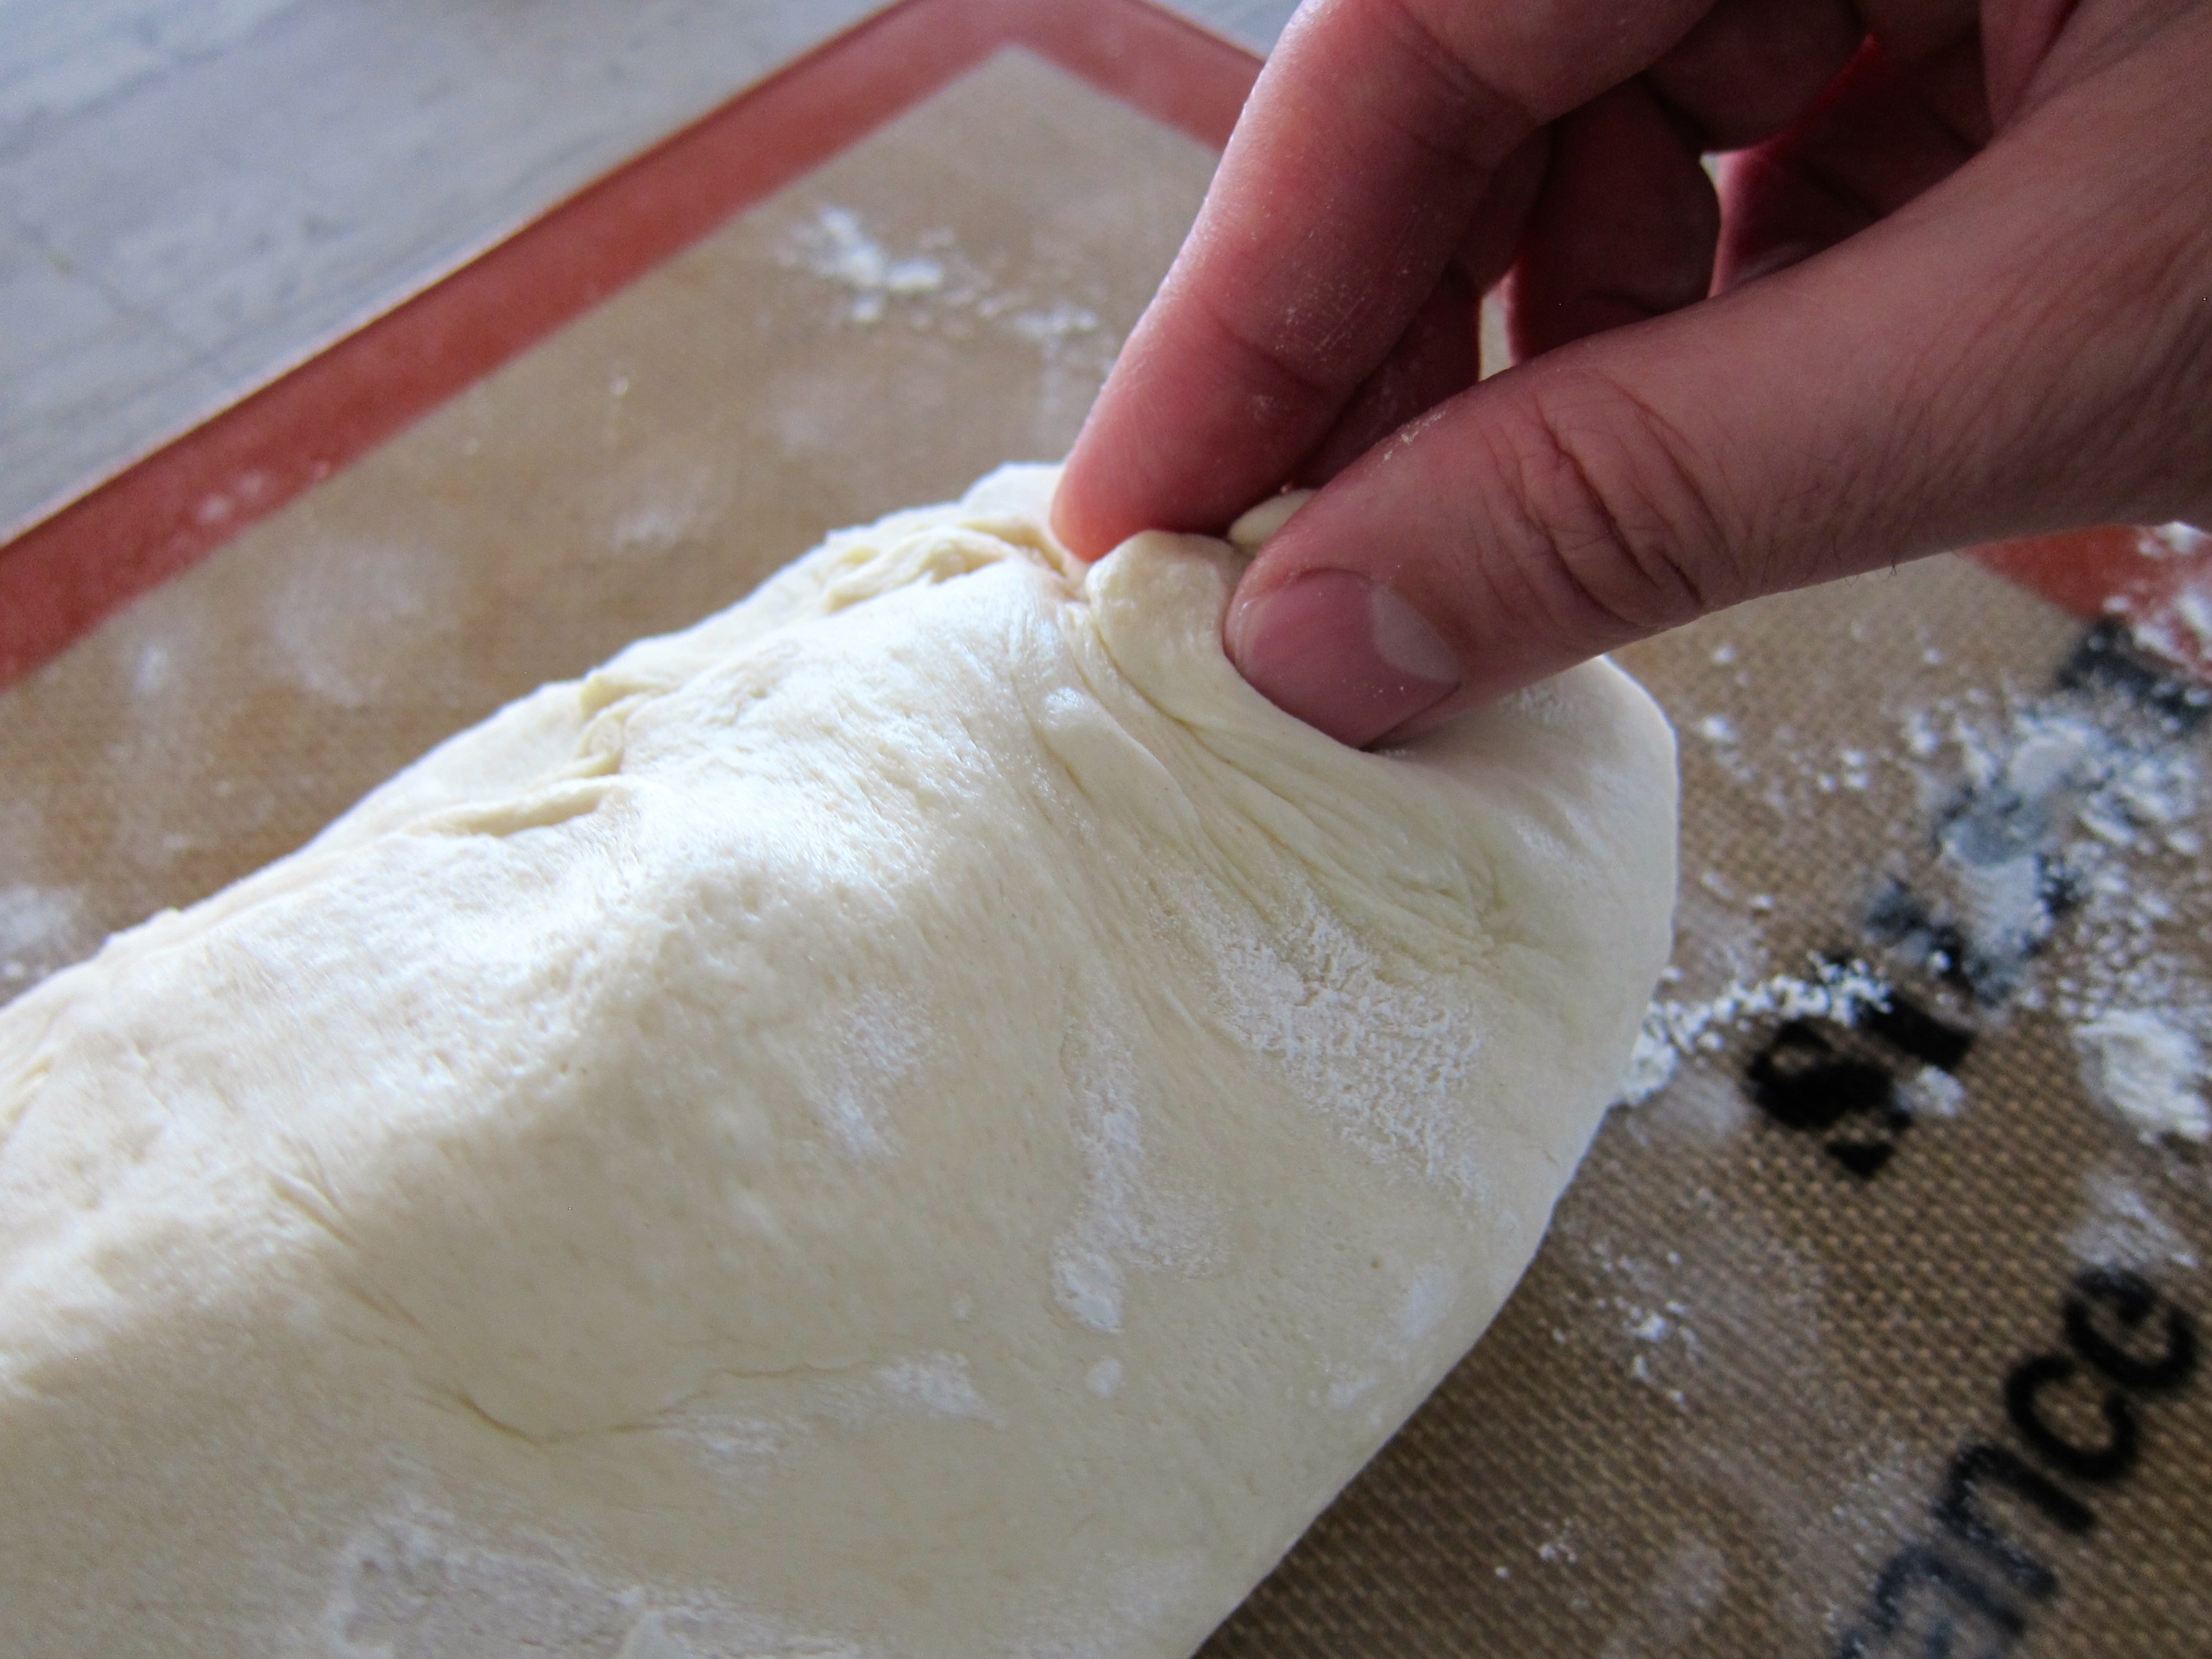
9. Starting at the top, fold the dough about two thirds of the way down the rectangle and pinch the seam together.
Fold the top one more time so that it meets the bottom edge and pinch the seam together.

Roll the dough so that the seam is in the center, facing you, and pinch the two ends of the loaf so that it seals.
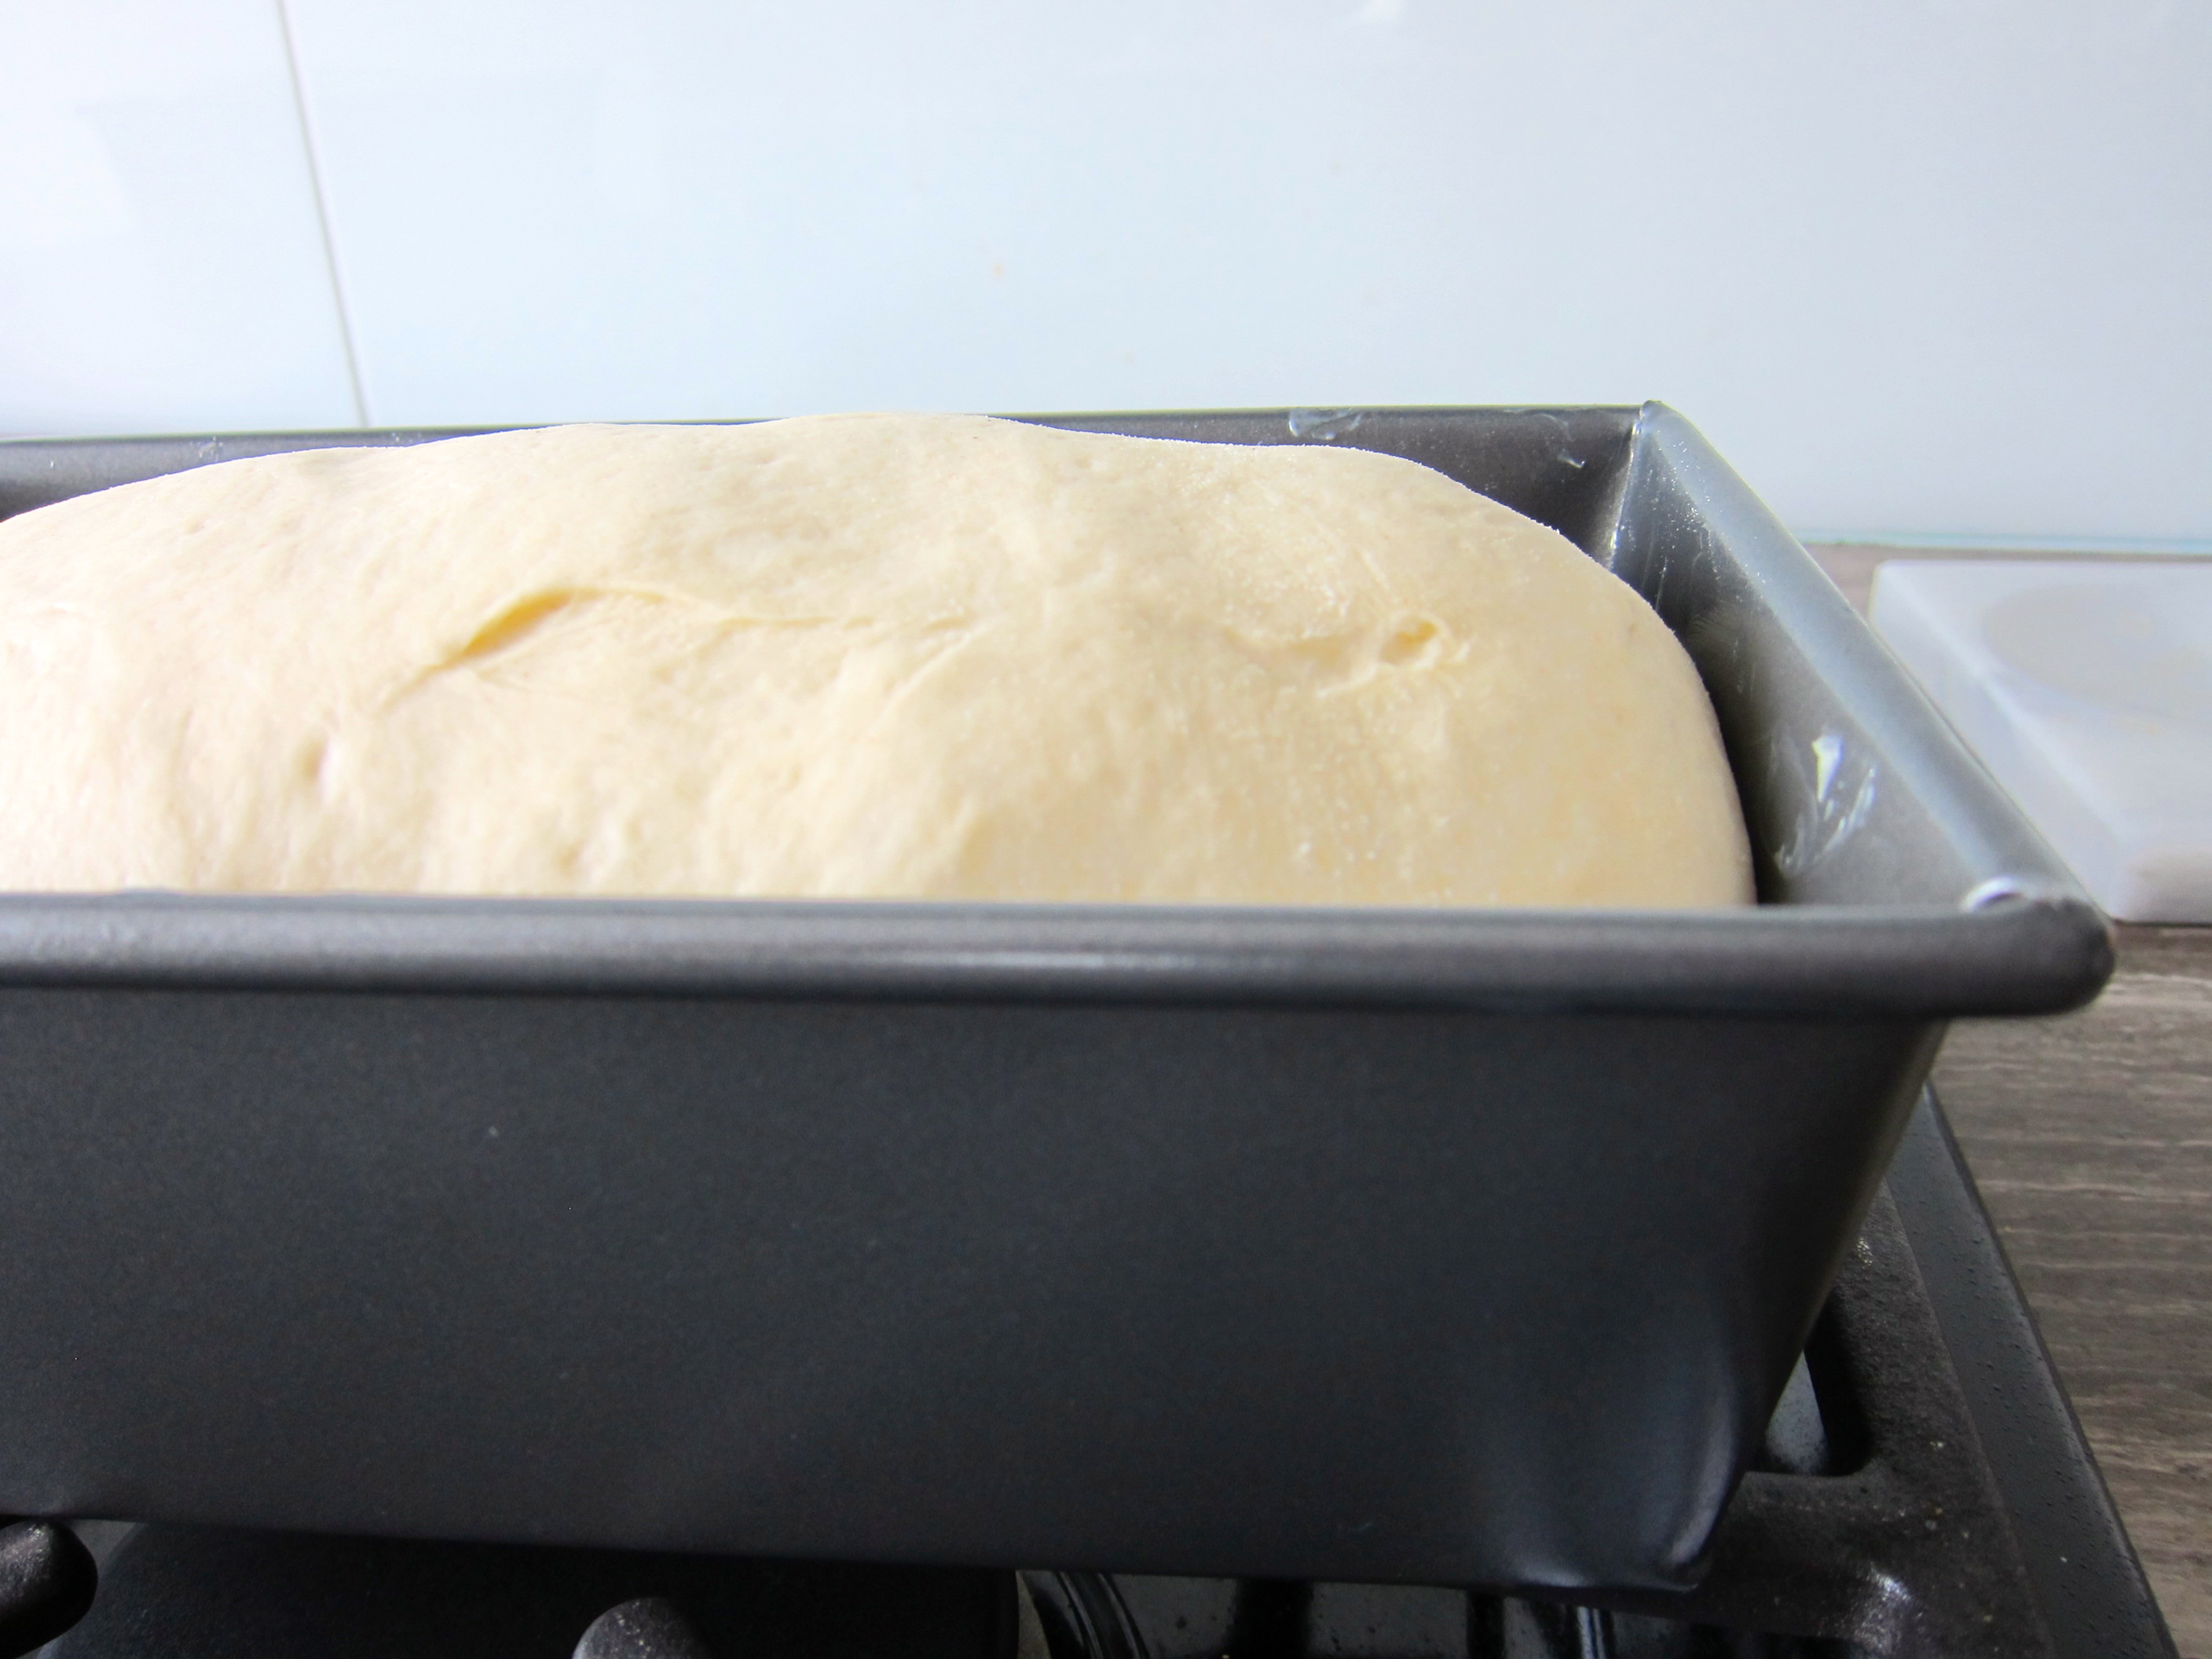
10. Place the loaves in the buttered load pans, seam side down, cover them with plastic wrap and let them rise at room temperature until the are growing just over the tops of the pans, about 45 minutes.
11. Remove the plastic wrap and bake the loaves in the preheated oven for 30 minutes. After 30 minutes of baking, remove the loaves from the pans and continue to bake them directly on the oven rack for an additional 10-15 minutes.
12. Remove the loaves from the oven and let them cool completely on wire racks before cutting them.
13. The loaves can be wrapped in plastic or aluminum foil and frozen. Take out of the freezer the night before you plan to eat them and defrost at room temperature.

yum! carbs!