Olive Oil and Maple Granola

I’ve been watching the new season of “Mad Men” and, like most people who watch the show, I’ve been pretty disappointed by it. I’ve been a really big fan of the show since it started. The first season was remarkable simply for the 60s factor and the “remember when [blank] was acceptable” game. Drinking at work, smoking everywhere, sexual harassment in the office. They were all there for us to watch and laugh at, feeling smug in our contemporary,better lives, but also a little nostalgic for our childhoods.

IMG_2484

By season too, the show became more than a neat time trick. It started exploring the main characters more deeply by placing them in situations that showed their inner gears. The writing was taut and the direction was beautiful but not showy. Some episodes were like literature. There was the one titled “The Suitcase” that was pure magic. A year or two ago there was an article on “Mad Men” in Entertainment Weekly and they asked the cast members to name their favorite episode. Most of them said it was “The Suitcase.”

IMG_2472

But this season has been uneven, at best. There have been what, four, five episodes? And yet it feels like nothing’s happened. Everyone seems to just be going through the motions and each episode is written less about the characters and more about a different important historical event of the late 60s. It’s like a history lesson with actors.

IMG_2477

I’ve read a few articles bemoaning this and analyzing the reasons for the show’s slump. But for me the reason is clear: there are just too many characters. As the main ones (Don, Peggy, Joan, Pete, and Roger) started to get married, divorced, remarried, to have lovers and parents and kids, too many people joined the show and the focus was lost. The show never spends enough time on the few important characters because it now has to also cover everyone else, even a little bit. The result is a watered down, overloaded soap opera.

IMG_2481

It’s the same with food (I know you were wondering where I was going with the “Mad Men” diatribe). There is such a thing as too many ingredients, one too many techniques, or too many courses. Most of the time, I’d rather have few, good ingredients that come together beautifully and support each other in the final product, than a complicated recipe with fifteen ingredients and thirty steps to make.

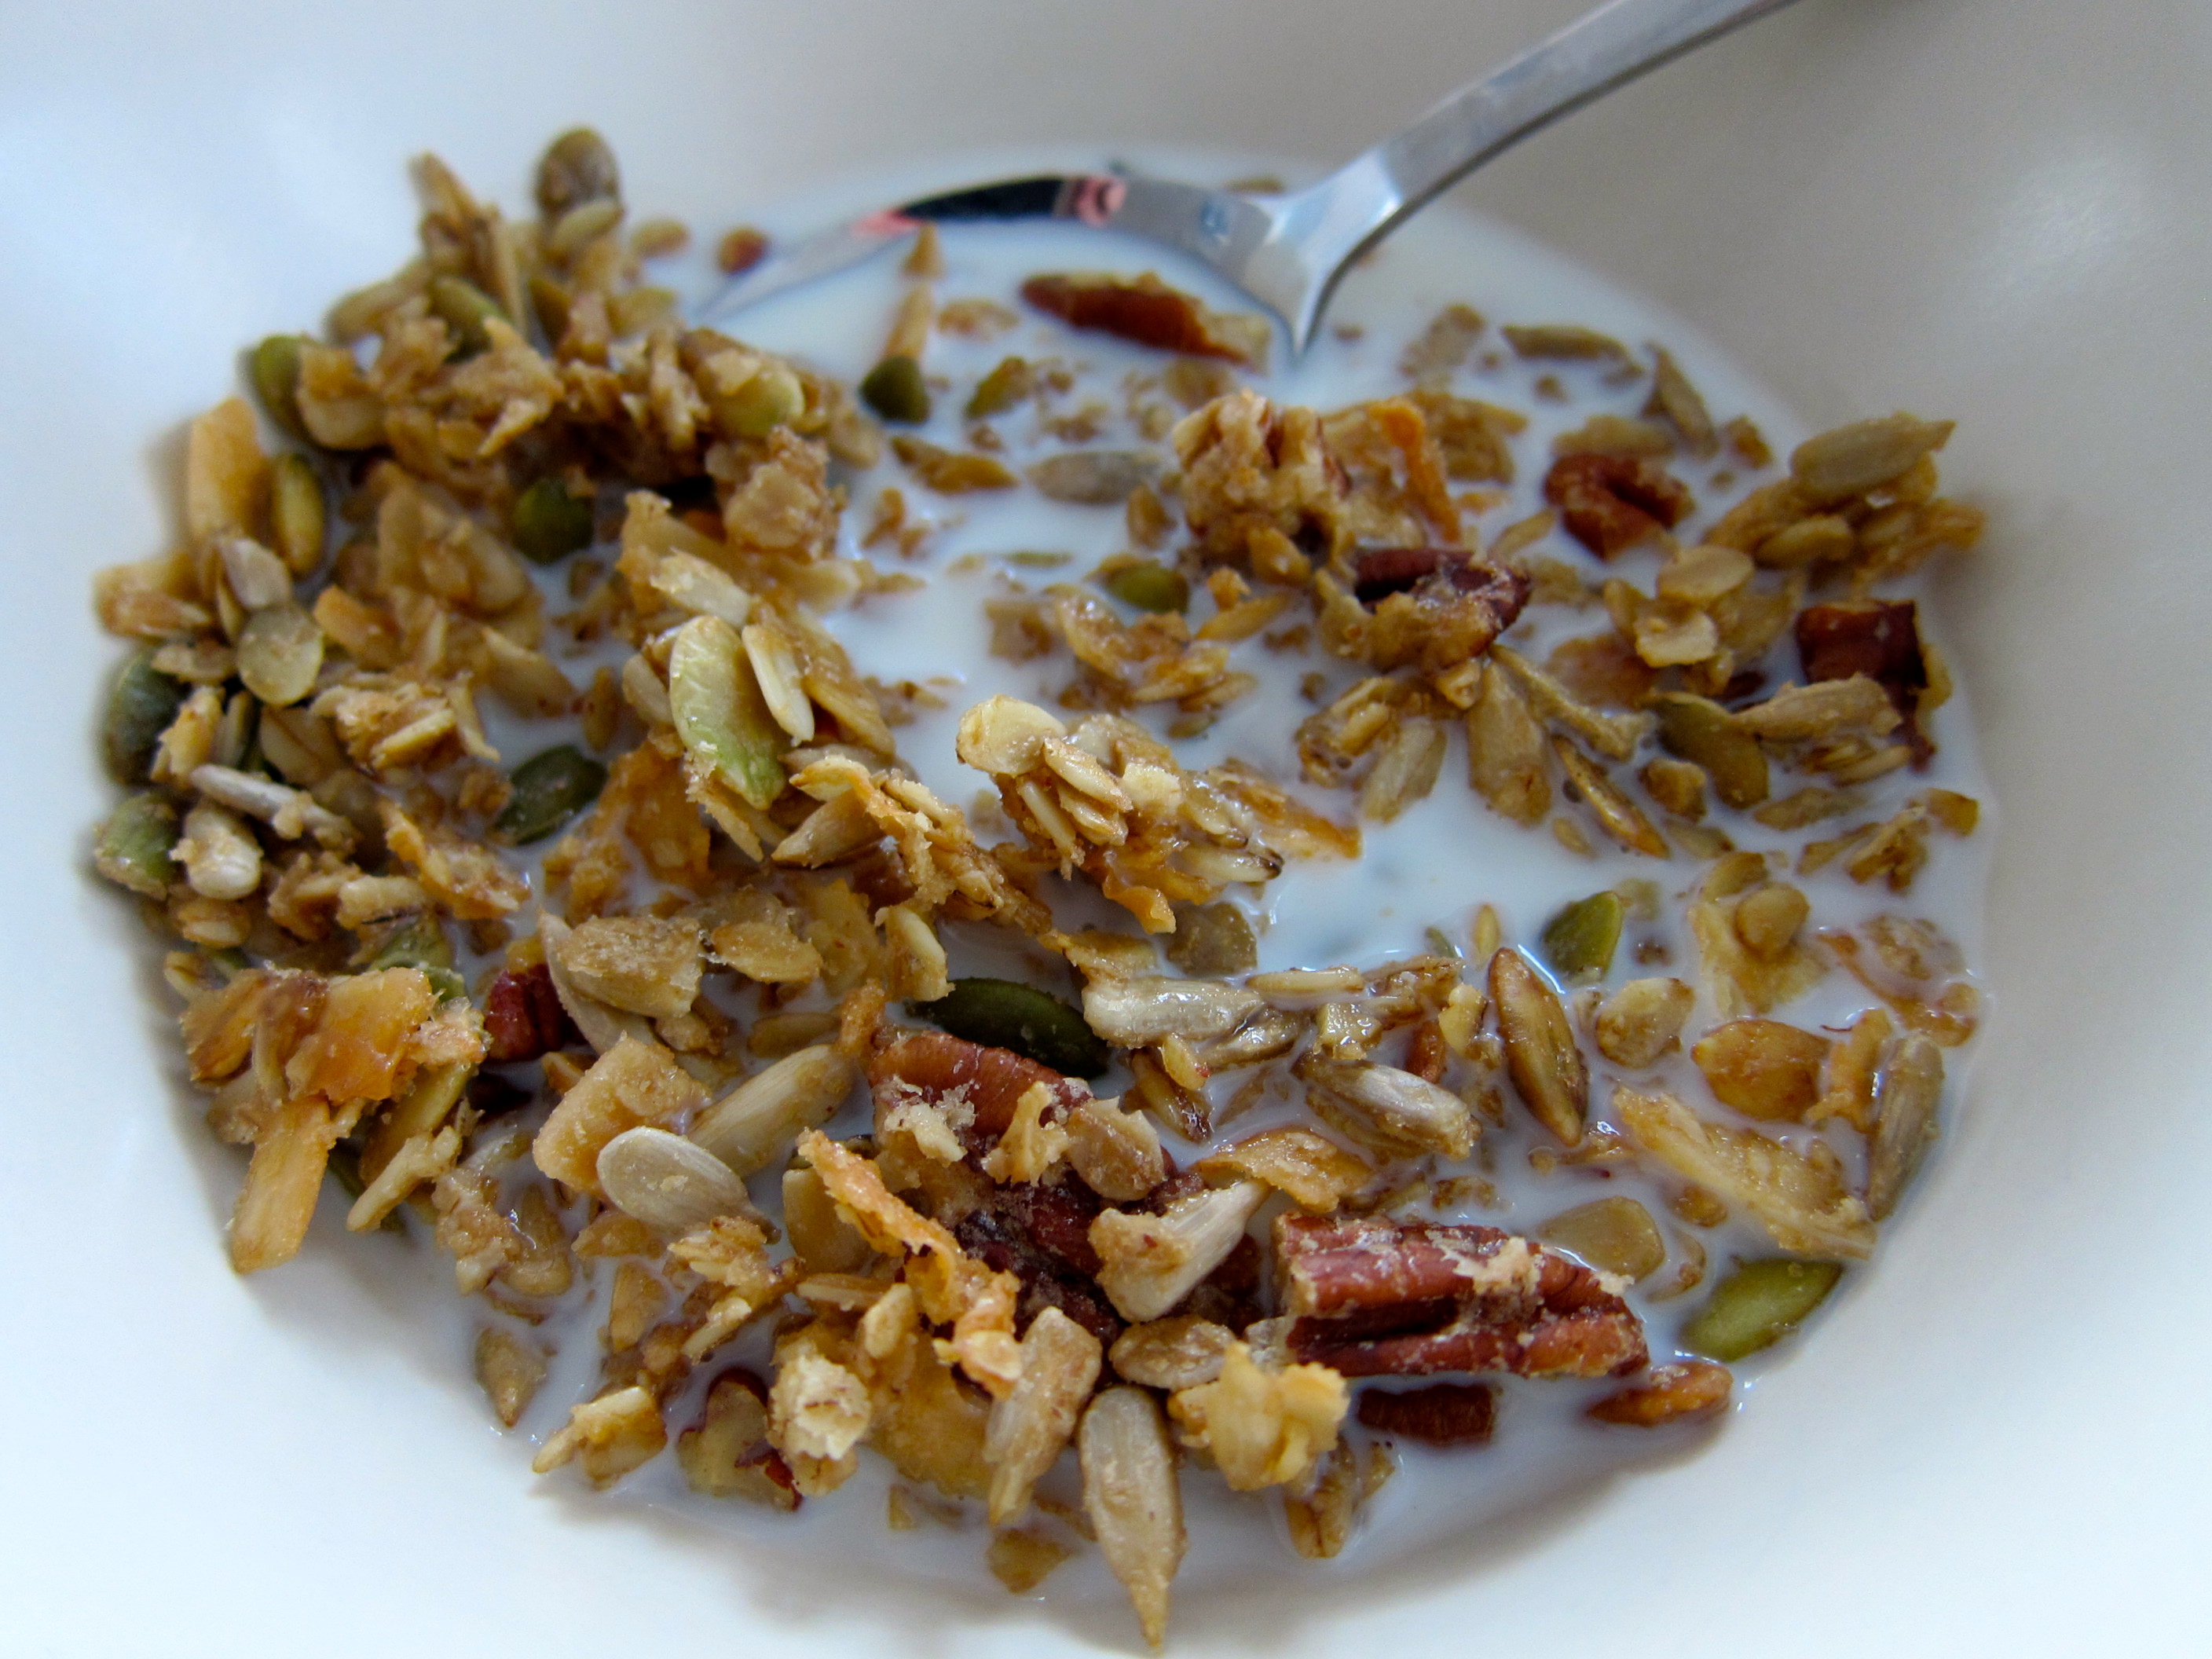
This recipe for olive oil and maple granola is somewhere in the middle. It has quite a few ingredients, all easy to find, but very few steps. Mix and bake, stirring a few times along the way. The result is probably the best granola I’ve ever tasted. It’s not too sweet, with a good combination of nuts and seeds, along with toasted coconut flakes to up the ante. The olive oil is all the way in the background, a grassy note to complement the maple syrup’s smoky sweetness. It all comes together perfectly, like an early episode of “Mad Men.”

IMG_2485

Olive Oil and Maple Granola – Adapted from Orangette

Makes about 7 cups

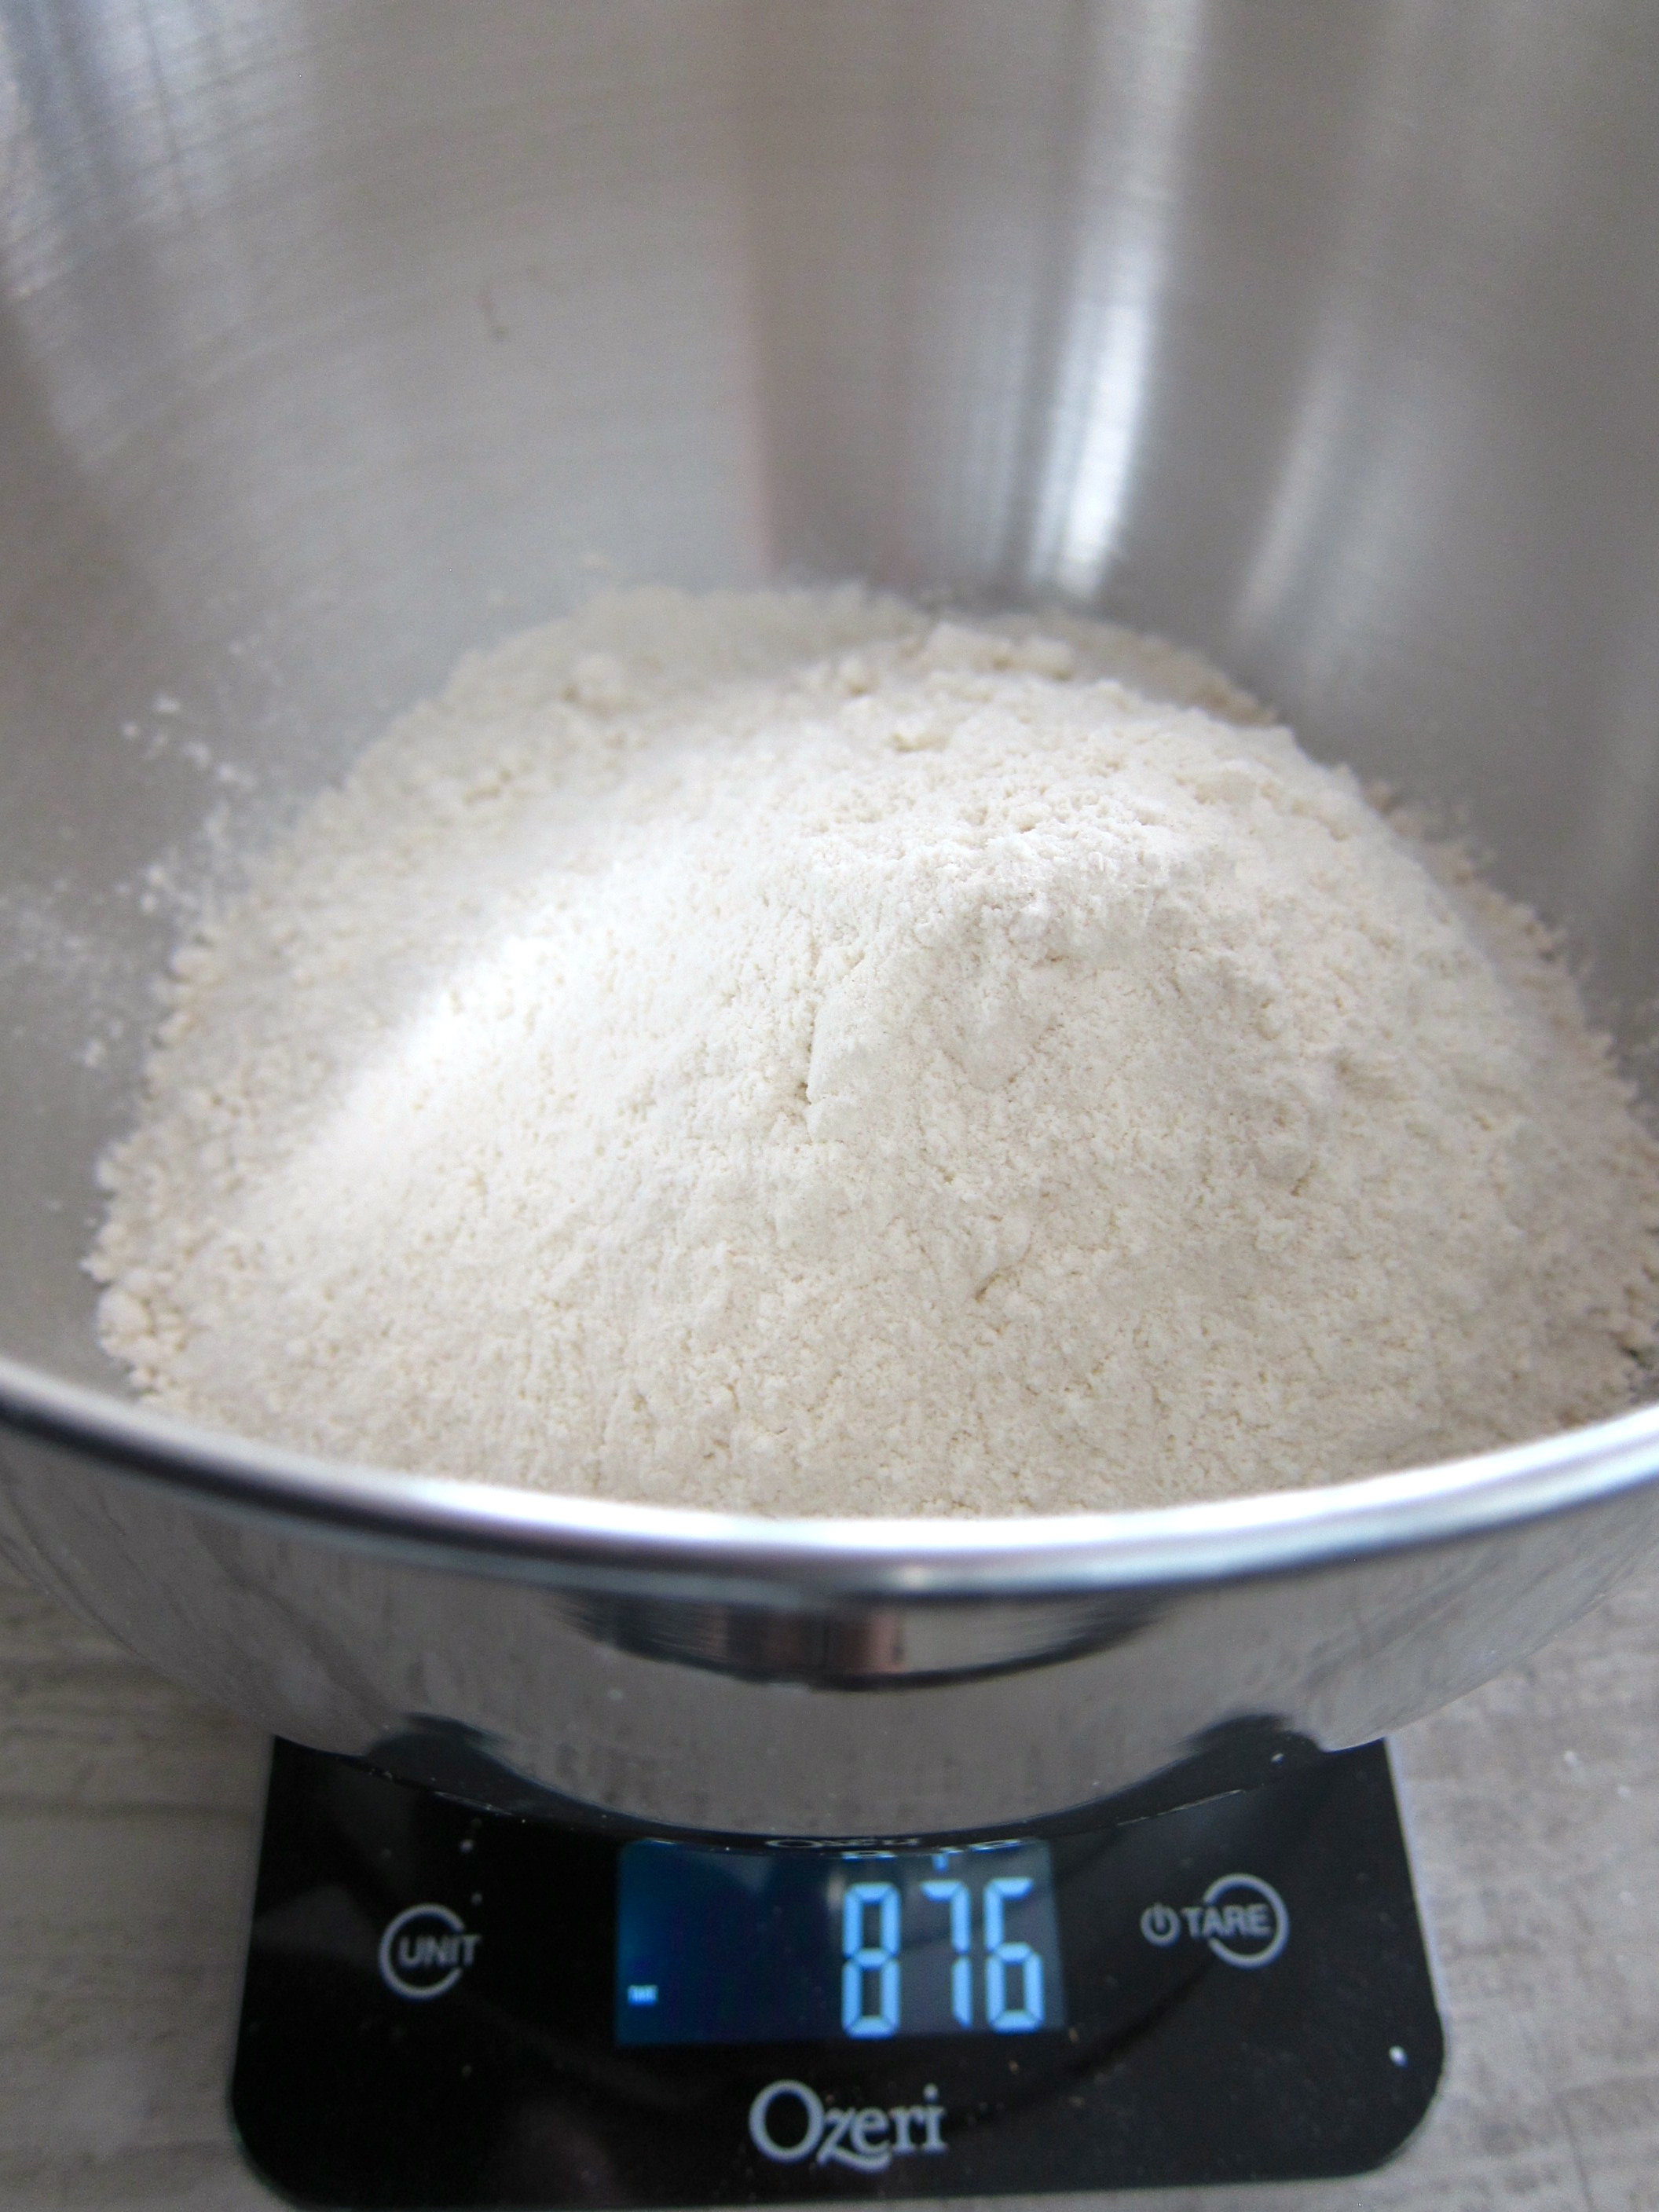
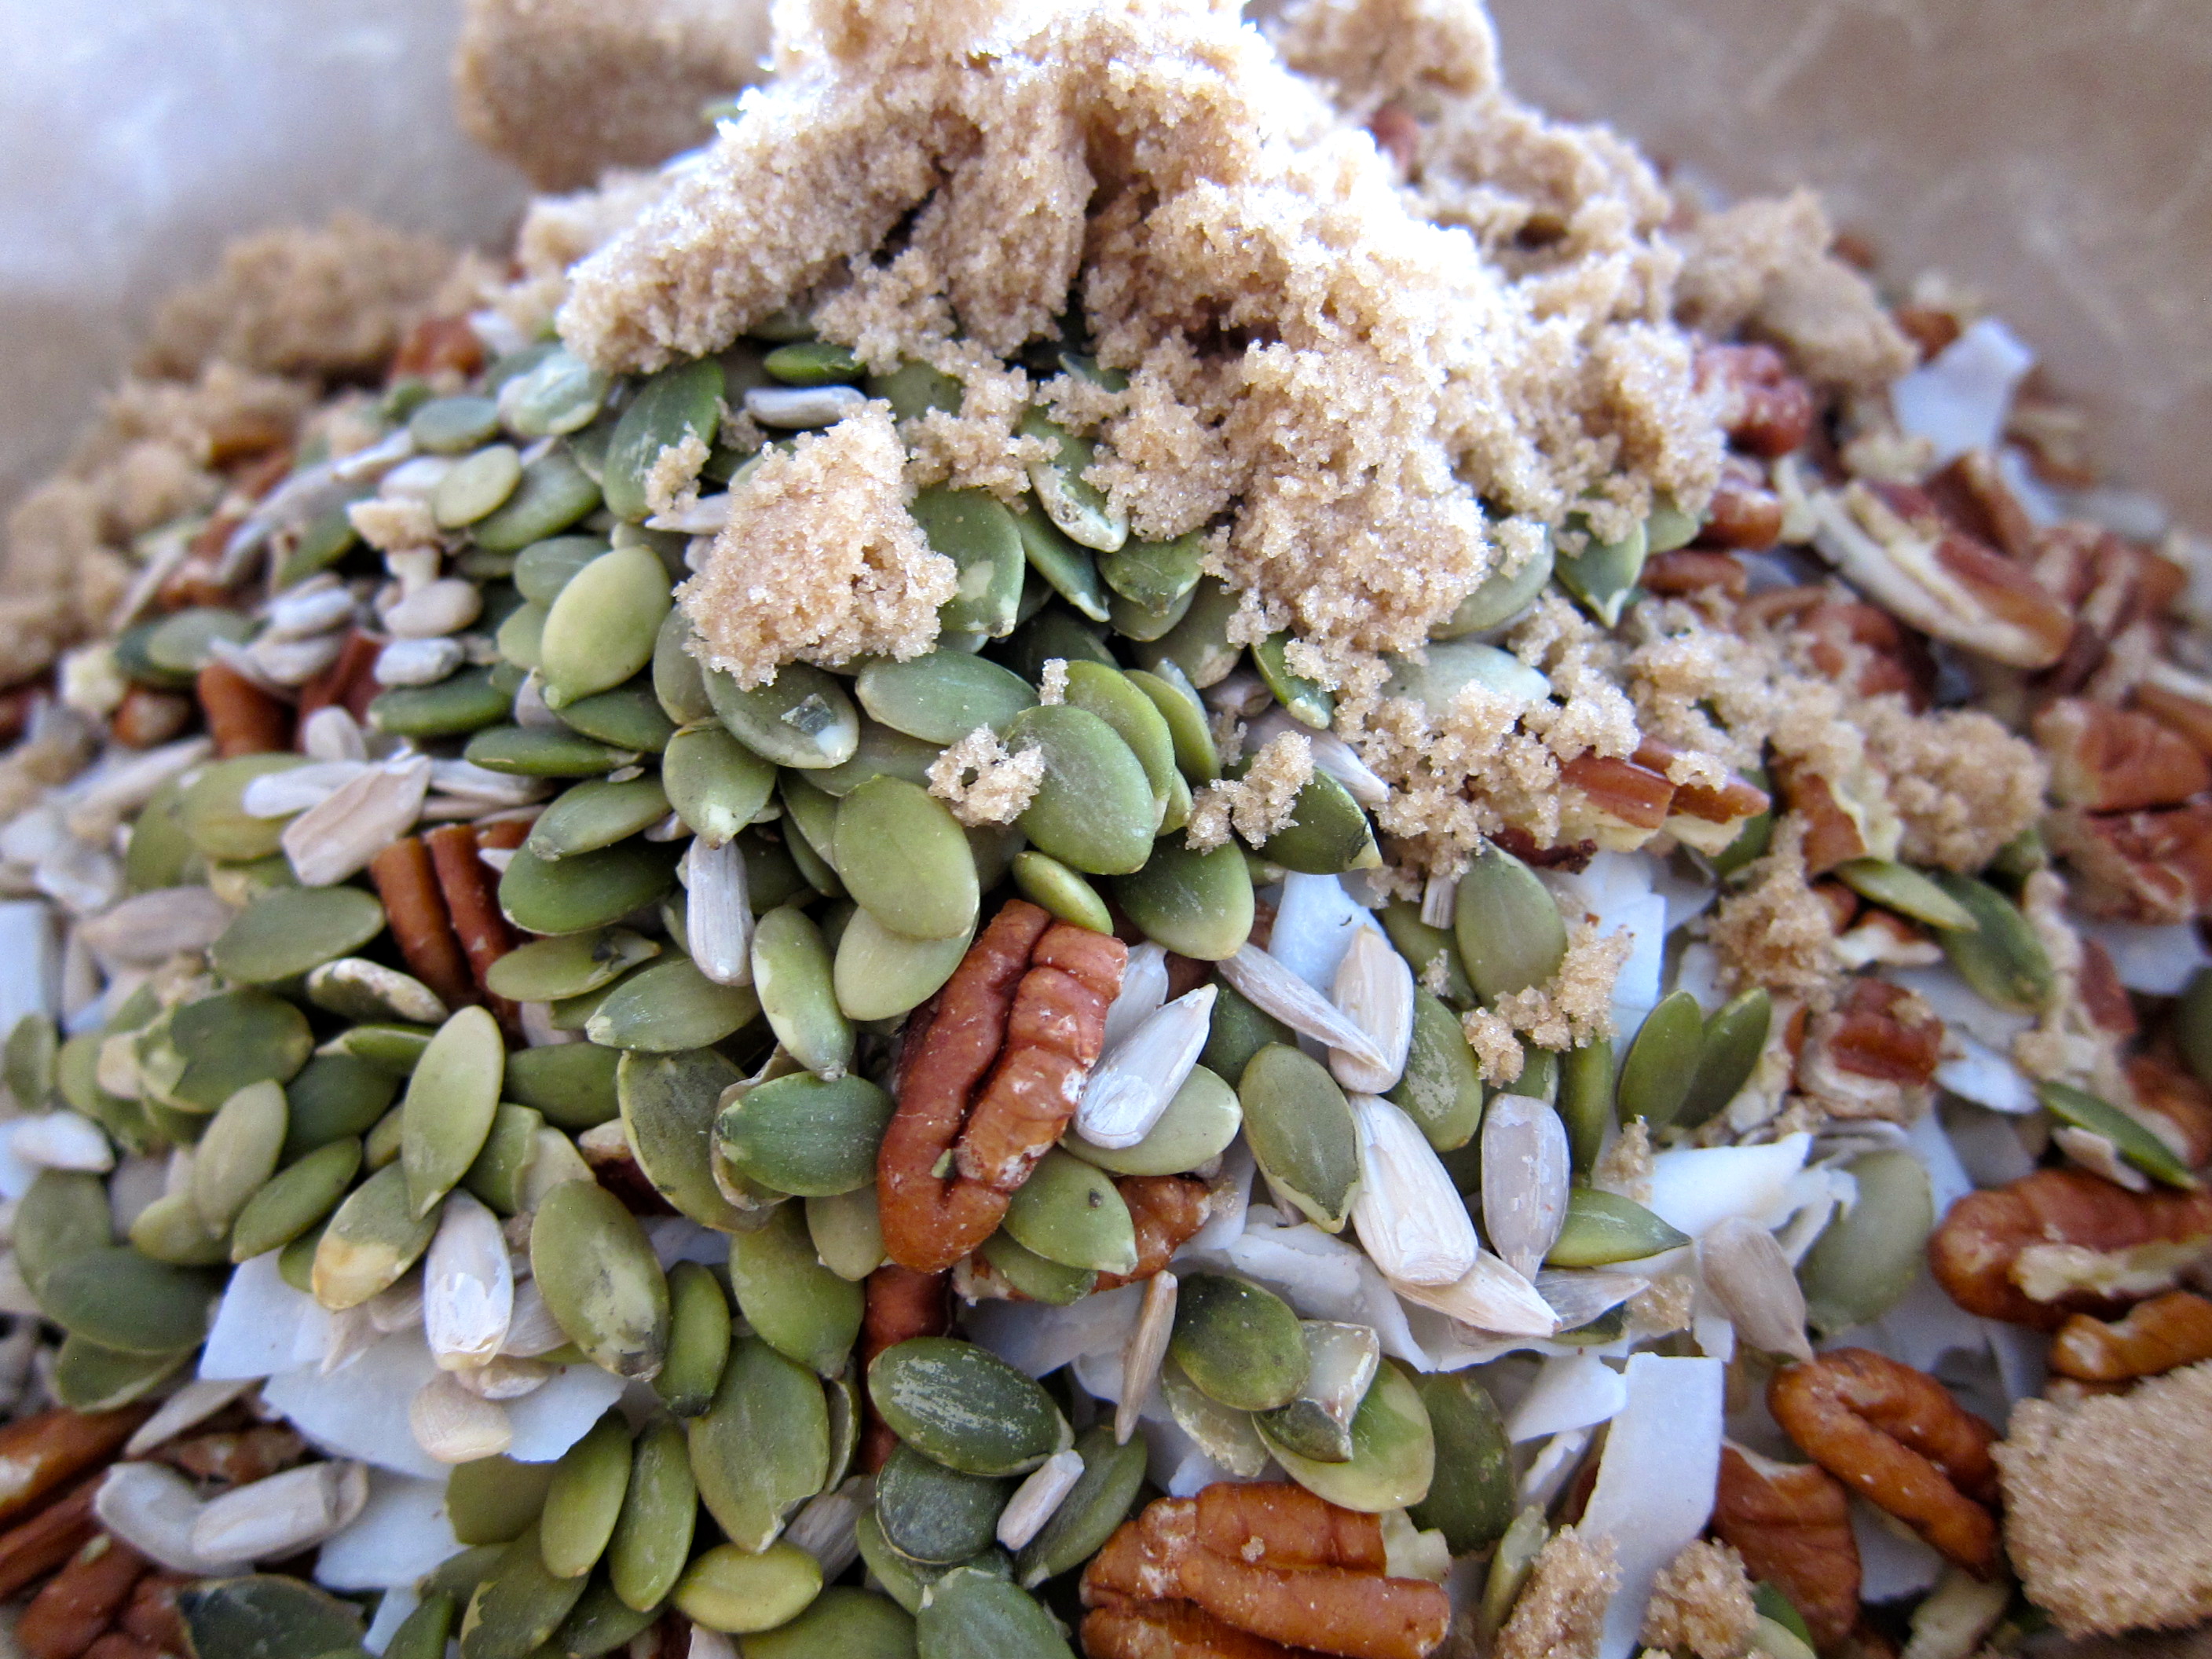
300 grams (3 cups) rolled oats (not the quick cooking kind)
125 grams (1 cup) raw hulled pumpkin seeds (aka pepitas)
130 grams (1 cup) raw hulled sunflower seeds
50 grams (1 cup) unsweetened coconut chips (you can substitute unsweetened, grated coconut if you can’t find the chips)
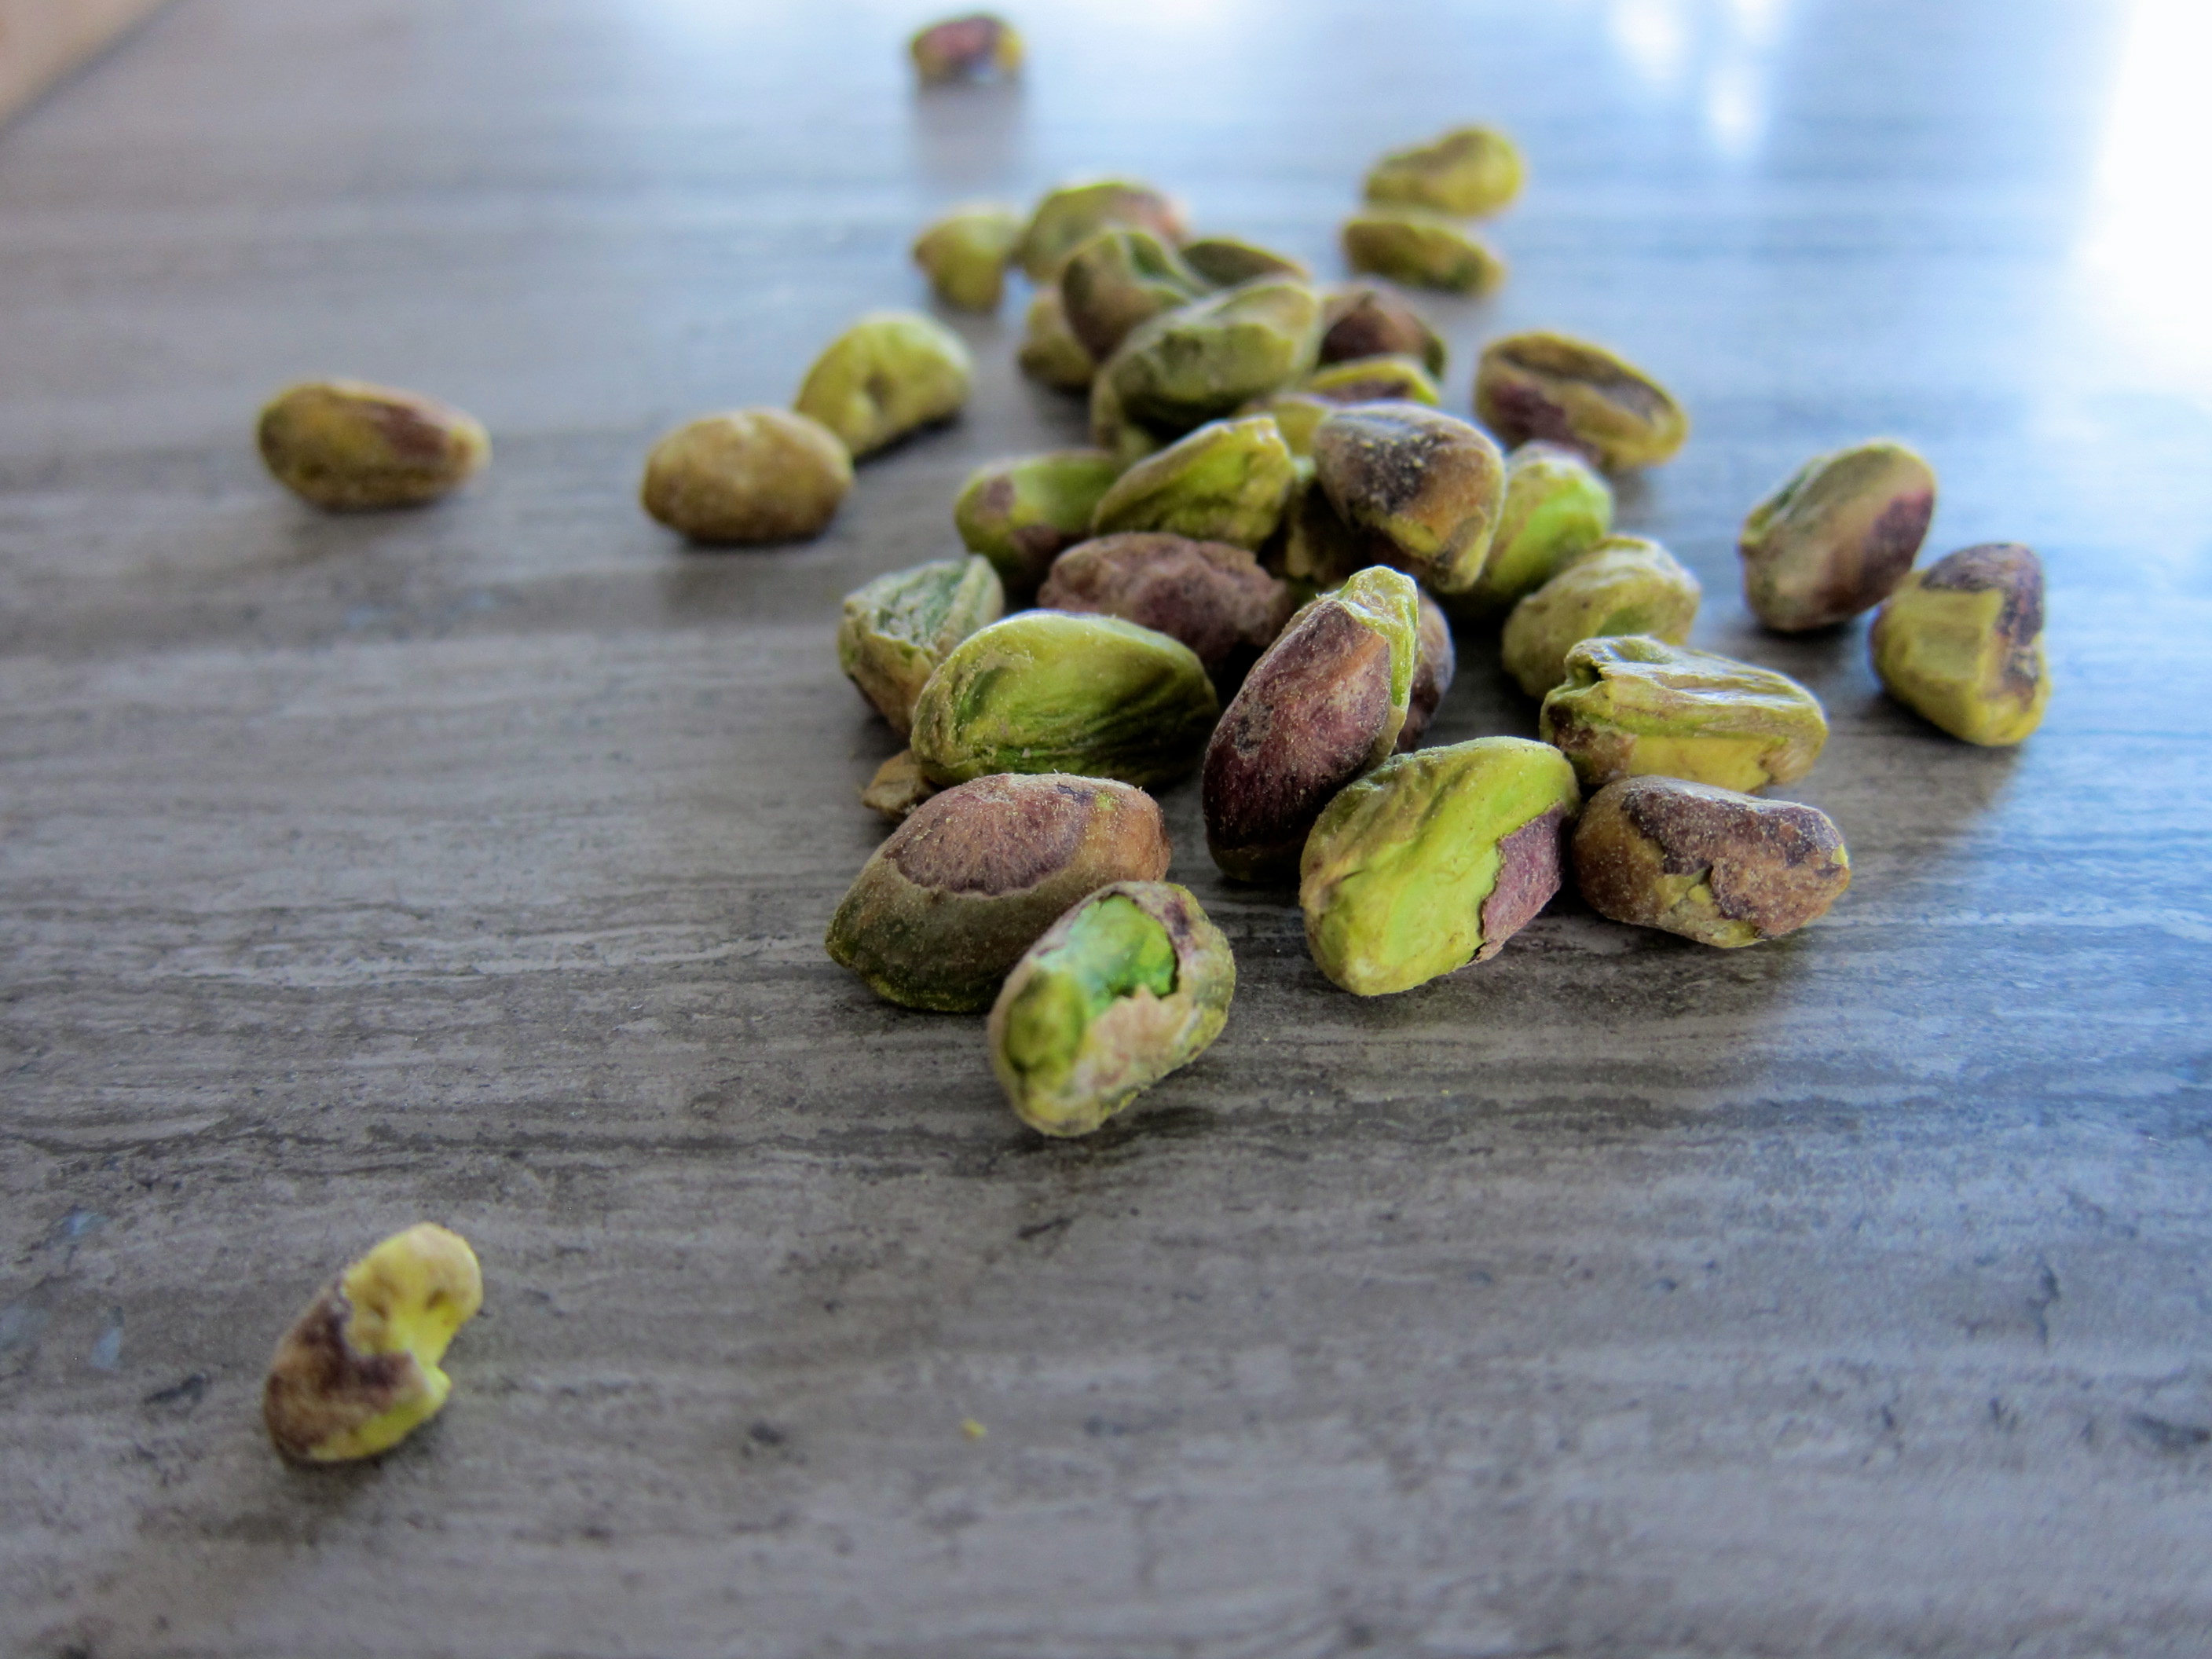
135 grams (1 ¼ cup) raw pecans, whole or chopped (you can also use any combination of nuts; almonds and pistachios work well)
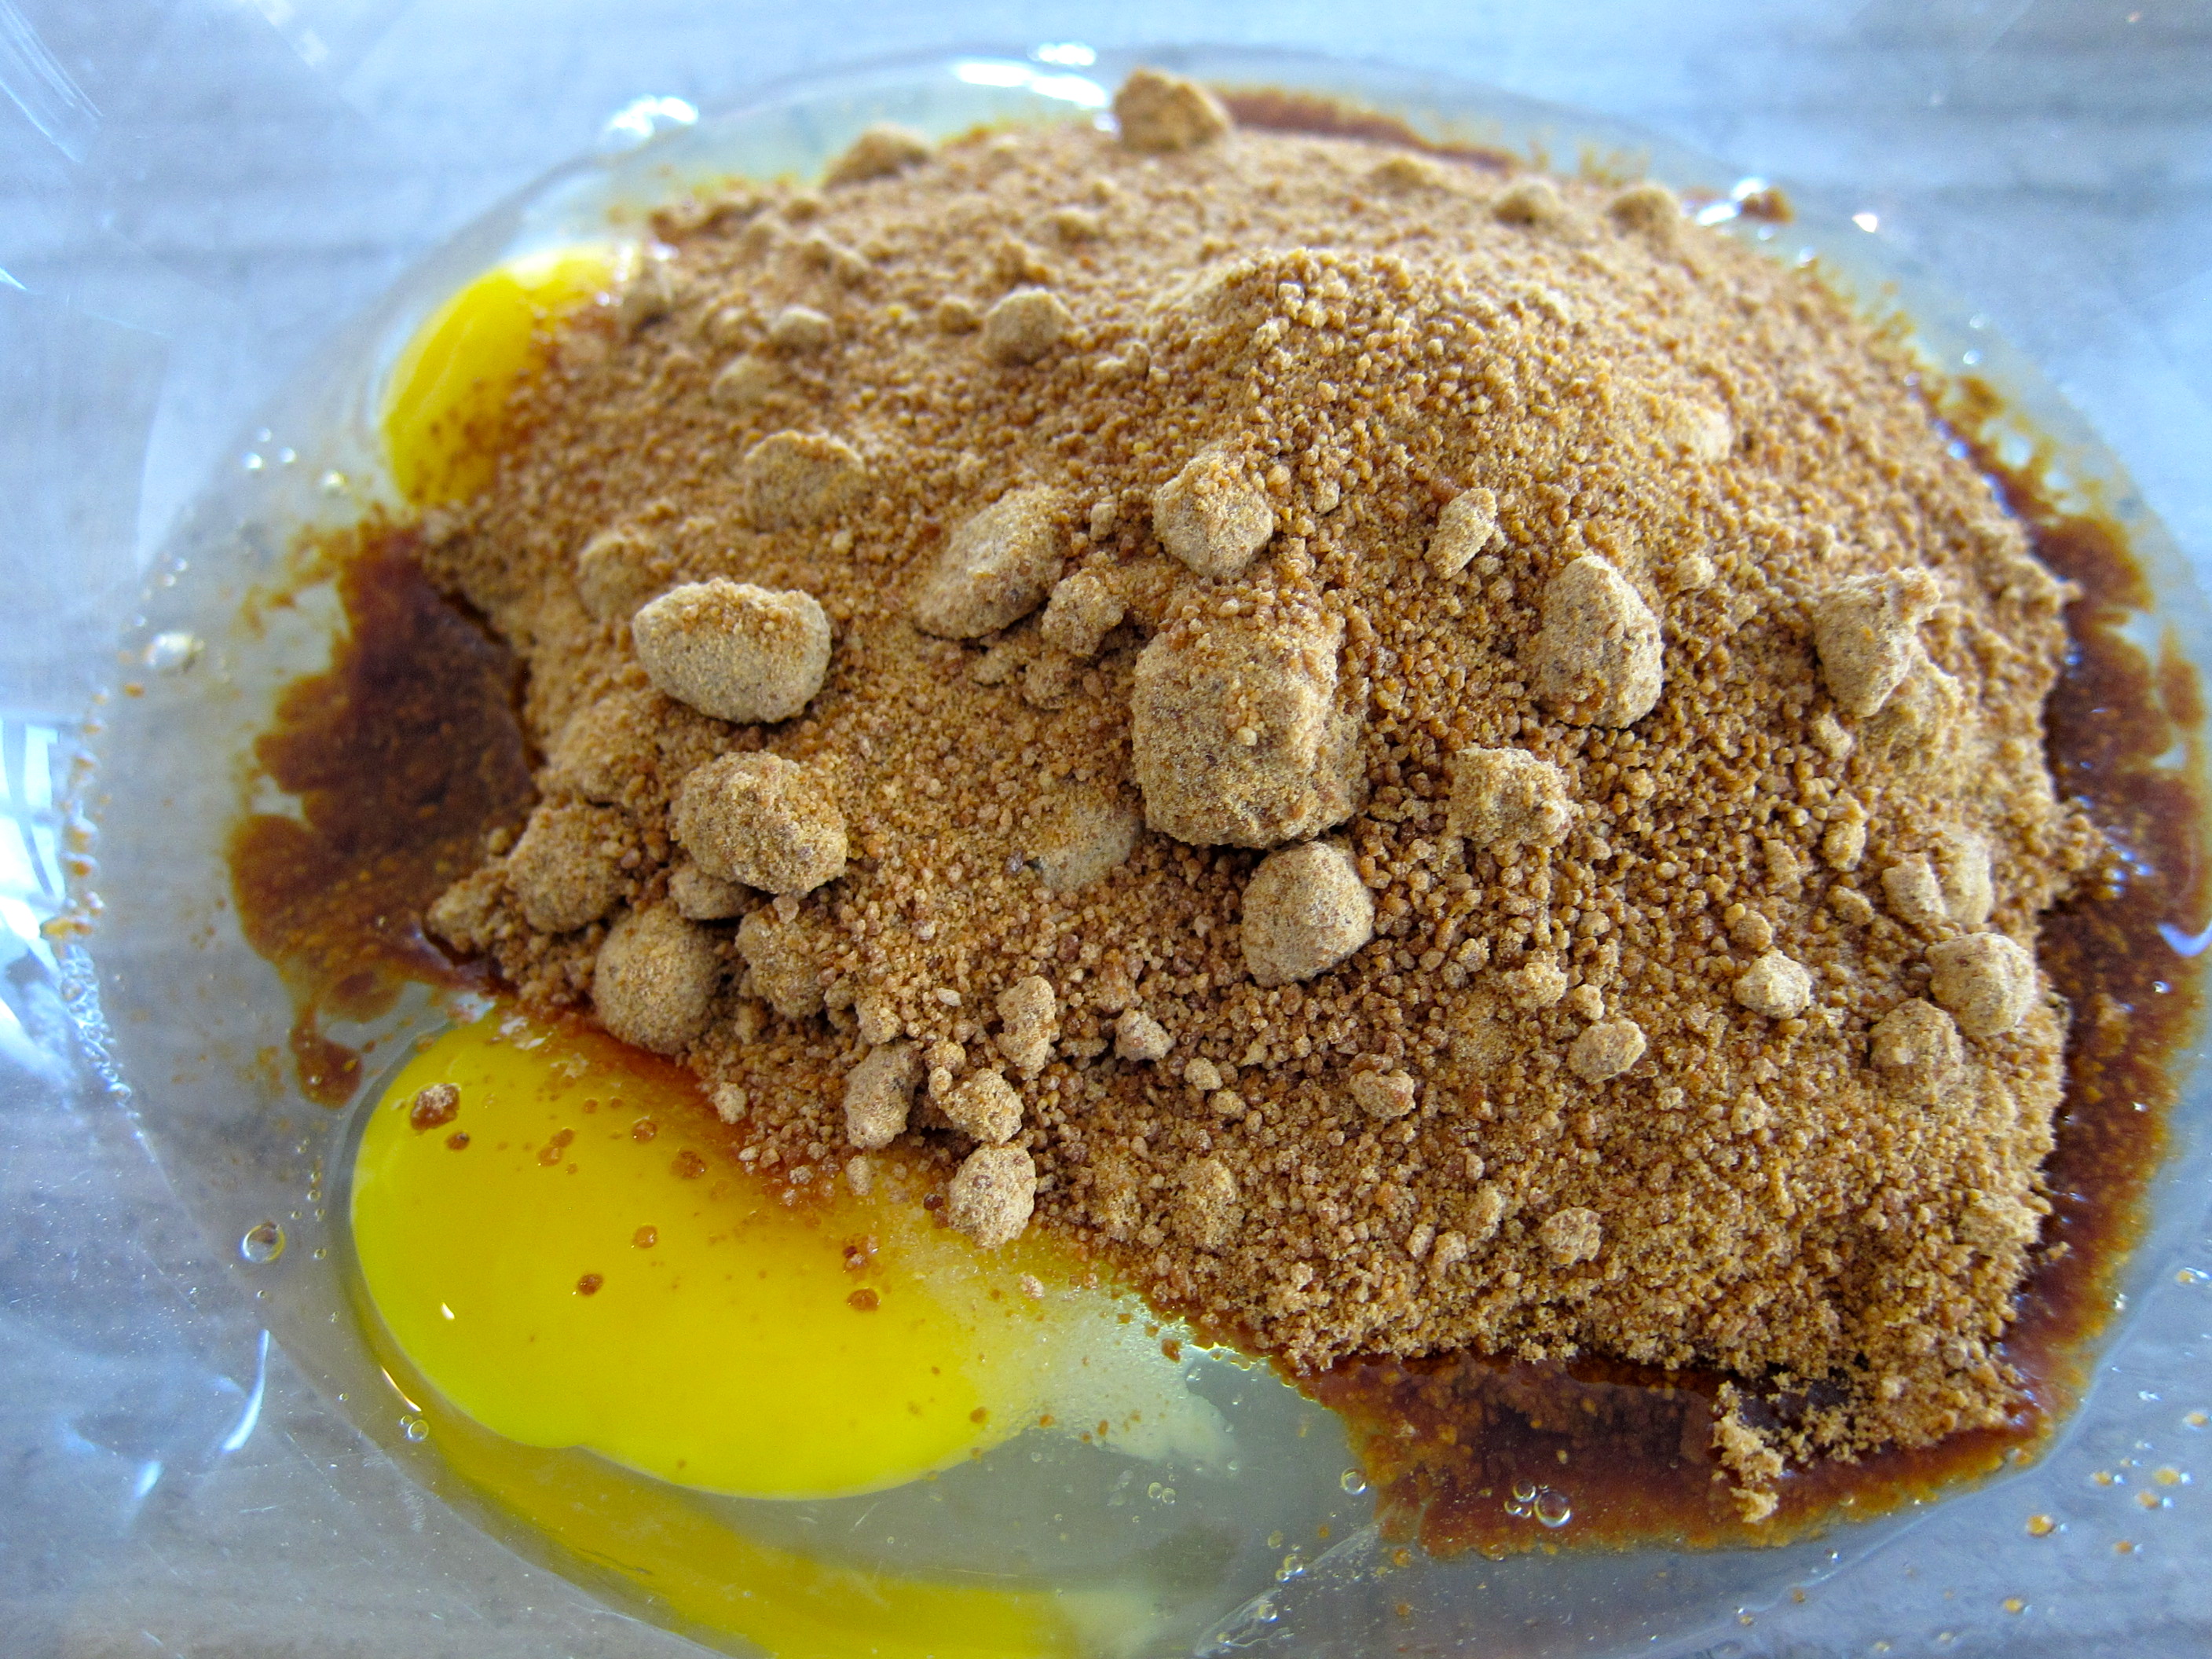
85 grams (packed ½ cup) light brown sugar
1 tsp. kosher salt
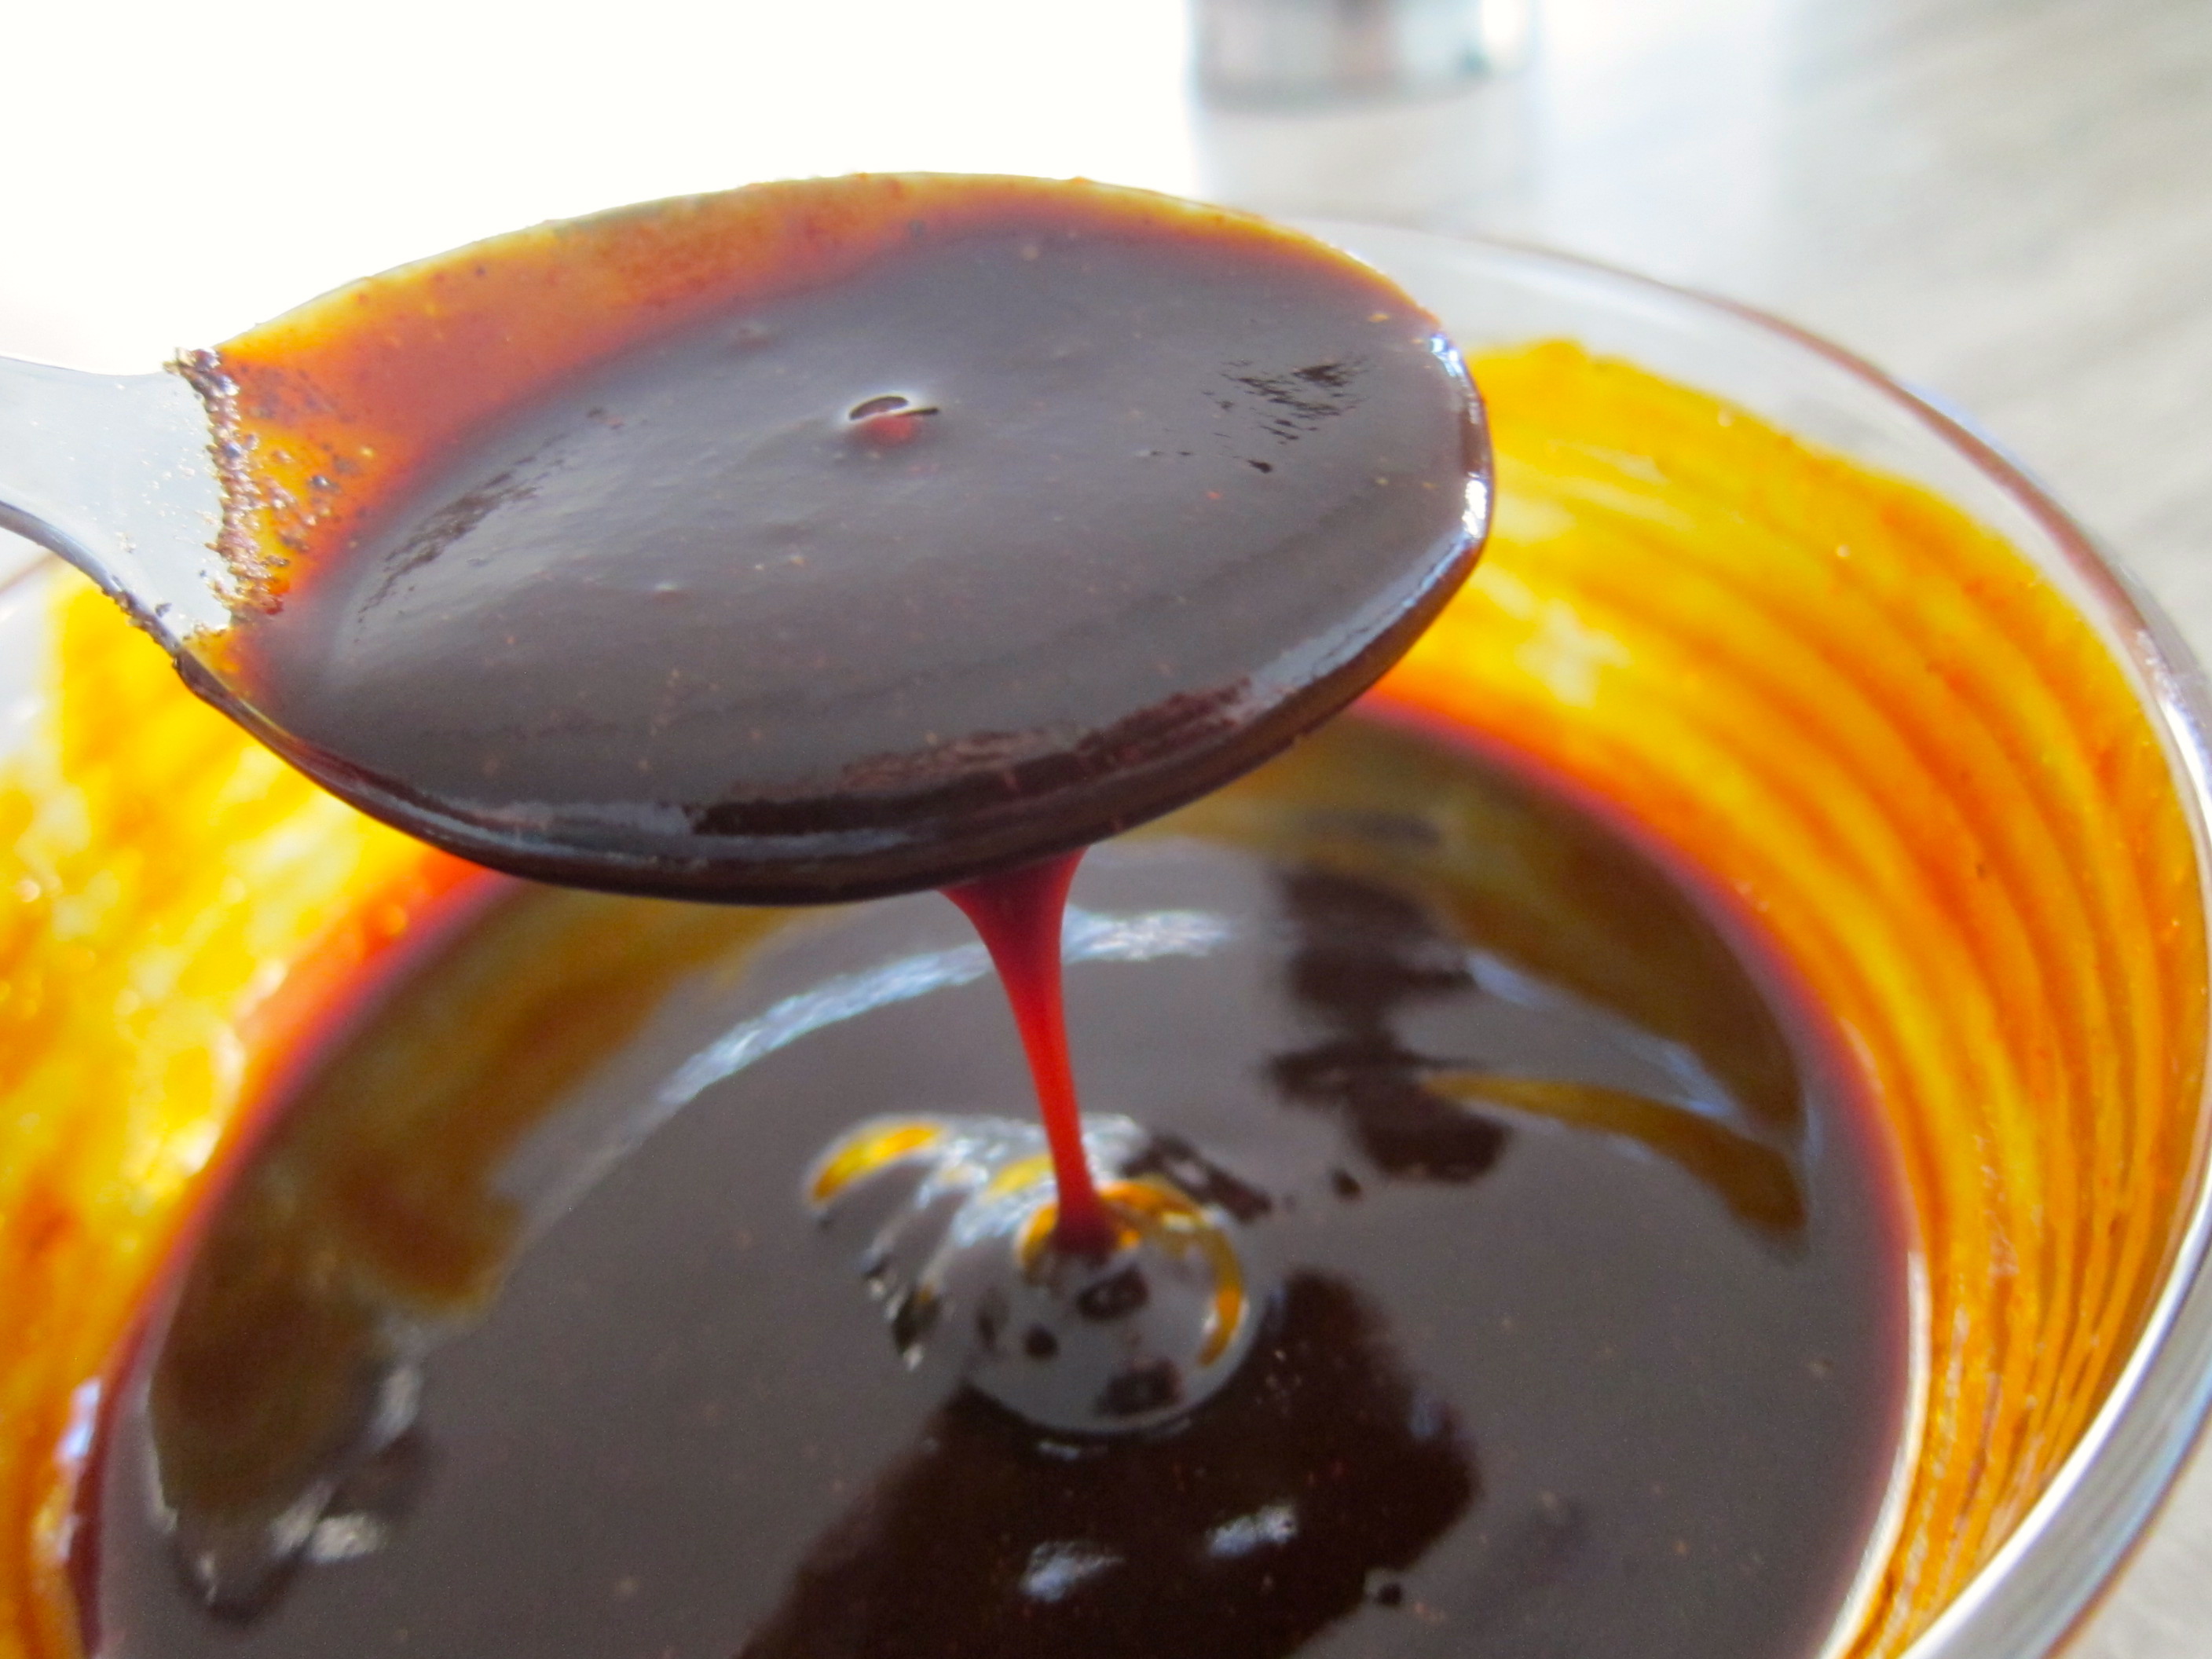
175 ml (¾ cup) maple syrup
120 ml (½ cup) olive oil

Preheat the oven to 300°F and line a rimmed baking sheet with parchment paper.

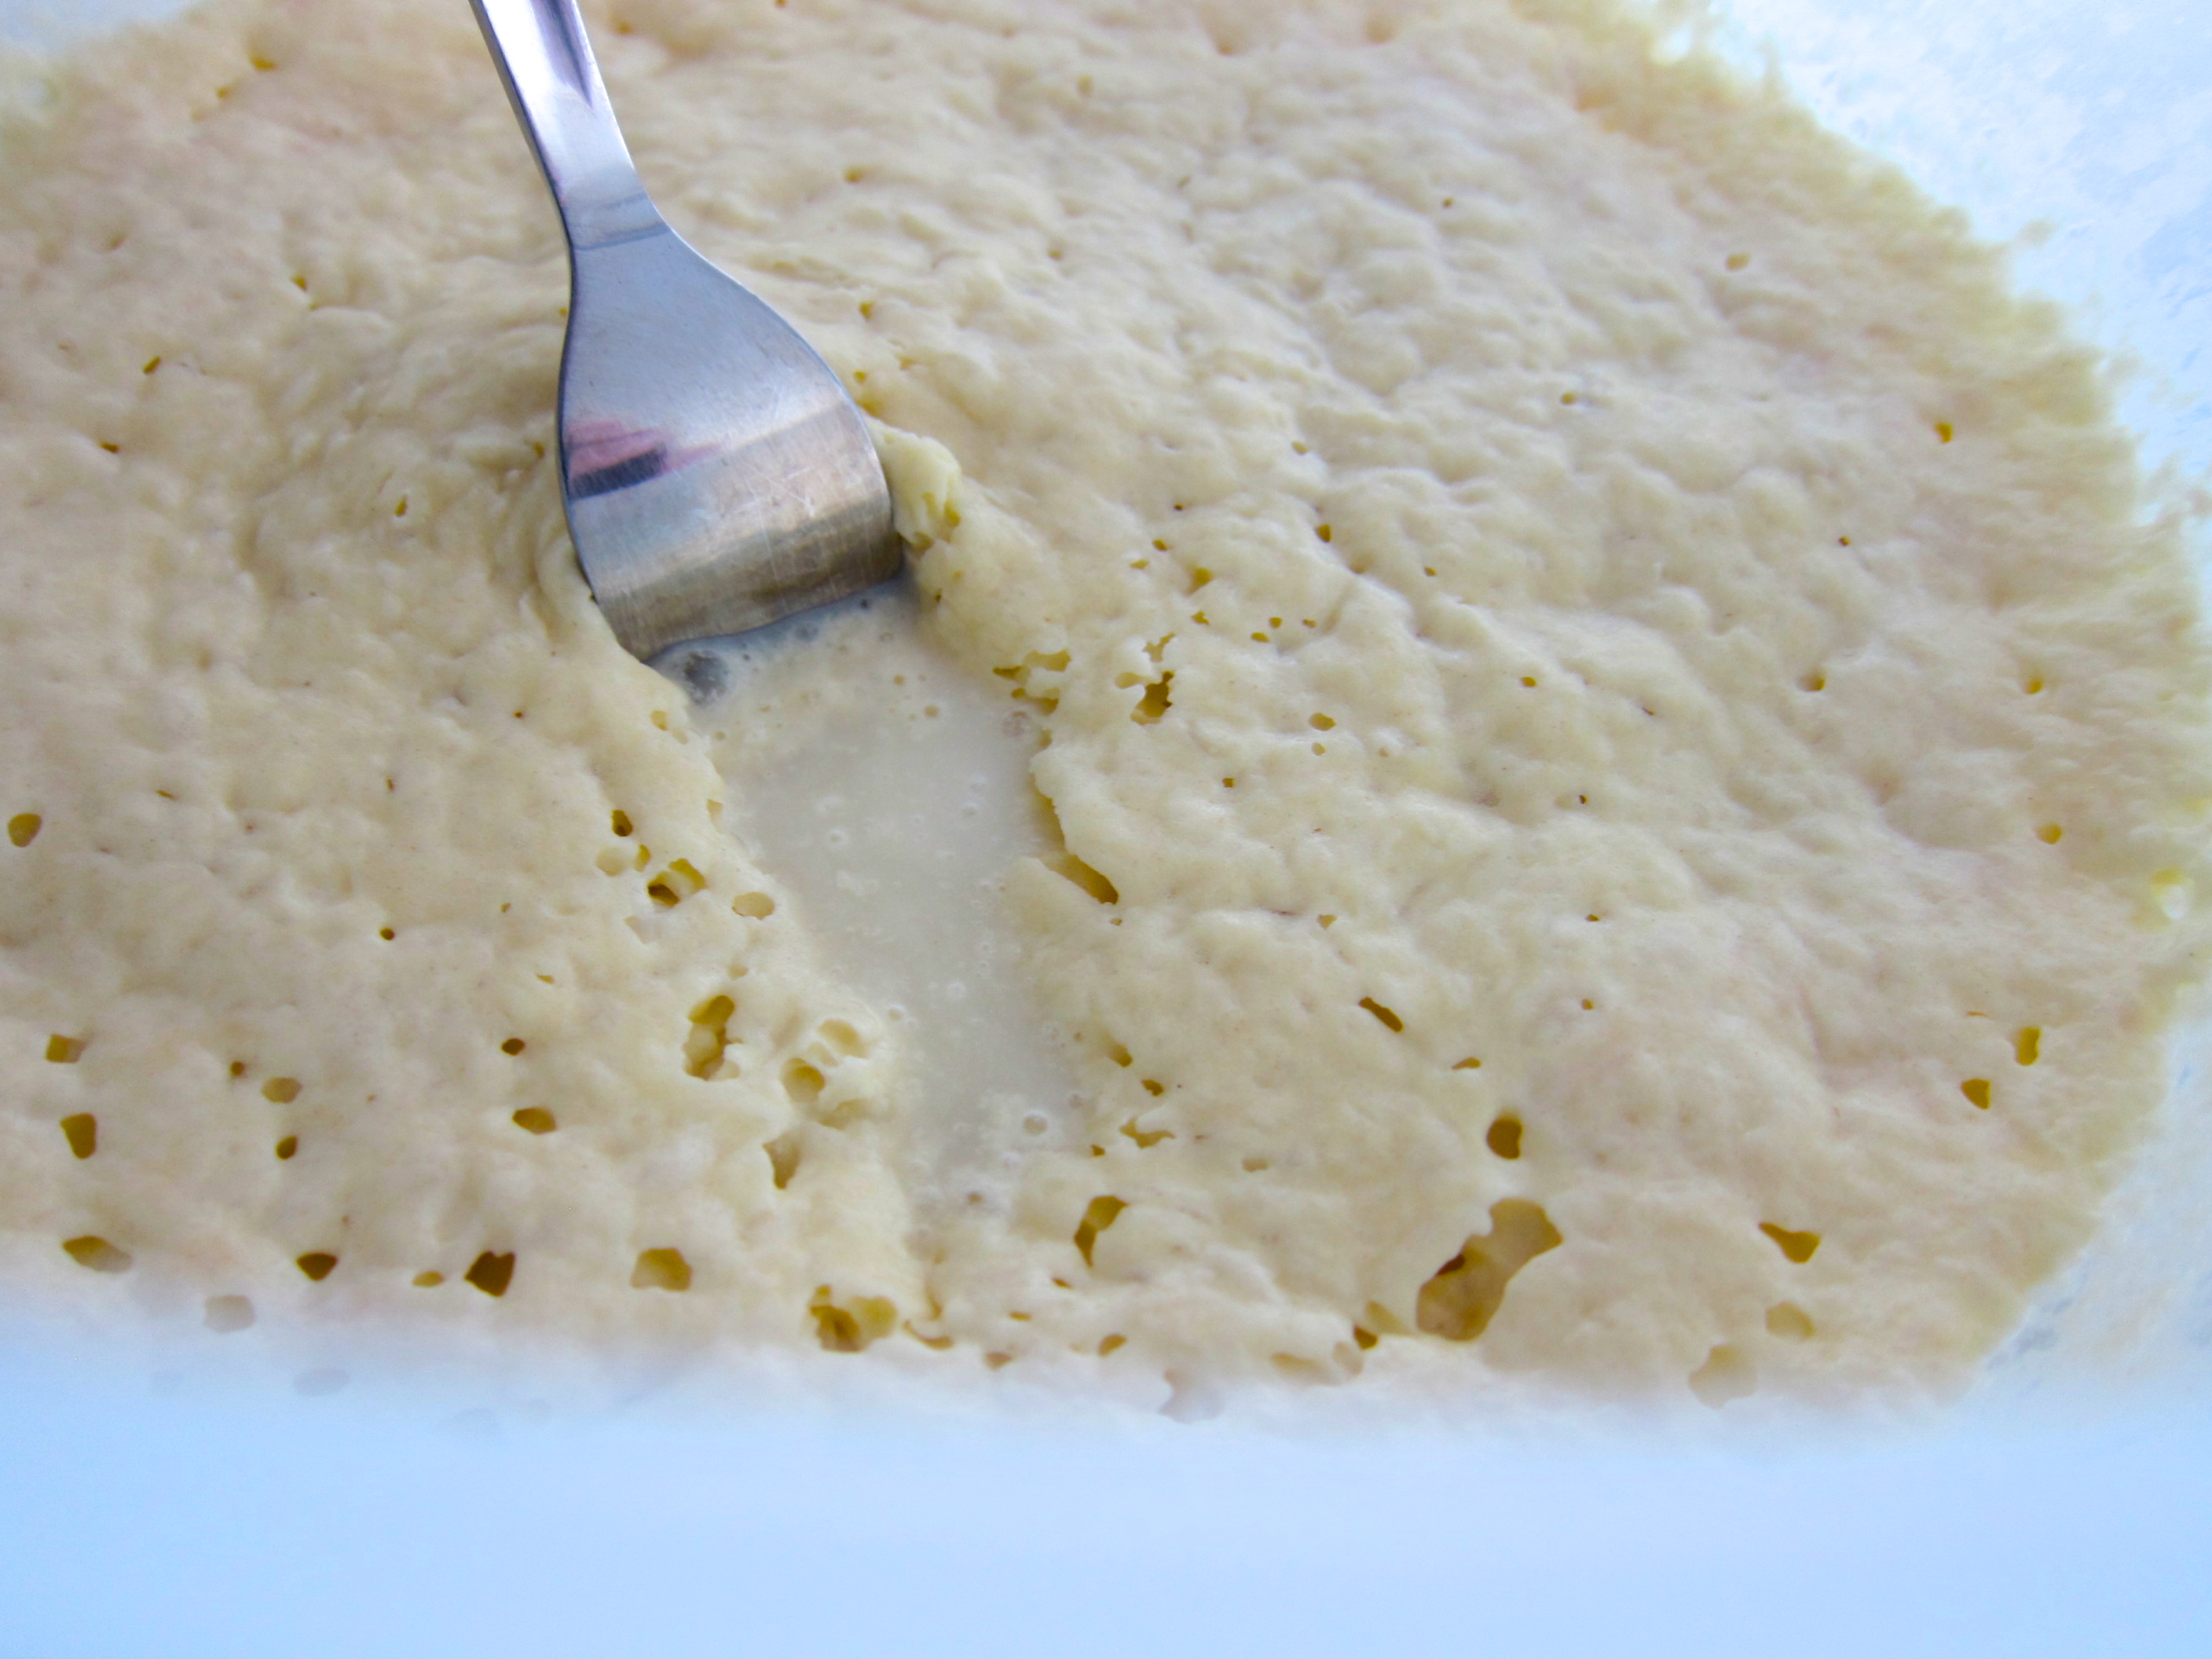
In a large bowl, combine the oats, pumpkin seeds, sunflower seeds, coconut chips, pecans, light brown sugar, and salt. Stir with a spoon or spatula to mix. Add the olive oil and maple syrup, and stir until everything is well combined. Spread the mixture in an even layer on the prepared sheet pan. Bake, stirring every 15 minutes, until the granola is golden brown and toasted, about 45-55 minutes. If you like your granola more clumpy, stir only once or twice in the beginning and then do not stir anymore.

Remove the granola from the oven and cool completely on a wire rack. Store in an airtight container, where it will keep for about a month.

White Bread Loaves

IMG_2513

Nothing beats bread. Nothing. It requires a minimum of only two ingredients to make it, flour and water (yeast isn’t always necessary). It’s infinitely customizable. Add butter, milk, raisins, cinnamon, olives, nuts, seeds, pepperoni, cheese, and the list goes on and on. It’s adaptable. Eat it plain, toasted with butter, in a sandwich, in stuffing, in bread pudding, in bread crumbs, you name it.

IMG_2496

Growing up we had access to two kinds of bread. The first was a round loaf of country style bread, with a golden brown crust and a moist interior filled with holes (like the bread you get at some Italian restaurants). On occasion, my dad would get lucky and buy one at the local bakery just as it came out of the oven. When he brought it home it was still warm so my sister and I would cut a thick slice each, slather it with butter, and top it with honey. It was heaven.

IMG_2503

The other bread was a pre-sliced loaf of white bread. We called it slice. In fact, that’s what everyone still calls it back home. Thinking back, it was definitely inferior to the traditional round country bread, but as kids we loved slice. It was spongy and had no crust. And it made the best sandwiches with butter, halloumi cheese, and sliced cucumbers.

IMG_2498

I don’t even walk by the bread aisle at the grocery store anymore. It makes me too angry. I just don’t understand how something as simple and perfect as bread can be so corrupted by big corporate interests. It’s frustrating and sad. So, I just make my own. I have two go-to recipes for bread. The first is the no-knead bread recipe that created an actual revolution in bread-making in the U.S. And the second is this recipe for white bread loaves. This bread requires no bread stone, no high powered oven, no special equipment, and no special skills. Technically, you could make it by hand, though a heavy-duty mixer makes it much easier.

Don’t be scared by the length of this recipe. It’s super simple, pretty much foolproof, and results in delicious, homemade white bread. Slice it up after it’s cooled down and have it any way you want. Though I’m here to tell you that you’ll want to toast it and slather it with salted butter and honey. Trust me on that one.

IMG_2510
White Bread Loaves – Adapted from “Baking with Julia: Savor the Joys of Baking with America’s Best Bakers”

Makes 2 loaves

2 1/2 cups of warm water (105º F to 115º F)
1 tablespoon active dry yeast or 3/4 tablespoon instant yeast
1 tablespoon sugar
7 cups (875 gr) bread flour or unbleached all-purpose flour or combination of both
1 tablespoon salt
1/2 stick (4 tablespoons or 2oz) unsalted butter, at room temperature

1. If you are using active dry yeast: Pour 1/2 cup of the warm water in the bowl of a heavy-duty mixer. Sprinkle the yeast and the sugar and whisk to blend them. Let the mixture rest for about 5 minutes until the yeast bubbles. Add the flour and the salt. Slowly pour the remaining 2 cups of warm water in the bowl. Proceed with step 3 below.

2. If you are using instant yeast: In the bowl of a heavy-duty mixer, add the flour, the yeast, the sugar, and the salt. Slowly pour the 2 1/2 cups of warm water in the bowl.

3. Using the paddle attachment of the mixer, mix the dough at low speed for about a minute until it comes together.

4. Replace the paddle with the dough hook and mix at medium-low speed (2 or 3 on a KitchenAid mixer) for about 5 minutes, until the dough is smooth and elastic.

5. Keep the mixer running and add the butter one tablespoon at a time. Mix until each tablespoon is incorporated before adding the next. Your dough will seem to come apart but don’t worry, keep mixing and it will come together.

6. After the last tablespoon of butter is fully incorporated, stop the mixer and remove the dough. Shape it into a ball and place it in a large, lightly oiled bowl. Turn the dough around so that its entire surface gets covered with the oil. Cover the bowl tightly with plastic wrap and let the dough rise at room temperature until it doubles in volume, about 45-60 minutes.

7. When the dough has risen, butter two 8 1/2 – 4 1/2 inch loaf pans and set them aside. Preheat the oven at 375ºF, with a rack at the center of the oven.

8.Take the dough out of the bowl and place it on a lightly floured surface. Divide the dough into two equal pieces. Working with one piece at a time, pat the dough using your fingertips into a rectangle about 8 inches by 10 inches. The short side should be facing you.

IMG_2504

9. Starting at the top, fold the dough about two thirds of the way down the rectangle and pinch the seam together.

IMG_2505

Fold the top one more time so that it meets the bottom edge and pinch the seam together.

IMG_2506

Roll the dough so that the seam is in the center, facing you, and pinch the two ends of the loaf so that it seals.

IMG_2507

10. Place the loaves in the buttered load pans, seam side down, cover them with plastic wrap and let them rise at room temperature until the are growing just over the tops of the pans, about 45 minutes.

IMG_2508

11. Remove the plastic wrap and bake the loaves in the preheated oven for 30 minutes. After 30 minutes of baking,  remove the loaves from the pans and continue to bake them directly on the oven rack for an additional 10-15 minutes.

12. Remove the loaves from the oven and let them cool completely on wire racks before cutting them.

13. The loaves can be wrapped in plastic or aluminum foil and frozen. Take out of the freezer the night before you plan to eat them and defrost at room temperature.

Orange Blossom Ice Cream with Pistachios

Memory is a funny thing. The older I get, the more unpredictable it becomes. On the one hand, I have a hard time remembering what I ate yesterday for lunch or what was the plot of the book I just finished reading two nights ago. On the other hand, random memories will be pop up, seemingly for the first time, out of nowhere. The float to consciousness like bubbles from the dark, deep corners of my mind.

IMG_2466

Often, these memories are triggered by a smell or a taste. I am well aware that our sense of smell is tightly linked to our memory function, but still, every time it happens, I marvel at the ability of a group of molecules that reach my nose or tongue to evoke such strong emotional recollections.

The first time I made this orange blossom ice cream, I had exactly this kind of experience. I had just finished cooking the custard base and I added the three tablespoons of orange blossom water that the recipe called for. Since the custard was steaming hot, the smell wafted up to my nose. The memory it triggered was of all the times that my mom made us a simple custard, flavored with orange blossom water (called anthonero), to have as dessert.

IMG_2441

I hadn’t thought of that custard in decades. And yet, as soon as I remembered it, as soon as I smelled it in the bowl and tasted it on the spoon, I had a clear recollection of how it tasted of spring, how its creamy consistency coated our mouths, and how my sister and I always ignored my mom’s warnings to wait until it cooled down to eat it.

IMG_2438

I knew that this recipe would be amazing, even before I chilled the custard in the fridge and froze it in the ice cream maker. I’ve made it many times since then and at some point I decided to add chopped pistachios for a taste and texture contrast, which turned out to be a fantastic idea.

IMG_2452

This is a very easy ice cream to make. It uses cornstarch to thicken cream and milk into a quick custard. The trick is to make sure there are no cornstarch lumps and to cook it just enough time that it thickens and you can’t taste the “floury” cornstarch anymore. And if you are like me, the toughest part is to try not to eat it hot out of the pan, instead of chilling it and turning it into ice cream.

IMG_2454

Orange Blossom Ice Cream with Pistachios

1 1/2 cups whole milk
3/4 cup sugar
1 1/2 cups heavy cream
3 tablespoons cornstarch
3 tablespoons orange blossom water
1/3 cup shelled pistachios, chopped

In a small bowl or a 2-cup measuring cup, stir together the cornstarch and heavy cream using a fork, making sure there are no lumps. Place the milk and sugar in a saucepan and bring to a simmer, stirring so that the sugar dissolves. Remove from the heat and stir in the heavy cream mixture. Return the pan to the stove and cook over moderate heat, stirring constantly, until it thickens. It should coat the back of the spatula or spoon. Taste the mixture: make sure it does not have any floury taste, if it does, continue to simmer it until the cornstarch is cooked.

Remove from the heat and add the orange blossom water. Chill the mixture thoroughly in the refrigerator, then churn in your ice cream maker according to your manufacturer’s directions.

Add the chopped pistachios towards the end of the churning or layer them into the ice cream as you spoon it into its container from the ice cream maker.

Julia’s Best Banana Bread

I like my bananas firm and just turned yellow, with a hint of green still visible. Once they fully ripen, get brown spots, and turn super sweet, I don’t want to eat them anymore. What I usually do is blend them with other fruit and some orange juice for a breakfast smoothie.
IMG_2414
I know that most people like to make banana bread with overripe bananas, but I’ve never cared for the banana breads I’ve tasted. They are often cake baritones: heavy, overly sweet, and dense. I always feel like they need some tenor, or even soprano, flavor notes in there. But I never attempted to make one of my own because all the recipes I saw seemed to pretty much be variations on a pound cake with added mashed bananas.

IMG_2404

This changed when Bon Appetit ran an article called “A Slice of Paradise: Andrew McCarthy’s Banana Bread Quest.”In it, the actor Andrew McCarthy (yeah, that Andrew McCarthy, from Pretty in Pink) talks about his search for the best banana bread on the island of Maui in Hawaii. He finds it at a remote, little roadside stand called Julia’s. Fortunately, he leaves with the recipe.

IMG_2405

As soon as I saw the recipe I knew I had to try it. It’s easy, two-bowls-and-a-whisk kind of easy. And it uses no butter, just eggs and oil. Even more important, it calls for just two bananas, not three like most other recipes I have seen. But I decided to make one small but important change. I had bought a bag of coconut palm sugar, a kind of sugar extracted from the nectar of the coconut tree. It’s very trendy right now because it’s supposed to be better for you than regular cane sugar.

IMG_2408

I don’t care much about that claim. What intrigued me about it was its taste. It’s earthy and complex. There is butterscotch and coffee and coconut in there. I thought it would go well in this Hawaiian recipe for banana bread, so I substituted half of the white sugar with it.

IMG_2402

The end result is the best banana bread I have ever tasted, by far. Granted, the benchmark was already low, but this was heavenly. The cake is moist but not dense. The banana flavor is distinct but not overpowering. The coconut palm sugar gives it both darker notes and a little acidity.

No baritones or sopranos here. Just a good old folk singer singing on the beaches of Maui.

IMG_2417

Julia’s Best Banana Bread – Slightly adapted from Bon Appetit

Note: If you don’t have coconut palm sugar, you can use light brown sugar instead. Or you can just use all white sugar, as the original recipe does.

1 3/4 cup all-purpose flour
1 1/2 teaspoons baking soda
3/4 teaspoon kosher salt
3 large eggs
3/4 cup white sugar
3/4 cup coconut palm sugar (break up any lumps with your fingers)
1 cup mashed ripe bananas (about 2 large)
3/4 cup vegetable oil

Preheat oven to 350°. Coat a 9x5x3-inch loaf pan with vegetable oil. Dust with flour and tap out excess.

Whisk flour, baking soda, and salt in a medium bowl. In a large bowl, whisk eggs, sugars, and bananas until smooth. Add dry ingredients to banana mixture and stir gently, just until there no more traces of flour. Pour the batter into prepared pan.

Bake until a tester inserted into the center of bread comes out clean, 60-70 minutes. Transfer to a wire rack and let bread cool in pan for 15 minutes. Run a knife around inside of pan to release the bread. Turn out onto rack and let cool completely.

You can make this 3-days ahead and store it in an airtight container at room temperature. Or you can slice it and wrap individual slices (or pairs) in plastic wrap and freeze them. Take out of the freezer at least two hours before eating and leave on countertop, unwrapped, to defrost.

Pea Soup with Fried Ramps and Pumpkin Seed Oil

I hated peas when I was a kid. Though, come to think of it, is there any kid that doesn’t hate peas? In my case, I remember them as these mushy, green orbs that were always a part of a traditional Greek tomato-based sauce we call yahni. They tasted grassy (which to a kid, is pretty much like eating dirt) and were wrinkly looking, like old skin.

IMG_2399

As an adult, I changed my mind about peas when I tasted fresh ones, just shelled from their snuggly pods, lightly steamed, and tossed with some melted butter and sea salt. Their flavor was nutty and their texture was soft but with a bite. Alas, fresh peas are only around in late fall. But thanks to my friend JC, I realized that there was another way I could love peas: in a soup. The first time I had a version of this pea soup that he made, I asked him for the recipe. When he told it was basically just peas, I was amazed. And the best part is that since the peas get blended to a smooth liquid, frozen ones work just fine.

IMG_2395

This pea soup is a dinner party staple in our household. It’s super simple to prepare and it makes for an elegant and delicious appetizer. It’s also amenable to improvising. Here, I’ve served it with a drizzle of pumpkin seed oil, which has a deep toasted nut flavor that compliments the creaminess of the peas beautifully. And since it’s the season for ramps right now, I fried a few in some hot oil until crispy, and added them on top of the soup.IMG_2393

Pea Soup with Fried Ramps and Pumpkin Seed Oil

Note: This soup can be made vegetarian by using 1 cup of vegetable stock instead of chicken stock and adding no milk. Instead of the ramps and pumpkin seed oil, you can top it with anything you like. Some suggestions are: a dollop of sour cream or creme fraiche, fried shallots, chopped nuts, walnut oil or almond oil.

10oz of frozen peas, thawed in the refrigerator*
3/4 cup chicken stock
1/4 cup milk
salt and pepper

* My favorite brand is Cascadian Farm, Premium Organic Sweet Peas, but any good brand will do.

In a blender, add thawed peas, chicken stock, and milk. Blend until the soup is completely smooth. If your blender doesn’t completely blend the peas and you want a perfectly smooth soup, you can strain the soup through a fine mesh strainer.

Pour blended soup in a small pot and add salt and pepper to taste. Heat over medium heat, stirring often.

Serve with a drizzle of pumpkin seed oil and a few chopped ramps that you have fried in hot vegetable oil until crispy (optional).

Yield: 2 servings

Marion Cunningham’s Raised Waffles

A couple of years ago, we visited some friends out west. We arrived in the early evening, so they picked us up at the airport and we drove to a restaurant to eat. After dinner we went to their home where we chatted and caught up until it was time for bed. At that point, they told us what was available for breakfast. I don’t remember exactly what they said but it was something like “There’s some cereal in here. And there’s some milk in the fridge.”IMG_2313

A few minutes later, Steve and I were in the bedroom getting ready for bed, when he turned to me and said “I guess they don’t take breakfast as seriously as we do, do they?” I cocked my head to the side, raised my eyebrows and replied “Nobody takes breakfast as seriously as we do!”

Every morning we sit down and eat breakfast together and it’s not unusual for us to spend 15-20 minutes preparing it. Steve is in charge of the coffee, which on the weekends resembles a Japanese tea ceremony (there’s weighing of beans, grinding them at a specific size, boiling water to a precise temperature, and more) and I am in charge of drinks (fresh fruit smoothies or juiced fruits and veggies). The food is some kind of baked good, oatmeal, toasted home-made bread with butter and honey or jam, or granola. Everything is homemade of course.

IMG_2312

So, yes, we take breakfast seriously. And nothing says “serious breakfast” like freshly made waffles. We used to make sourdough waffles with a starter we kept in the fridge, but then we discovered this recipe for yeasted waffles that blew our minds and we never looked back. The batter is prepared the night before and left on the countertop overnight, during which time it rises and then collapses. In the morning, you add two eggs and a touch of baking soda and it’s ready for cooking.

IMG_2316

The yeast makes all the difference here. It makes the waffles  crispy and filled with tiny bubbles so that when you bite into them, they dissolve in your mouth with a satisfying crunch. It also gives them an addictive malted taste and aroma that fills the house as they cook. We’ve discovered that the best way to eat them is by first pouring maple syrup on them, adding a dollop of freshly whipped cream and topping them with sliced strawberries.

Is this a serious breakfast or what?

Marion Cunningham’s Raised Waffles – Adapted from “The Breakfast Book

½ cup warm water
1 package (2 ¼ tsp.) active dry yeast or 1 3/4 tsp instant yeast
2 cups whole milk, warmed
1 stick (½ cup or 113g) unsalted butter, melted and cooled slightly
1 tsp. table salt
1 tsp. sugar
2 cups (250g) all-purpose flour
2 large eggs, lightly beaten
¼ tsp. baking soda

– If you are using active dry yeast, pour the water into a large mixing bowl. Sprinkle the yeast over the water, and let stand to dissolve for 5 minutes. Add the milk, butter, salt, sugar, and flour, and beat with an electric mixer until well blended and smooth.

– If you are using instant yeast, add the water, milk, butter, salt, sugar, flour, and yeast into a large mixing bowl. Beat with an electric mixer until well blended and smooth.

Cover the bowl with plastic wrap, and let it stand overnight at room temperature. We’ve found that when we let the batter sit for 12 hours, the waffles have the most intense, malted flavor, but you can go as low as 7-8 hours.

In the morning, remove the plastic wrap. The batter will look deflated with a pocked surface. It will also look like it separated over night. Don’t worry, that’s how it’s supposed to be! (The first time we tried the recipe, we thought it went bad, so we threw it out and then tried a second batch which was exactly the same, until a little research online revealed that it’s supposed to be exactly like this).

IMG_2311

Preheat your waffle maker to a medium-high setting (you’ll have to experiment with your waffle maker because each one is different). Stir the batter with a fork or spoon until it is smooth again. Add the lightly beaten eggs to the batter along with the baking soda. Mix the batter until fully combined. The batter will be very thin.

Cook in your waffle maker until the waffles are golden brown and crisp. As you take the waffles out of the waffle maker, place them on a cooling rack to prevent them from getting soggy on the bottom.

Any leftover waffles, once completely cool, can be wrapped in plastic wrap and frozen. Whenever you want them, just reheat them in a toaster straight from the freezer (no thawing required).

Two-Minute Barbecue Sauce

This week it hit almost 80 degrees in New York. That’s the way it goes usually. We have winter, which never seems to end, and then bam! we have summer. Spring winks at us as she passes by for a week or two. Granted, we do have beautiful falls (lovely indian summers) but I would love a nice prolonged spring once in a while.

In any case, warm weather inevitably puts people in a grilling mindset around here. Which is funny, given than New Yorkers rarely have outdoor space where they can grill. But we make do. Some keep grills (illegally) on their tiny balconies. Others use communal back yards. And some (like me), use a stovetop grill pan to get some grill marks but, alas, no smoke.

IMG_2344

Nothing goes better with grilled meat than barbecue sauce. Of course, I am reluctant to buy the bottled stuff, wary of long, indecipherable ingredient lists, so I have created my own recipe for a super quick two-minute barbecue sauce. Yep. Two minutes. And you really only need those two minutes to gather the ingredients. After that, you just mix them together with a spoon and you’re done. All of the ingredients are things you probably already have in your pantry except for the liquid smoke (it lasts forever so I just keep a bottle in the pantry) and the smoked paprika, which, if you don’t have, you should buy immediately. It makes everything better.


IMG_2348

The end result is a smooth, smoky barbecue that is great brushed on chicken breasts or skirt steak and can be kept in the fridge for a long time if you make more than you need.

The other great thing about this barbecue sauce is that it can serve as your own palette that you use to make your own individual version of a barbecue sauce. You want an Asian flair? Add hoisin sauce. You want a kick? Add Sriracha sauce or cayenne pepper. You like your barbecue sauce sweeter? Add maple syrup.

Happy grilling!

IMG_2357

Two-Minute Barbecue Sauce

1/4 cup ketchup
2 tablespoons molasses
1 tablespoon soy sauce
2 teaspoons Worcestershire sauce
1/2 teaspoon liquid smoke
1/2 teaspoon smoked paprika (pimentón)
1/2 teaspoon lemon juice
ground black pepper

In a small bowl, mix all the ingredients with a spoon until you have a smooth, liquid sauce.

This is the basic recipe for the barbecue sauce, which you can improvise with by adding other ingredients to “flavor” your sauce. Some of the things that work well are:

  • Maple syrup
  • Stone ground mustard
  • Hoisin sauce
  • Orange zest
  • Prepared horseradish
  • Sriracha sauce