Chocolate Sherbet

Have you every made your own ice cream or sorbet, put it in the freezer to set, and tried the next day to scoop it out, only to find out it is frozen solid and can’t be scooped or even drilled into? Sure you can let it sit out for 10-15 minutes but first of all, who has the patience, and second, usually the outside will have melted enough but the inside will be still frozen solid.

IMG_2247

There are three ways to avoid that when making ice cream or sorbet. The first way (and this applies mainly to ice cream) is to displace as much of the water in your base with fat. So, the more cream (as opposed to milk, or god forbid, low fat or skim milk) you have in your base, the less your ice cream will become a block of ice.

The second way is with corn syrup. I know, I know. It’s the devil’s milk, that evil corn syrup. Actually, that’s high fructose corn syrup. That’s the really evil stuff. Plain corn syrup (Karo syrup) isn’t that bad for you. And in ice creams or especially sorbets, we’re talking a couple of tablespoons for a quart of ice cream. Since corn syrup doesn’t freeze, your frozen treat remains scoopable when you add some to the base.

IMG_2239

The third way is alcohol. The higher proof, the better. Kirsch, for example, is a great addition to sorbets to keep them soft in the freezer. Again, we’re talking a couple of tablespoons, not a martini glass full of vodka.

IMG_2238IMG_2238

David Lebovitz, who is my ice cream guru, posted a great recipe for a chocolate sherbet on his blog (which is one of my favorite food reads). A sherbet is like a sorbet, except it uses some milk instead of all water. In this case, it’s whole milk. Even though he says you can use low fat or skim milk I wouldn’t recommend it (see my point above about water vs. fat in your base).

IMG_2244

The milk helps the sherbet stay a little softer in the freezer but it’s not enough. He also recommends two tablespoons of your favorite coffee-flavored liqueur. Though he says it’s optional, for me it’s essential in order for the sherbet to have great texture. The result is a luxurious frozen treat. The cocoa gives it an intense, dark chocolate flavor that’s not diluted by cream or eggs. We love to eat it with a little sea salt sprinkled on top right after we (easily) scoop it out of the container where it happily lives in the freezer.

Chocolate Sherbet – Slightly adapted from DavidLebovitz.com

2 cups (500ml) whole milk (I’ve also used coconut milk successfully, which turns this into a vegan dessert)
1/2 cup (100g) sugar
a pinch of salt
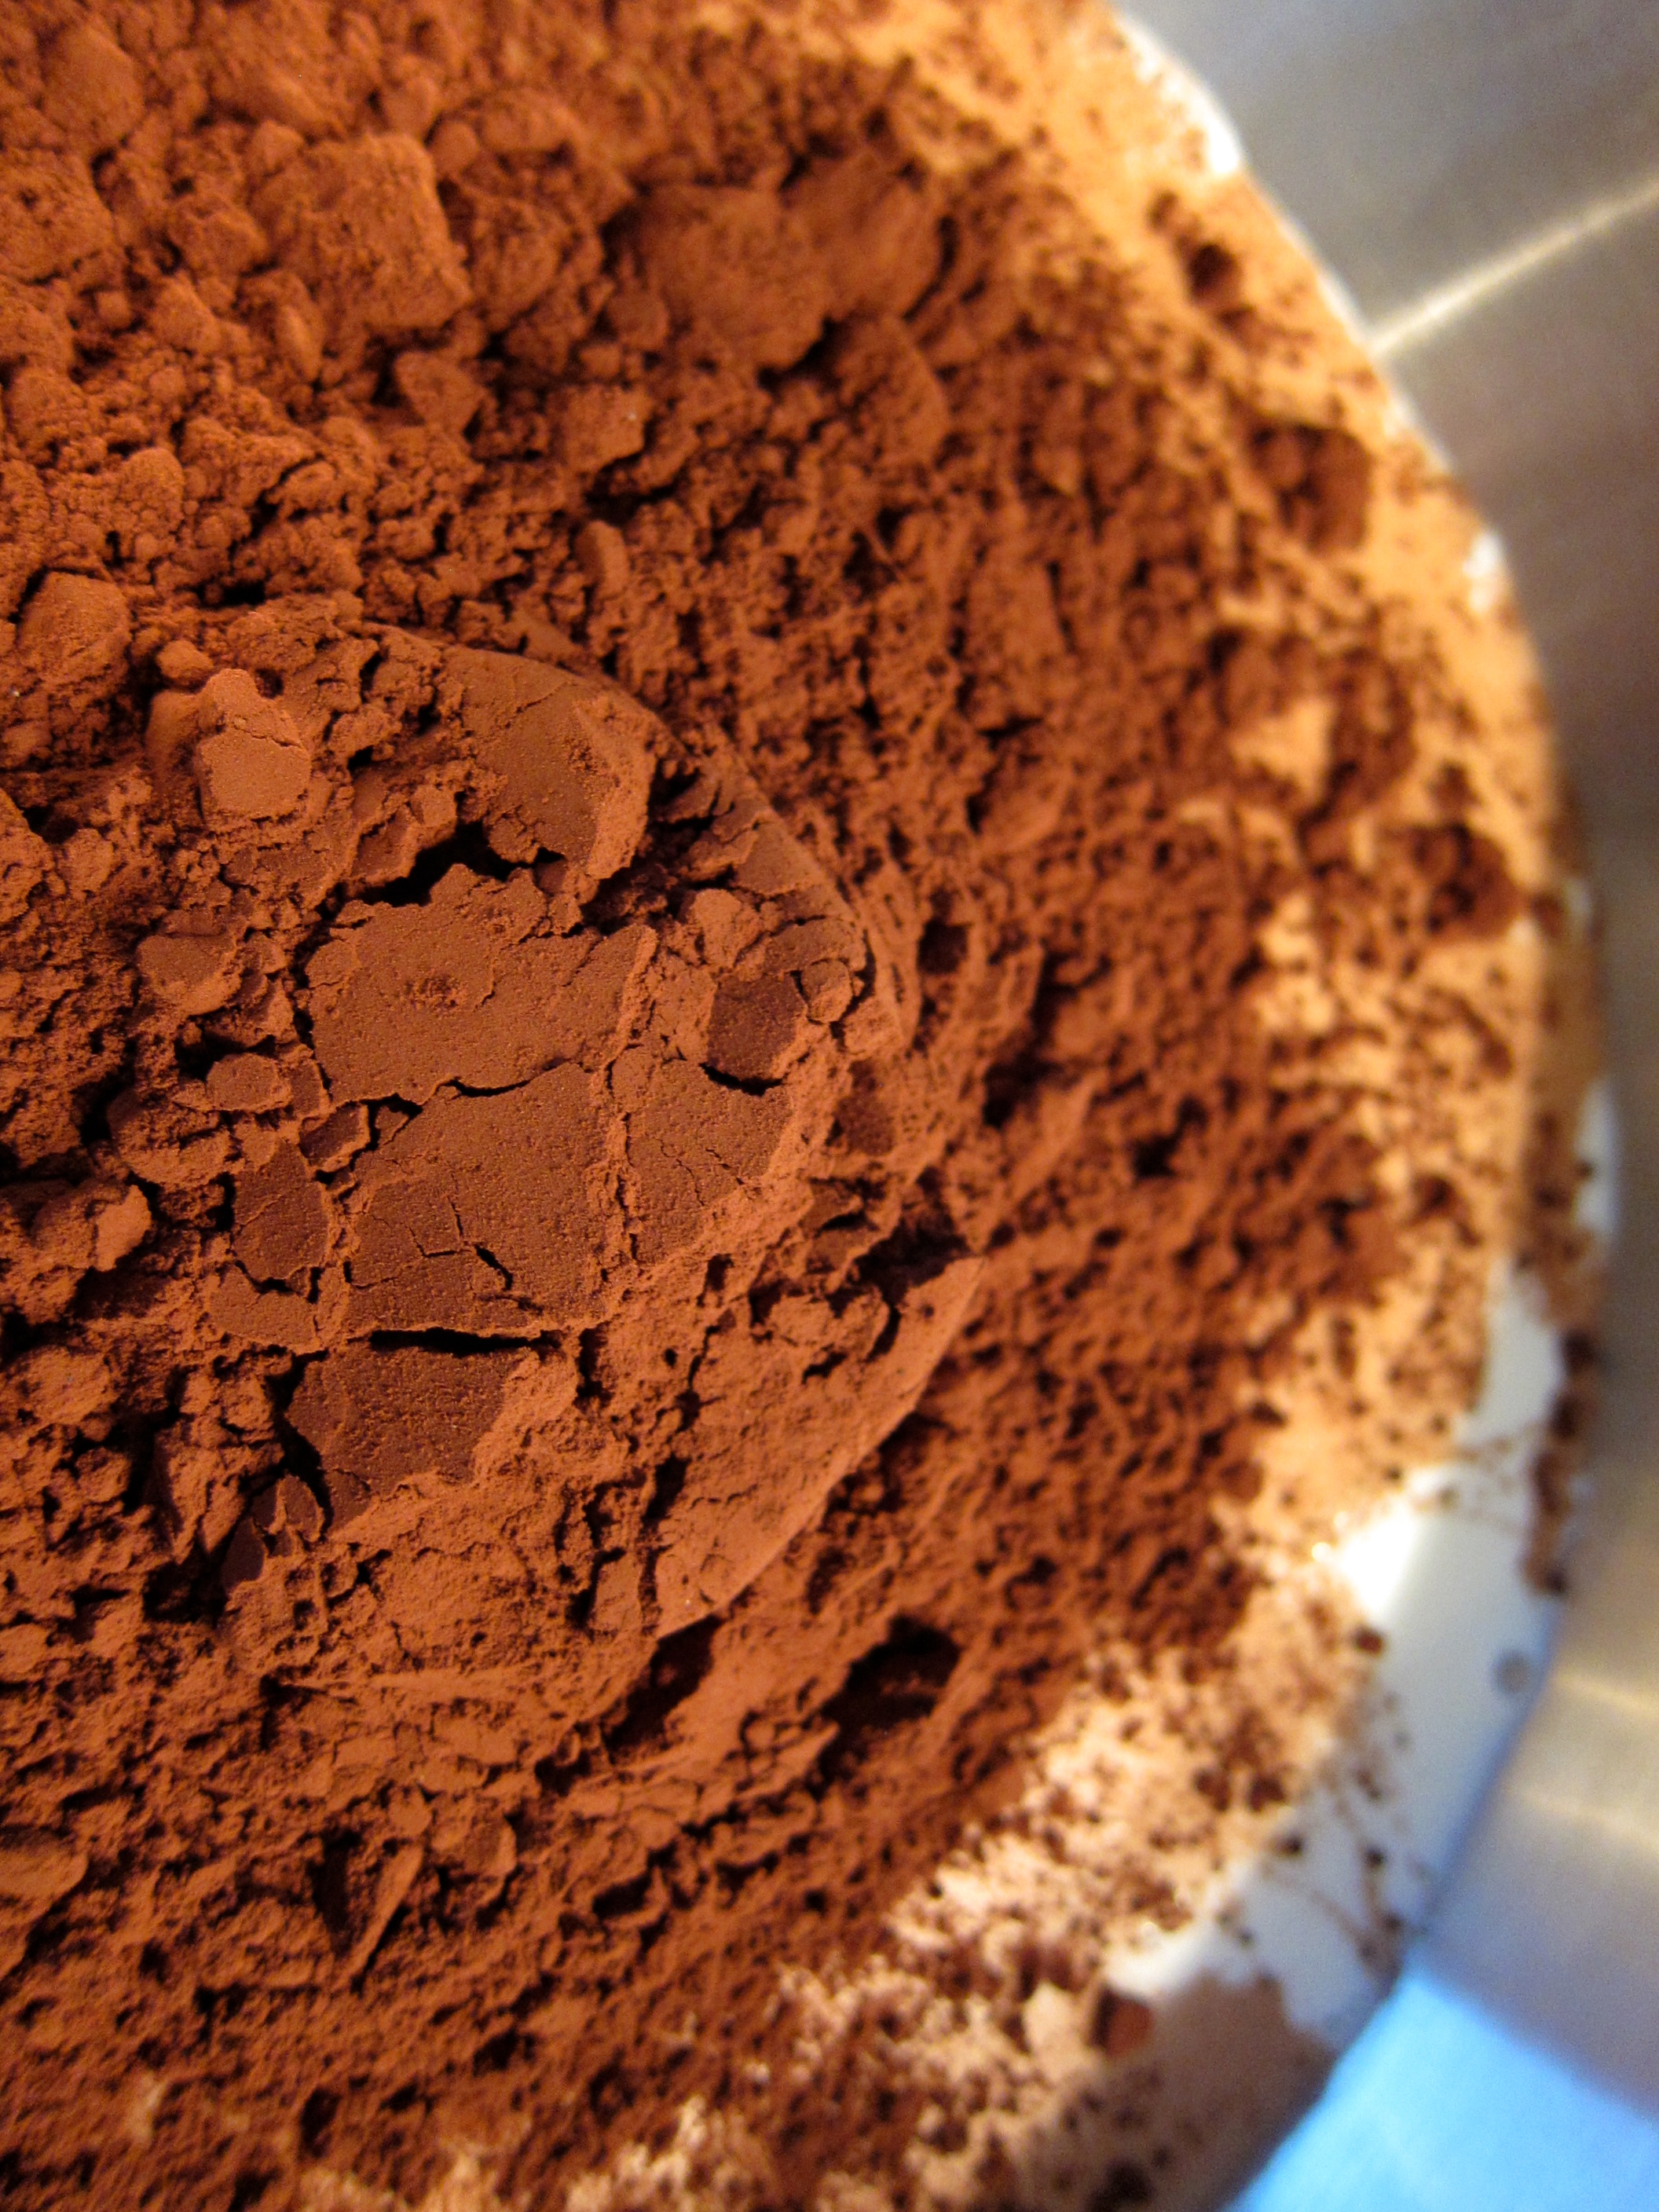
1/2 cup (50g) unsweetened cocoa powder (use good quality cocoa; my favorite is Valrhona)
4 ounces (115g) semisweet or milk chocolate, chopped (I usually prefer the Extra Rich Milk Chocolate by Scharffen Berger)
1/4 teaspoon vanilla extract
2 tablespoons coffee-flavored or chocolate-flavored  liqueur

Put chopped chocolate in a heat-proof medium-sized bowl and set aside.

In a medium-sized saucepan, add 1 cup of milk, sugar, salt, and cocoa powder. Over medium-high heat, bring it to a full boil, whisking frequently to dissolve the cocoa and prevent scorching in the bottom. As soon as it comes to a full boil (careful because it can boil over), reduce the heat and simmer it gently for 30 seconds. This will “bloom” the cocoa powder, intensifying its flavor.

Pour cocoa mixture over the chopped chocolate and stir with the whisk until it has all melted. Add the vanilla, the liqueur, and finally the other 1 cup of milk. Stir to combine.

Chill the mixture thoroughly, then freeze in your ice cream maker according to the manufacturer’s instructions.

Fried Egg with Ginger Fried Rice

When I was a kid, there was only one Chinese restaurant in our city and it was a nice one. I still remember its name: Pagoda. We went there only on very special occasions, maybe once a year, since it was expensive for my family. But we all just loved it. It was the closest thing we had to a vacation in an exotic land.

IMG_2329

The food was so different than what we were used to: sweet and sour chicken, crispy spring rolls, pork with pineapple. These were unheard of flavor combinations and textures in our everyday diet. We kids loved the big round tables with the lazy susan center that allowed everyone to sample from the many dishes without getting up. And I still remember the nice waiter who taught me how to use chopsticks, a skill I proudly demonstrated every time we went back.

IMG_2318

You can imagine my delight when I arrived in the U.S. to study and I found out that Chinese food was everywhere and dirt cheap. In Philadelphia, where I lived, there were even trucks selling it on every street corner! My still-new palate found every greasy, overcooked, laden with sugary sauce dish to be a culinary treasure. It took a few years to start relegating American Chinese food to the bottom of the list of my favorite foods.

IMG_2320

IMG_2322

Fortunately here in New York, along with the abundance of terrible Chinese food, there are also some great places from which we sometimes order food delivery. But every single dish comes with the obligatory box of rice, very little of which we eat. I’ve always hated throwing out the leftover rice until a couple of years ago, I saw Mark Bittman of the New York times introduce a recipe for using it up.

IMG_2325

This is technically a recipe by Jean-Georges Vongerichten and it’s really just a simple fried rice recipe. But its simplicity belies the incredibly satisfying combination of flavors and textures that is this dish. It takes just a little chopping and some quick sautéing and it uses things you most likely already have in your kitchen.

IMG_2323

So if one night this week you order Chinese takeout (Thai takeout rice works as well. I don’t like to use the rice from Indian takeout because I find it’s too dry for this recipe), save a box or two of that fluffy white rice. A day or two later, when you are breaking the creamy yellow yolk over the richly flavored rice, scooping it up with bits of crispy garlic and ginger, you’ll be happy you didn’t throw the rice out along with the unopened fortune cookies and unused chopsticks.

IMG_2330

Fried Egg with Ginger Fried Rice – Adapted from the New York Times

1/2 cup canola or vegetable oil
2 tablespoons roughly chopped garlic
2 tablespoons roughly chopped ginger
1 very thinly sliced large onion (alternatively you can use leeks, white and light green parts only, rinsed and dried, about 2 cups thinly sliced)
4 cups day-old cooked white rice (don’t worry if you have a little less or more; use what you have)*
4 large eggs
2 teaspoons sesame oil
4 teaspoons soy sauce

The rice has to be at least a day old (keep it in the fridge). Fresh rice is too moist to work for making fried rice.

In a large skillet, heat 1/4 cup of the oil over medium heat. Add garlic and ginger and cook, stirring occasionally, until crisp and golden brown. Immediately, with a slotted spoon, transfer to paper towels and set aside.

Add onions and cook, stirring occasionally, until very tender and starting to brown at the edges. Add the rice. Cook, stirring well, until heated through, about 1-2 minutes. Divide the rice among four large soup bowls or plates.

Add the remaining oil in the skillet, and fry eggs sunny-side-up, until edges are set but yolk is still runny.

Top the rice in each bowl or plate with an egg and drizzle with 1/2 teaspoon sesame oil and 1 teaspoon soy sauce. Sprinkle crisped garlic and ginger over everything and serve immediately.

Makes: 4 servings

Cherry Cream Scones

When we lived in midtown, Steve would sometimes stop by Amy’s Bread Bakery on his way home from work and pick up a couple of cherry cream scones. I don’t want to say that I squealed from joy when he entered the apartment carrying the telltale brown bag, but it was pretty close. We loved (and still do) those cherry cream scones. They looked and tasted rustic. They were sweet but with serious tones of something darker. The dried cherries were just tangy enough to counterbalance the richness of the dough and the coarse sugar toping gave a satisfying crunch with every bite.

IMG_2298

Well, just like everything else I love to eat, I decided that I just had to figure out how to make them myself. Many tastings had given me clues to the ingredients but they weren’t enough. I had to get the recipe. A quick search online revealed an Amy’s Bread cookbook that was available on Amazon. But I didn’t want to buy it just for this recipe. So, I clicked on the “Click to look inside” link which shows a few pages from a book, so you can sample it before you buy it.

IMG_2285

And wouldn’t you know it, there it was: the recipe for cherry cream scones. Except for one problem: Amazon gave me only the first page. That included the ingredients and some of the steps. I decided I could figure out the rest of the steps on my own. Turns out I couldn’t. My first attempt didn’t turn out so good.

IMG_2286

So back to Amazon I went and started clicking on “Surprise Me!” which gives you a random page from the book. A good 15 minutes later I landed on the second page of the recipe. Since then, Amazon has changed the pages they show from this book and now the entire recipe is available to anyone that looks at the book on the site.

I have made these scones too many times to count. I have taken them to friends who invited us to their country house for the weekend and I have made them in the middle of nowhere in France where we were spending New Year’s with a group of friends. Every time, they are a hit. And when we moved away from midtown two years ago and had no Amy’s Bread Bakery nearby, we were ok with that. We knew how to make our own.

Cherry Cream Scones – Slightly adapted from The Sweeter Side of Amy’s Bread

These aren’t your typical british scones, all round and perfect, dry and crumbly. They are misshapen and soft inside with a crusty exterior. What gives them their unique taste is the use of only cream (no butter) and only brown sugar (no white sugar).

3 1/2 cups (510 gr) all purpose flour
1 tablespoon and 1 teaspoon (20gr) baking powder
1 1/2 teaspoons kosher salt
1 cup (200 gr) light brown sugar
1 1/4 (200 gr) cups dried cherries*
2 2/3 cups (630gr) heavy cream
1 egg and 1 tablespoon of water for egg wash
turbinado sugar (or other coarse sugar; if not, you can use regular sugar but you won’t get that nice crunch)

* I buy the apple juice infused dried cherries from Whole Foods. Don’t use dried cherries that have any artificial flavoring in them. If you find dried sour cherries, they would be ideal.

Put racks on top third and bottom third of oven and preheat to 400° F. Line two 12×17 or 13×18 sheet pans with parchment paper.

In large bowl, whisk together flour, baking powder, and salt. Stir in brown sugar till evenly distributed (use your fingers to break up any clumps of sugar), then add dried cherries and stir again. Make a well in the middle of the mixture and pour all the cream in the well. Stir carefully with a spatula first and then with your hands until a soft, shaggy, and slightly sticky dough is formed.

IMG_2288

Divide dough in 2 pieces. Gently shape each piece into a round disk, about 2 inches thick. It’s ok if the disks aren’t smooth or perfect. Using a knife or dough scraper cut each disk into 6 wedges. Again, don’t worry about the wedges being perfect. As soon as they hit the hot oven, they will start to melt and fall apart anyway (remember, these are rustic scones, not perfect looking ones). Arrange 6 wedges on each pan. Leave space between them because they will spread and rise.

IMG_2290

Mix egg and 1 tablespoon of water in a small bowl and brush the tops of the scones. Sprinkle the tops of the scones generously with turbinado sugar. Don’t be timid with the sugar. As the scones spread and rise, the sugar will disperse over their surface. You want lots of it to provide a nice crunch.

IMG_2291

Place the two pans on each of the two racks and bake for 7 minutes. Rotate top and bottom pans and reduce to 350° F. Bake for another 10 minutes. Rotate pans again, top to bottom, and bake 15-20 min more. They should be dark golden brown and firm to the touch. If you want, you can test with a toothpick, which should come out clean. If they’re browning too quickly, you can turn the oven down to 325 F. Cool on a wire rack.


IMG_2295

These scones freeze beautifully. Once completely cool, place them in ziploc bags and put them in the freezer. To have them for breakfast, take out of the freezer the night before and leave uncovered on the countertop overnight.

Makes: 12 scones

Upside-Down Apple-Molasses Cake

Do you have a cast iron skillet? It’s one of those things that everyone is “supposed” to have. Every time I see it mentioned in a cookbook or food article it’s referred to as “the only pan you’ll ever need.” You’re not really considered as someone serious about food unless you have one in your kitchen. Such pressure!

IMG_2233

Truth is, a cast iron skillet is a great pan. Not just because it retains heat well and is naturally non-stick (provided you season it appropriately) but also because it’s hefty and rugged. When you pull this hunk of iron out of the kitchen cabinet or drawer, it’s like you’re saying “now we’re in business.”

IMG_2224

Here’s the only problem, though. What if you bought one, all excited you joined the ranks of the so-called serious cooks, and then you never really used it? It’s just too heavy. The handle gets hot. You’re afraid to wash it afterwards – aren’t you supposed to just rub it with salt or something?

Well, that was me for a long time. I had a perfectly good cast iron skillet but the only thing it provided me with was guilt. It took me a while to accept the fact that this was not supposed to be a skillet I should use often because…this is not 1873. That this is more of a specialized tool, appropriate for certain recipes. That eased my guilt considerably, so now when I do use it, I love it, and when I don’t use it, well, I just forget about it.

IMG_2225

This recipe is one of those recipes that call for a cast-iron skillet. Though that’s not what made me try it out. The recipe had me at “upside-down.” Seriously. How could you say no to any upside-down cake when you know it means caramel(!) that soaks the bottom-then-top of the cake?

This cake is easy to make and it’s a little dangerous. It comes out dark and seductive looking. When you put your fork through it, it’s toffee-sticky but tender. And when you eat it, its rich, lightly spiced crumb sticks to the roof of your mouth, unwilling to let you go.

Like I said. It’s a little dangerous.

IMG_2221

Upside-Down Apple-Molasses Cake – Slightly adapted from Bonappetit.com

5 tablespoons unsalted butter
1 3/4 cups all-purpose flour
1 1/2 teaspoons kosher salt
1 teaspoon ground cinnamon
3/4 teaspoon baking soda
1/2 teaspoon baking powder
1/2 cup  molasses (you can use mild-flavored molasses if you prefer)
1/4 cup honey
1 large egg
2 teaspoons grated peeled ginger
1/2 cup sugar, divided
1/3 cup sour cream
1/4 cup whole milk
3-4 Honeycrisp or Pink Lady apples, (about 2 pounds), peeled

Preheat the oven to 350°. Melt butter in a 9-inch or 10-inch cast-iron skillet (you can use a different ovenproof skillet if you don’t have a cast-iron one). Take skillet off the heat and set it aside. Whisk the flour, salt, cinnamon, baking soda, and baking powder in a medium bowl.

Whisk the molasses, honey egg, ginger, and 1/4 cup of the sugar in a large bowl. Whisk in the sour cream, then the milk. Gradually whisk in the dry ingredients, then 3 tablespoons of the melted butter from skillet. Set aside. The batter will be thick.

Place a peeled apple on a work surface stem up. Cut a large piece of the apple from one side, leaving core behind. Rotate the apple and repeat twice for a total of 3 large pieces (a triangular core will remain). Repeat with remaining apples.

IMG_2228

Add the remaining 1/4 cup sugar to butter in skillet. Cook over medium-high heat until the sugar just begins to darken and caramelize, about 2-3 minutes. Be careful because the sugar can quickly burn.

IMG_2229

Add the apples flat side down and immediately turn them rounded side down. Cook the apples rounded sides down for 3 minutes, then turn over and cook flat sides down until beginning to soften, about 5 minutes longer.

IMG_2231

Space the apples evenly in skillet flat side down and pour the cake batter over. If the batter is too thick to pour, use a spatula to gently spread it evenly over the apples.

IMG_2232

Transfer the skillet to the oven. Bake until a cake tester inserted into the center comes out with a few moist crumbs attached, 30-40 minutes.

Let the cake cool in the skillet for 10 minutes, then carefully invert it onto a plate. If any of the apples stay in the skillet, just use a spoon to take them out and place them back on the cake.

Seared Tuna with Olive Tapenade Relish

One of the first school field trips I remember taking as a kid was to an eleotrivio, a traditional olive oil mill. I have vague visual memories – a dark room, the circular fiber disks that are filled with olive paste and pressed to extract oil, the round millstones in the grinder – but it’s the memory of how it smelled that has stuck with me through the decades. A wet and grassy smell, pungent from the slight fermentation of the leftover olive paste, it was exciting and a little overwhelming for my young olfactory nerves. Like in a duckling seeing its mother for the first time, the smell imprinted itself in my brain, so that every time I open a jar of olive tapenade I flash back to that dark and musty eleotrivio of my younger years.

IMG_3255

The recipe I have here calls for tuna steaks but you can substitute any fish steak (sword fish would work well, or even salmon). The real star is the olive tapenade relish. It’s thick, earthy, and a little sour, with a healthy kick from the shallots. You’ll find yourself thinking of the tuna as the supporting player, the implement you use to get the relish in your mouth, instead of the main player in the dish.

IMG_3254

You can make more than you need and keep it covered in the fridge for several days. It’s another one of those sauces in my cooking arsenal that I can whip up quickly and dress up a weeknight meal into something special. And as an added benefit, just opening the jar of tapenade takes me on a mini time-travel trip to a time when the simple smell of crushed olives was a discovery to be cherished for years to come.

IMG_3257

Seared Tuna with Olive Tapenade Relish – Adapted from Epicurious.com

1/2 cup olive tapenade or olive spread (I use black olive tapenade but you can use the green kind or a mix)
1/2 cup finely chopped shallots (you can also use red onion or 1/3 cup white onion)
5 tablespoons extra-virgin olive oil
1/4 cup white balsamic vinegar (or red balsamic vinegar if you can’t find white)
2 teaspoons finely grated lemon zest (from organic, unsprayed lemons; preferably grated on a Microplane zester)
salt and pepper
4 6-ounce tuna steaks (3/4 to 1 inch thick)

Mix tapenade, shallots, oil, vinegar, and lemon zest in medium bowl; season with salt and pepper.

Brush tuna on both sides with a little olive oil and sprinkle with salt and pepper. Heat a large nonstick skillet over medium-high heat. Add tuna steaks and cook to desired doneness, 1-2 minutes per side for medium-rare.

Serve tuna steaks with relish on top. Accompany with a simple salad or roasted vegetables.

Garlic Lime Vinaigrette

IMG_2218

Sometimes people ask me “Do you cook every night?” When I tell them yes, I cook almost every night, some shake their heads or widen their eyes in amazement. But it’s really not that impressive because most of the time, what I make takes less than 30 minutes of work. It’s often a protein that’s cooked simply (fish sautéed in olive oil for 5-6 minutes; pork chops roasted in the oven) along with some kind of vegetable, raw or cooked. What really helps, though, is having a number of tasty, simple sauces and dressings in my arsenal. That way, the same protein or veggie (say, chicken and brussel sprouts) can become different meals depending on what you pour over them after they’re cooked.

IMG_2219

This recipe is one of those invaluable dressings. It takes minutes to make, it’s simple and healthy, and it perks up just about every roasted vegetable you can imagine (we especially love it over roasted cauliflower or acorn squash). It’s also great drizzled over grilled chicken breasts.

IMG_2220

Garlic Lime Vinaigrette

You can double or triple the recipe if you want. This makes enough for two people.

1 1/2 tablespoon lime juice
2 tablespoons olive oil
1 garlic clove pressed in garlic press or grated over microplane zester/grater
salt and pepper

Add lime juice, olive oil, and garlic in a small bowl and use a whisk or a fork to mix them until they come together. Garlic is a natural emulsifier so it will help bind the lime juice and olive oil. Add salt and pepper to taste. Taste the vinaigrette and add more oil or lime juice if you prefer.

Poor Man’s Brioche

Do you like brioche bread? Yeah, I thought so. Who doesn’t like the rich, sweet taste of the golden yellow crumb and the faint bitterness of the caramelized crust, right? You know why you love brioche so much? This is why:

IMG_2212

Yeah, brioche is what’s known as an enriched bread, which means it’s not just flour, yeast, water, and salt, but it’s also butter and eggs and milk or cream. The good stuff! But who cares, right? Toasted brioche slices with butter and honey or brioche french toast with maple syrup is the stuff that make life worth living. Too bad that finding good brioche is so tough. And don’t tell me they sell it at the grocery store in a plastic bag because if you take a look at the ingredients list, you’ll see that you’re eating high fructose corn syrup with some flour thrown in for texture.

IMG_2201

Well, guess what? You can make your own brioche and it’s easy! Actually, it’s as easy as throwing stuff in a mixer, waiting, and folding a letter in thirds. No kneading and no fancy dough shaping.

Let me explain.

Making real brioche is tough. In The Bread Baker’s Apprentice: Mastering the Art of Extraordinary Bread by Peter Reinhart (one of the best books on bread making out there), there is a traditional recipe for brioche that takes two days and includes 2 cups of butter and 5 eggs for three brioche loaves. Yikes! But he also provides a recipe for what he calls a “Poor Man’s Brioche” which takes only a few hours and includes just 1/2 cup of butter and 4 eggs for two brioche loaves.

Yes, I said a few hours. I told you the recipe was easy. I didn’t say it was quick! But seriously, the vast majority of that time is just waiting for the dough to rise, so this is a perfect recipe for a lazy Sunday or a day off from work. I’ve adapted it here for you and I’ve included more detailed instructions so that even if you’ve never made bread or never baked anything, you can still do it.

You can thank me later 😉

Poor Man’s Brioche – Adapted from The Bread Baker’s Apprentice: Mastering the Art of Extraordinary Bread

1/2 cup (2.25 oz) flour (preferably bread flour but all purpose is fine too)
2 1/2 teaspoons active dry yeast or 2 teaspoons instant yeast
1/2 cup (4 oz) lukewarm whole milk (90°-100° F)
4 large eggs
3 1/4 cups (14.75 oz) flour (preferably bread flour but all purpose is fine too)
2 tablespoons sugar
1 1/4 teaspoons table salt
1/2 cup (one stick) unsalted butter at room temperature
1 egg, whisked till frothy for the egg wash

Lightly grease two 8.5 x 4.5 inch loaf pans. Dust with flour and shake out excess flour. Set aside.

In your mixer bowl, add the 1/2 cup flour, yeast, and lukewarm milk and stir with spoon until combined. Cover with plastic wrap and let it rise for 30-45 minutes until it looks frothy and risen. It should be pocked with burst bubbles. If it doesn’t seem to rise at all, put it somewhere warm (like your oven with just the light on). Don’t worry too much about how much it has risen. You just want the yeast to start working. This is now called the sponge:

IMG_2200
Add the four eggs to the risen sponge and whisk until everything is combined. Put the bowl onto the mixer and use either the paddle or the dough hook. In a separate medium bowl, stir or whisk together the 3 1/4 cups of flour, sugar and salt. Add everything to the mixer bowl and mix at low speed for a couple of minutes until everything is combined. At this point you’ll have a dry and shaggy dough. That’s fine. Stop the mixer and let it rest for 5 minutes.

IMG_2202

If you were using the paddle, switch to the dough hook. Start the mixer again and add the butter two tablespoons at a time. Wait until the butter is completely mixed in before you add the next two tablespoons. Once all the butter is mixed in, increase the speed to medium low and mix for about 6 minutes, until you get a smooth dough that clears the sides and bottom of the bowl.

IMG_2203

Take the dough out of the mixer bowl and put it in a lightly oiled bowl. Cover it with plastic wrap and let it rise for 90 minutes or until it doubles in size. Then comes the fun part. Take the risen dough out of the bowl and divide it into two equal pieces. Take one piece and place it on a lightly floured surface. Using your fingertips, pat it into a rectangle about 6 by 8 inches.

IMG_2205

Now, take the top and fold it halfway towards the bottom , like you would a letter. Use your fingertips to lightly press the edge into the dough.

IMG_2206

Now take the top edge again(the one that’s now double in thickness) and fold it down to meet the bottom edge. Use your fingertips again to press the dough edges together.

IMG_2207

That’s it. You can tuck in the side edges if you want but it’s not essential. Place the dough, seam side down, into the loaf pan and repeat with the other half of the dough. You’ll probably notice that the dough doesn’t even come close to filling the pans. That’s ok. This dough will rise a lot. You want it to be much smaller than the loaf pans, otherwise it won’t have to room to rise.

IMG_2208

At this point, preheat your oven to 350° F. Cover the loaf pans with plastic wrap and let them rise for about 60-70 minutes until the dough comes just above the rim of the loaf pans. Brush the tops with the beaten egg wash.

IMG_2211

Bake the two loaves for 35-40 minutes until the tops are dark golden brown. If you want to be really certain they’re done and you have a thermometer, you can stick it in the bottom of one of the loaves. If the internal temperature is above 190° F, they’re done. Let them cool in the pans for 15 minutes and then take them out and cool them completely on a rack.

IMG_2214

Brioche freezes very well. Wait until it’s completely cool, wrap it in tin foil and freeze it. When you want to have some, take it out and leave it on the countertop for at least 4 hours or overnight.