Johnnycake Bread

DSC03934

I took a two-week break from the blog because Steve and I were on vacation. We took 10 days off and spent five of them in Paris and five of them in Norway.

Paris was lovely, as always. We had incredible weather the entire time (as well as in Norway). We saw our good friends who live there and we explored some new restaurants. One night they took us out to Claude Colliot for my birthday, where the meal was beautifully prepared, with fresh ingredients and unfussy preparation. On another night we went the the Frenchie wine bar, where we had “bar food” that was better than what most restaurants serve. On our last night, our friends introduced us to Le Sergent Recruteur. The meal was fantastic. The service exceptional. The first course alone, a mix of tomatoes with a licorice-like herb (not tarragon), covered by a disc of frozen tomato water, was worth the price of the whole meal.

But perhaps the biggest surprise was our lunch at Lafayette Gourmet, the newly renovated high-end food market in the center of Paris. We found the whole market a little too sterile for us, the food displayed like jewels, the walls pure white  and pristinely clean. But we ate lunch at the butcher stand (all of the different stands also serve as restaurants). We both had steak and it was one of the tenderest, most delicious pieces of beef we’ve had in a long time.DSC03940

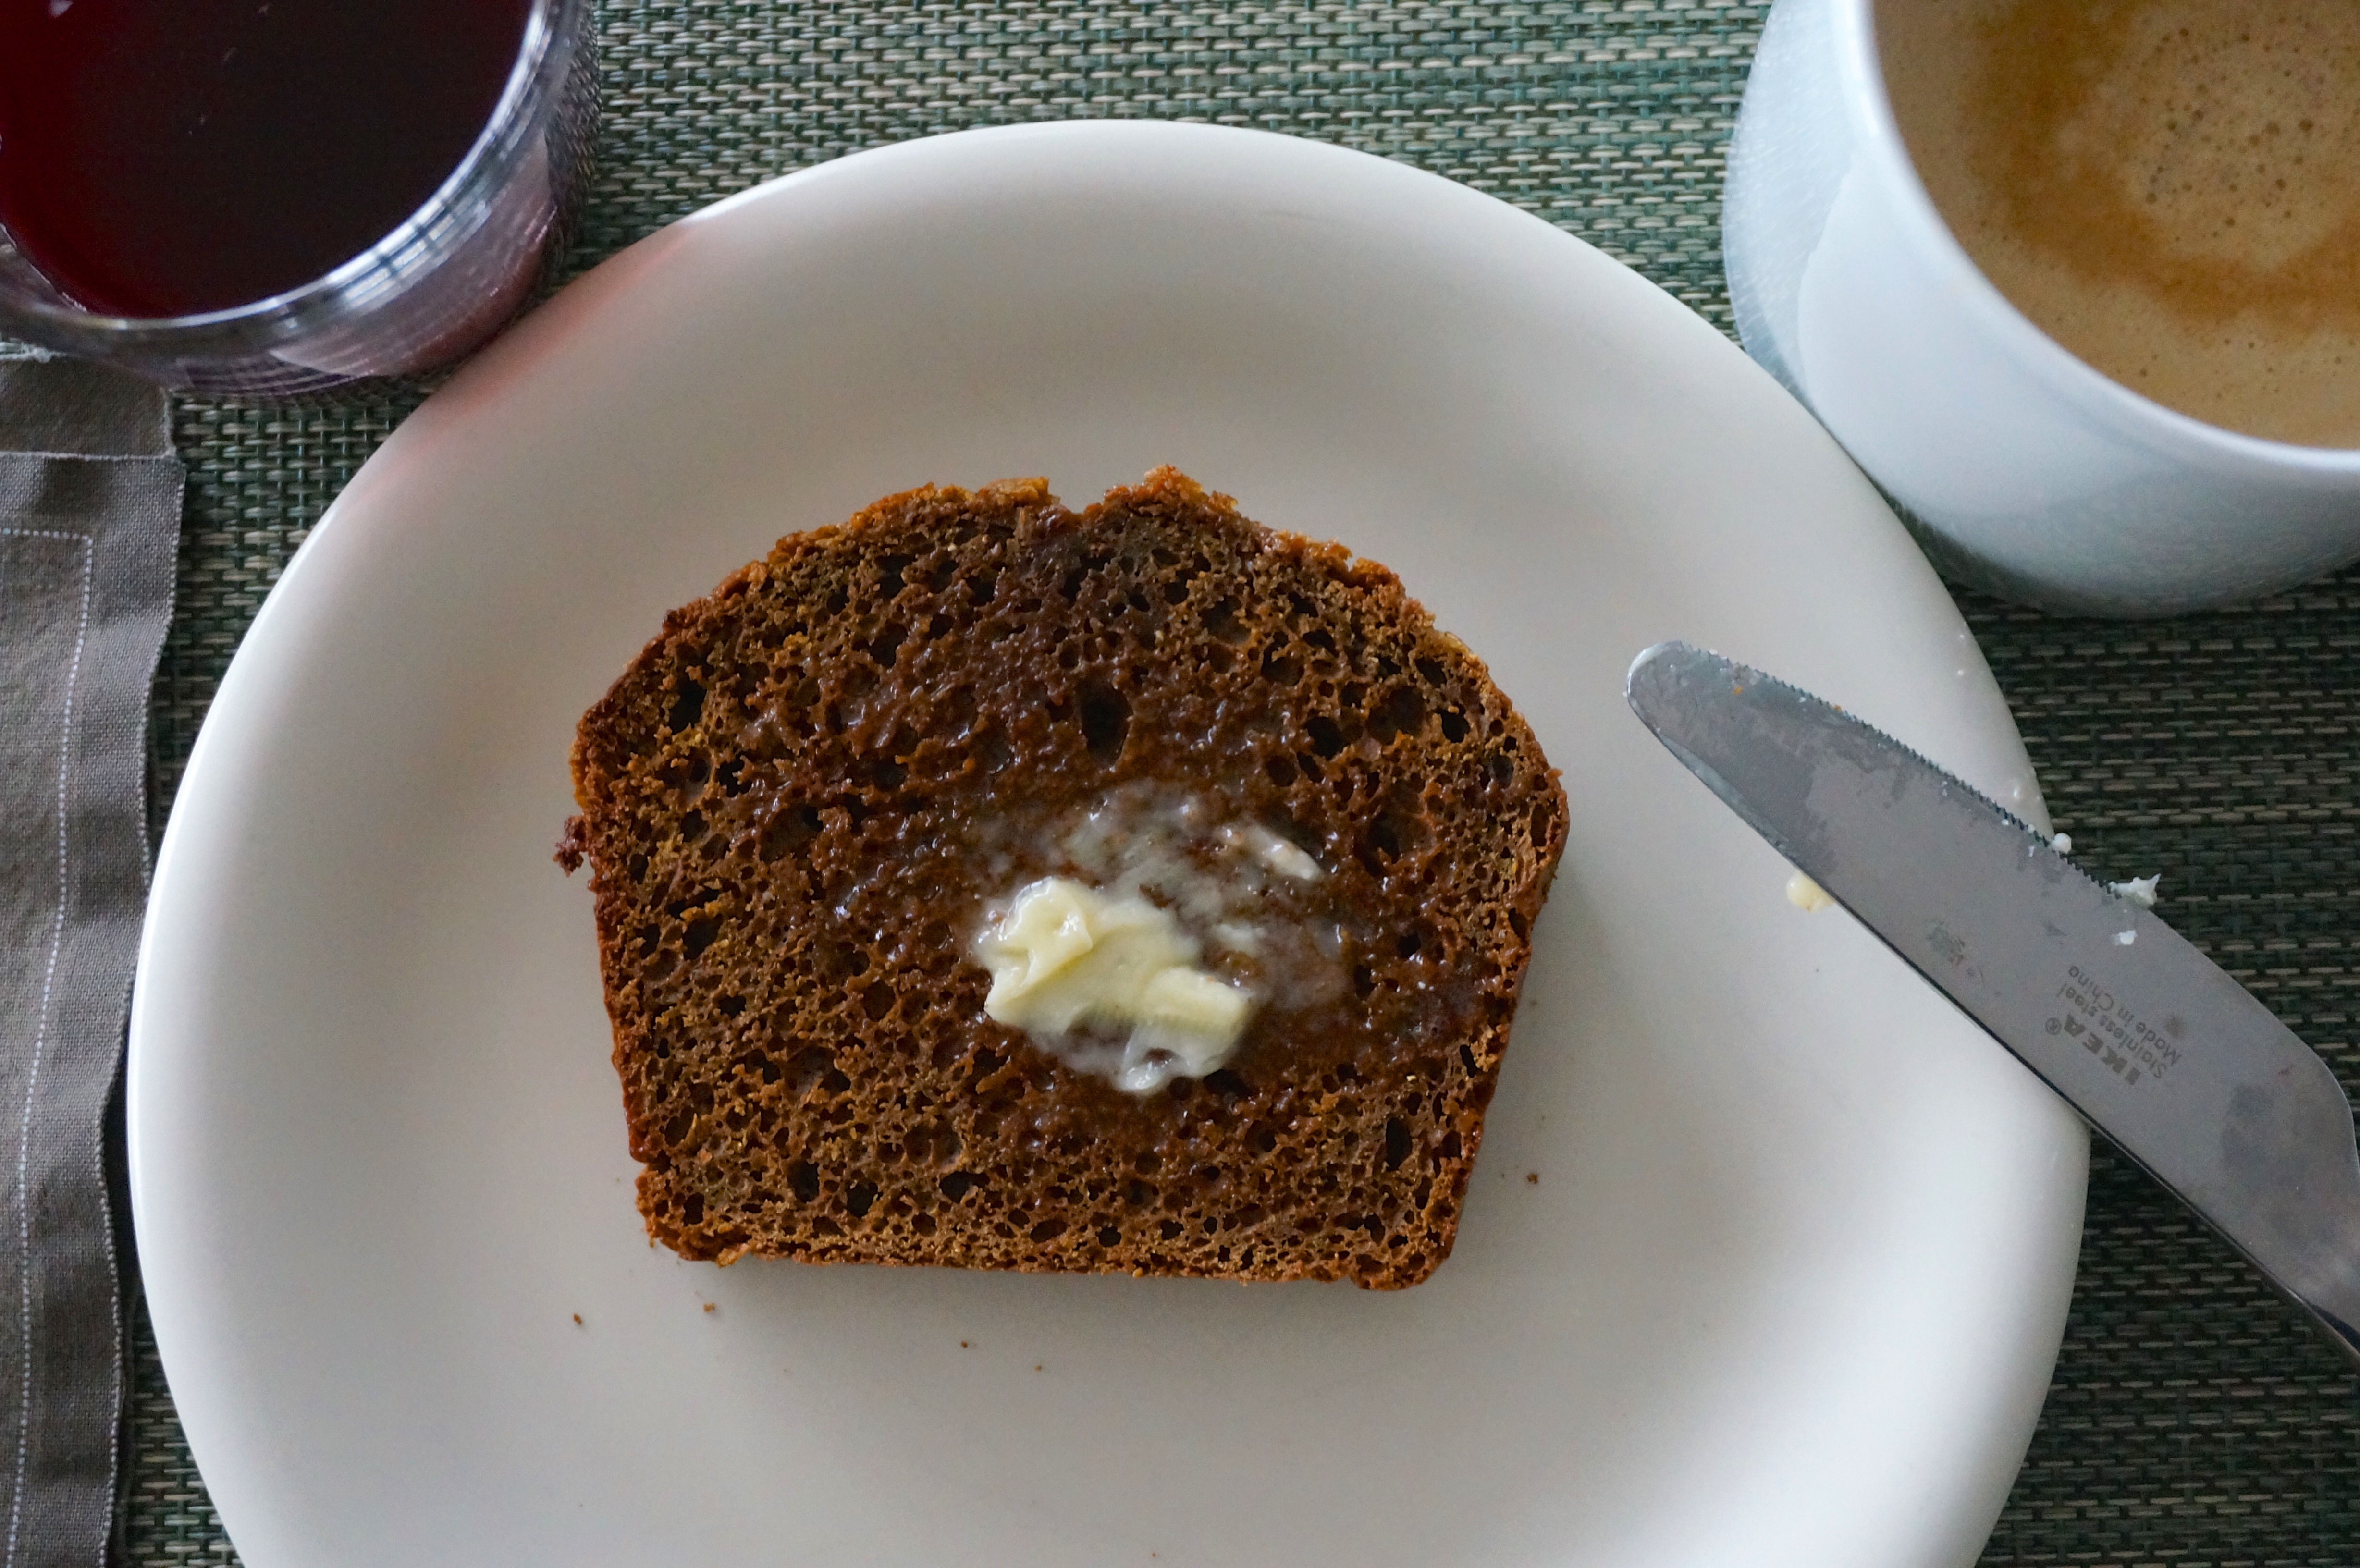
Next, we flew to Oslo, Norway. Norway is a beautiful country. We took the train from Oslo to Bergen on the west coast and hit a fjord cruise on our way back to Oslo, the steep slopes of the mountains on both sides of the boat watching us as we dodged the hordes of screaming kids that had joined the cruise with us. The train ride to Bergen was almost better than the fjord cruise. Our train went from sunny Oslo up to completely snow covered mountains (at 2,000 meters above sea level) and down to cloudy and cool Bergen in the span of seven hours.

We ate some good food in Norway and some not so good (like the hot dogs we ate on the train because nothing else looked good). In our hotel in Oslo, we were surprised to find out that our room not only included breakfast, but also included a “light dinner” every day, which was a full dinner with soup, appetizers, a main dish, and dessert, all for nothing. Given how insanely expensive everything in Norway was, this was very welcome. The breakfast buffet every morning was huge, with everything from eggs and “Norwegian paté” (no idea what was in it, but it was tasty), to fruits and muesli, pickled herring, breads and cheeses, including traditional Norwegian brown cheese, or brunost.

Oh my god, the brown cheese! Shaped in a cube with the color of dulce de leche or caramel sauce, it didn’t look very inviting. But I took a slice and as soon as I put it in my mouth I was hooked. The cheese is made with milk, cream, and whey which are boiled until the milk sugars caramelize. This gives it a sweet, caramel-y taste and a wonderful stick-to-the-roof-of-your-mouth texture. It’s like cheese made out of caramel. I went crazy with it and had it every morning. I don’t know where I can find it in the U.S. but I’ll look for it. I think it will be fantastic on top of a slice of this johnnycake bread.
DSC03918
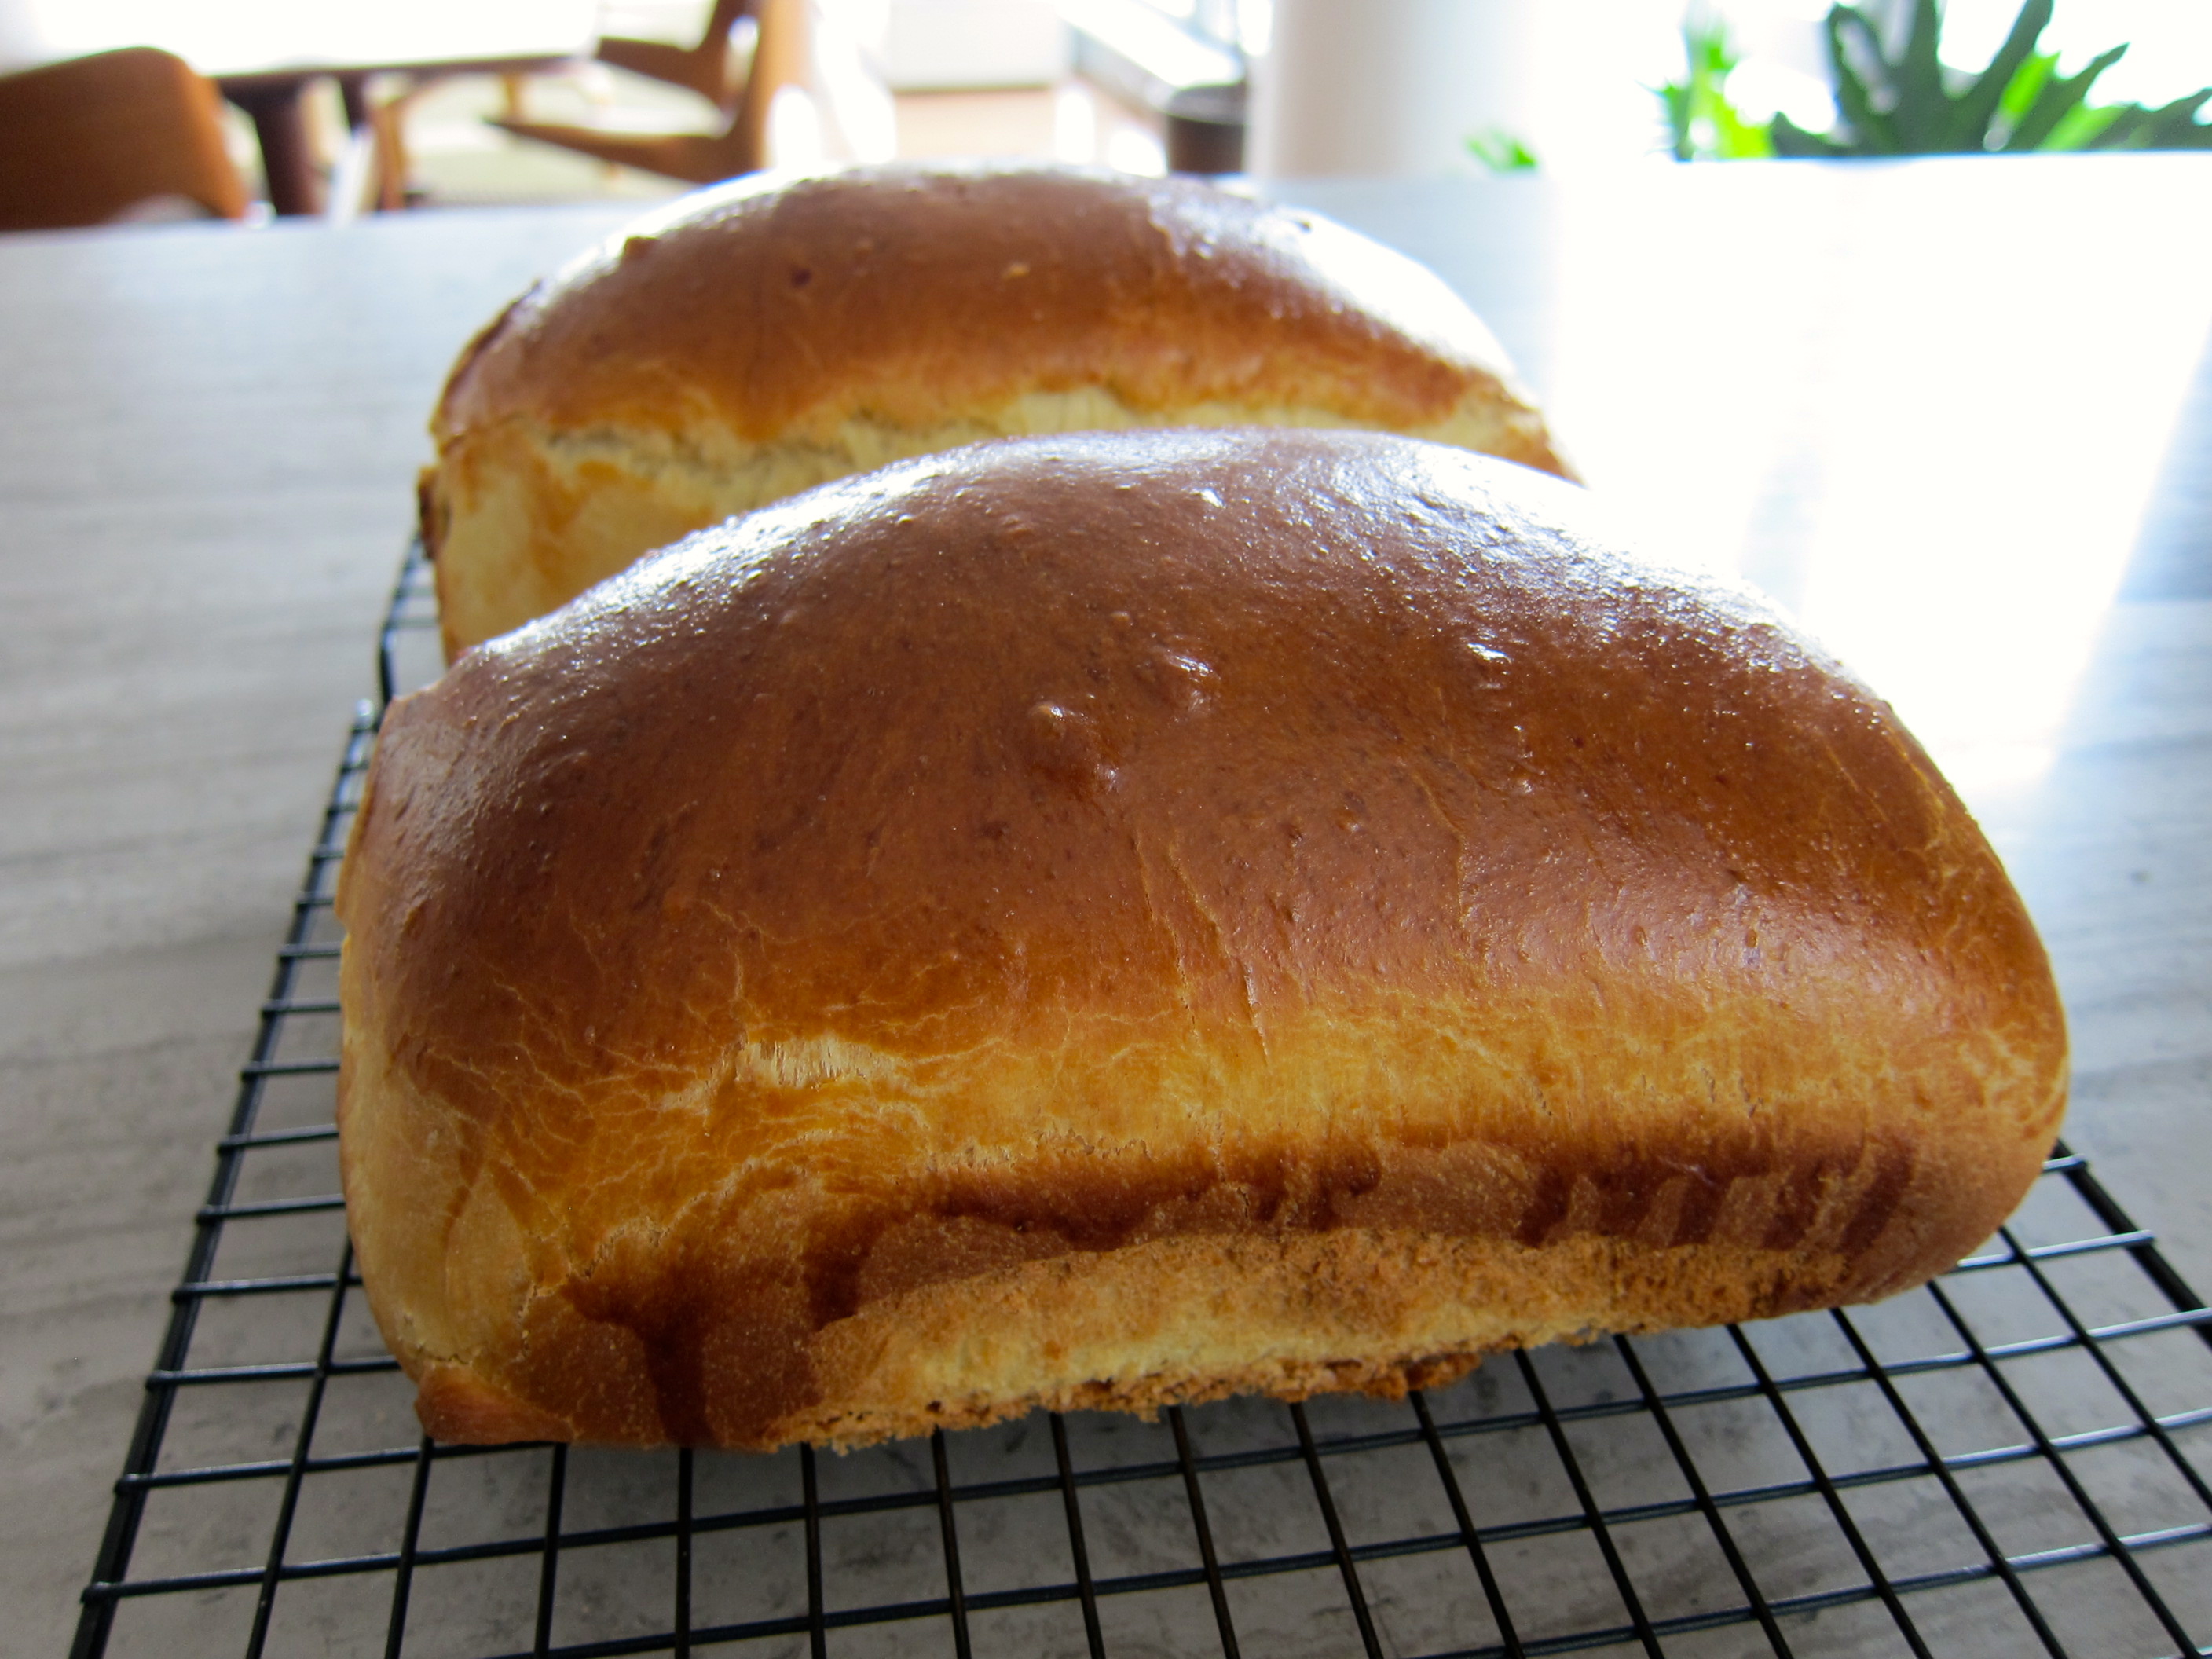
Johnnycake Bread – From Bon Appétit

Ingredients:

¼ cup vegetable oil, plus more for pans
1¼ cups all-purpose flour
¾ cup cornmeal
¼ cup granulated sugar
1½ teaspoons baking powder
¾ teaspoon kosher salt
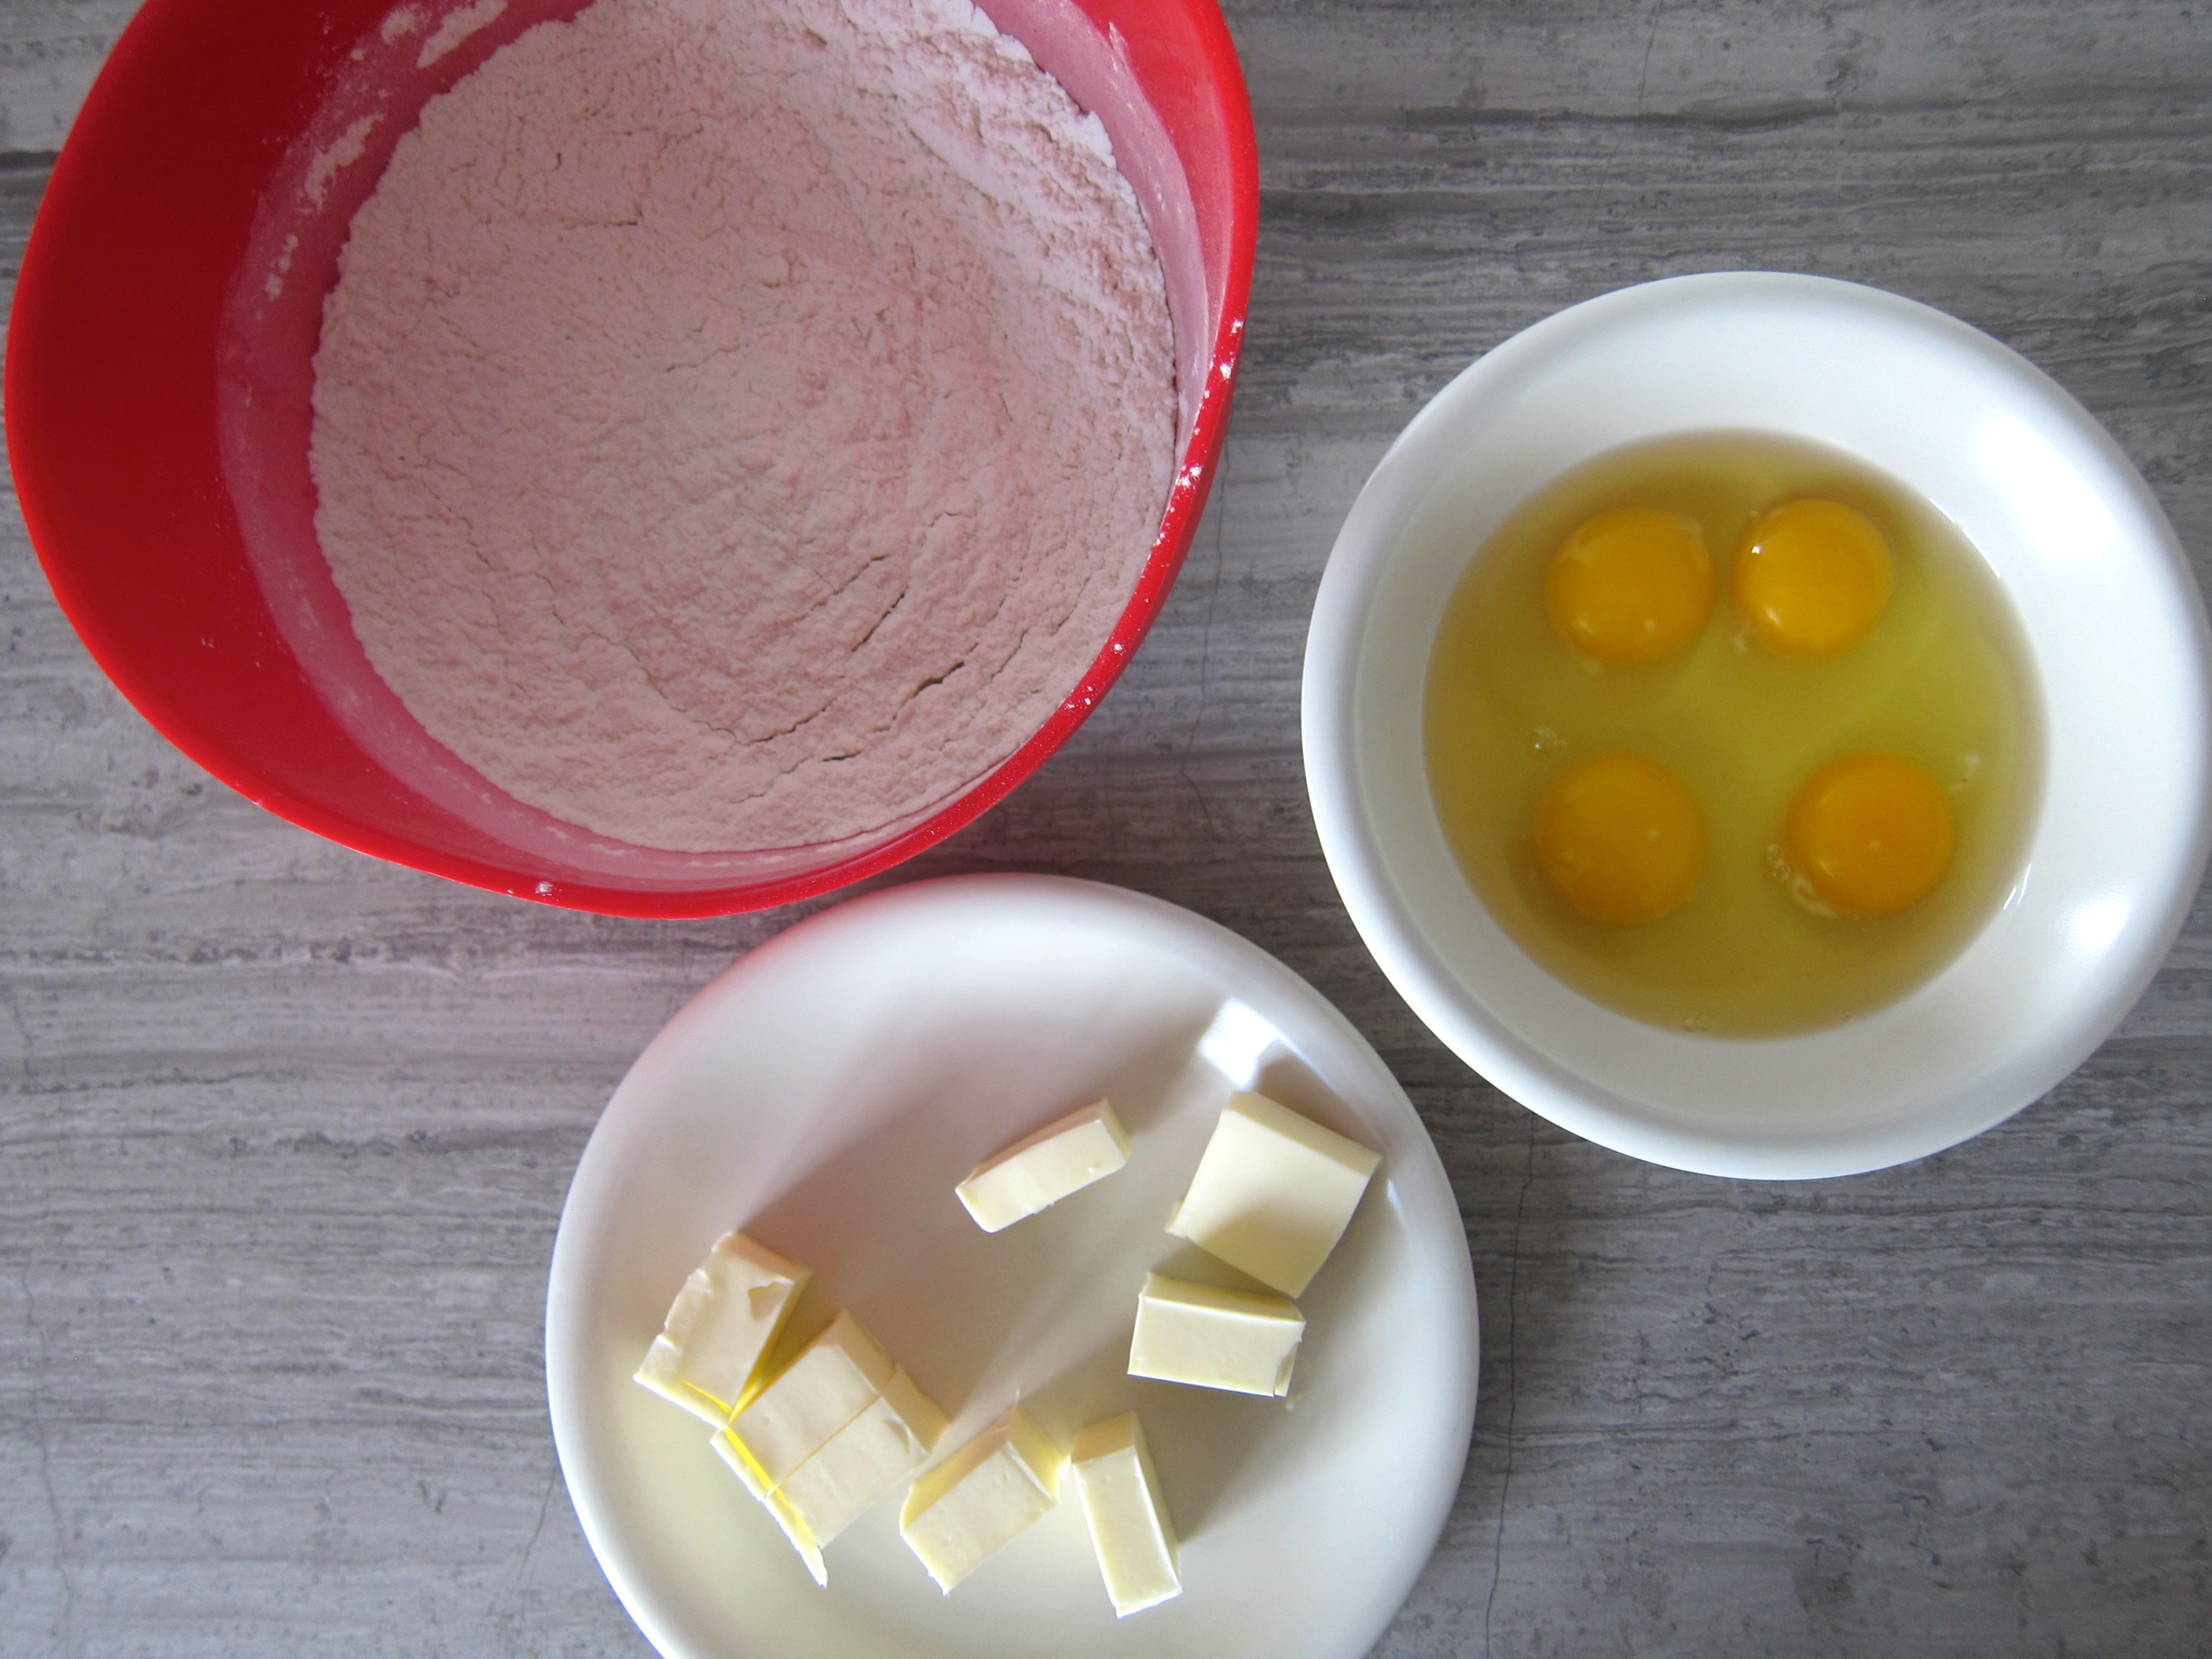
2 large eggs
1 cup whole milk
¼ cup mild-flavored (light) molasses
1 tablespoon maple sugar or raw sugar

Directions:

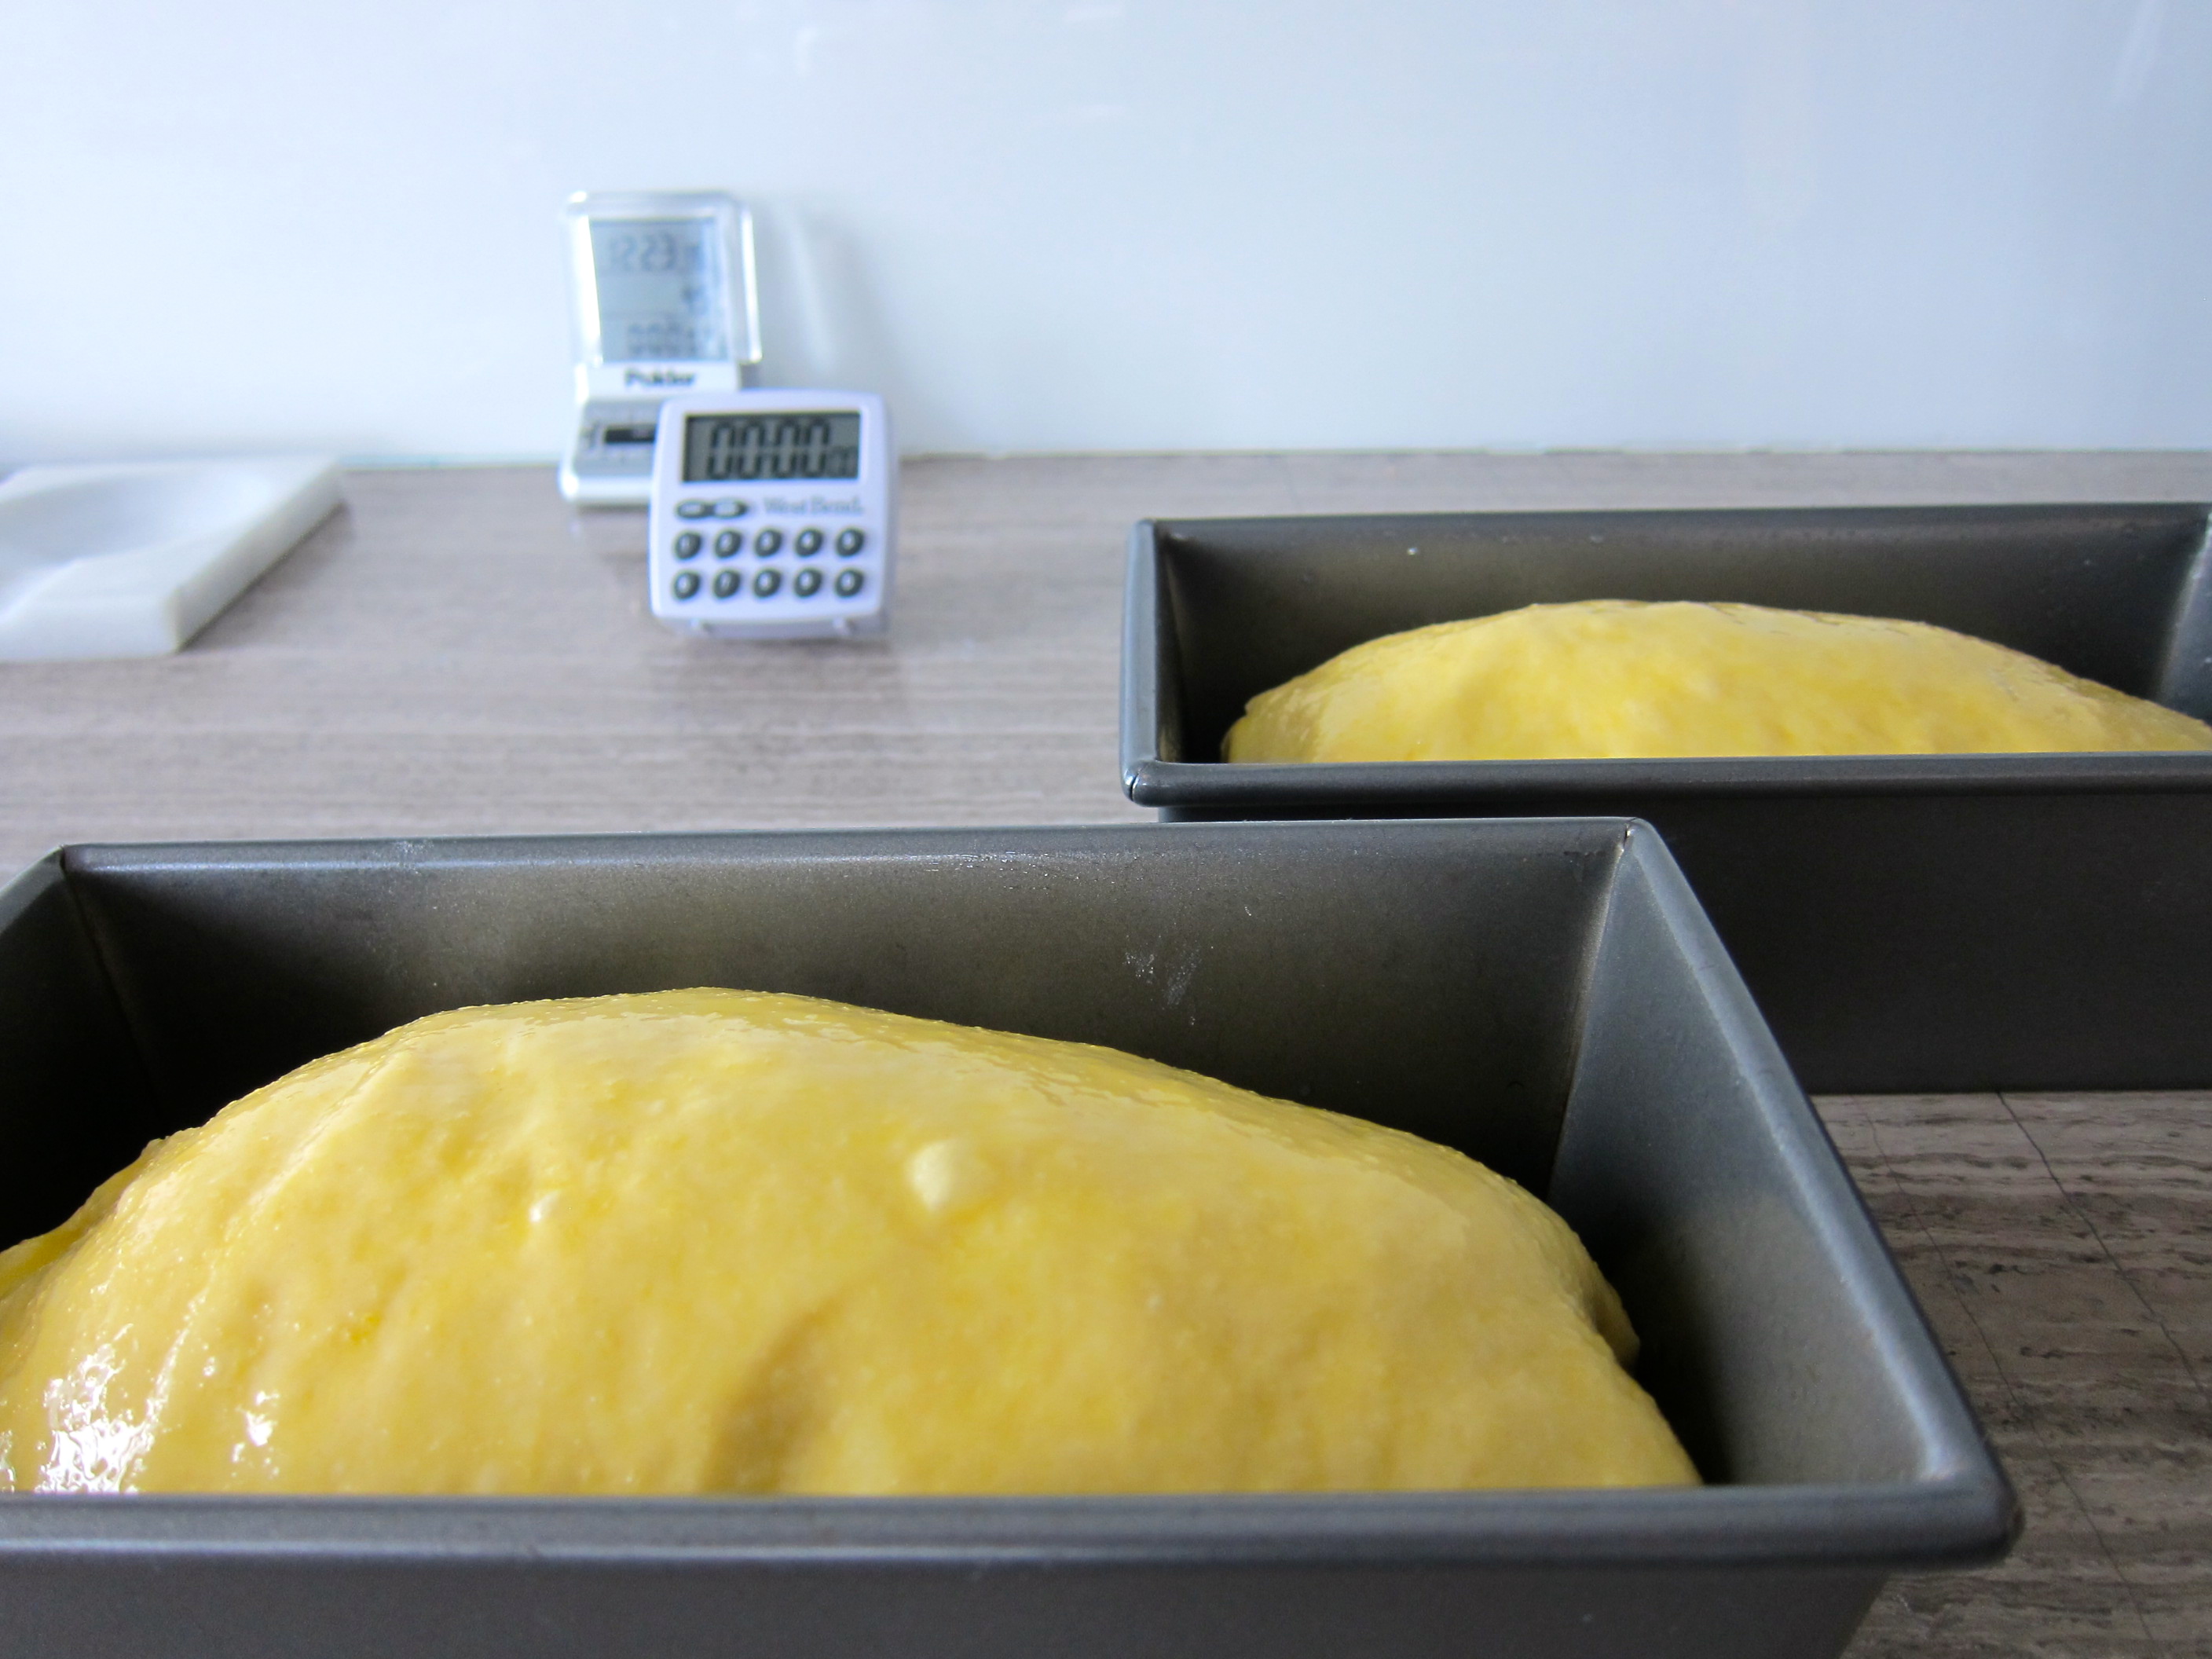
Heat oven to 325°. Lightly oil two 5×2½” loaf pans (or one 8½x4½” loaf pan). Whisk flour, cornmeal, granulated sugar, baking powder, and salt in a large bowl. Make a well in the center, add eggs, milk, molasses, and ¼ cup oil, and whisk in dry ingredients. Divide between pans. Sprinkle with maple sugar.

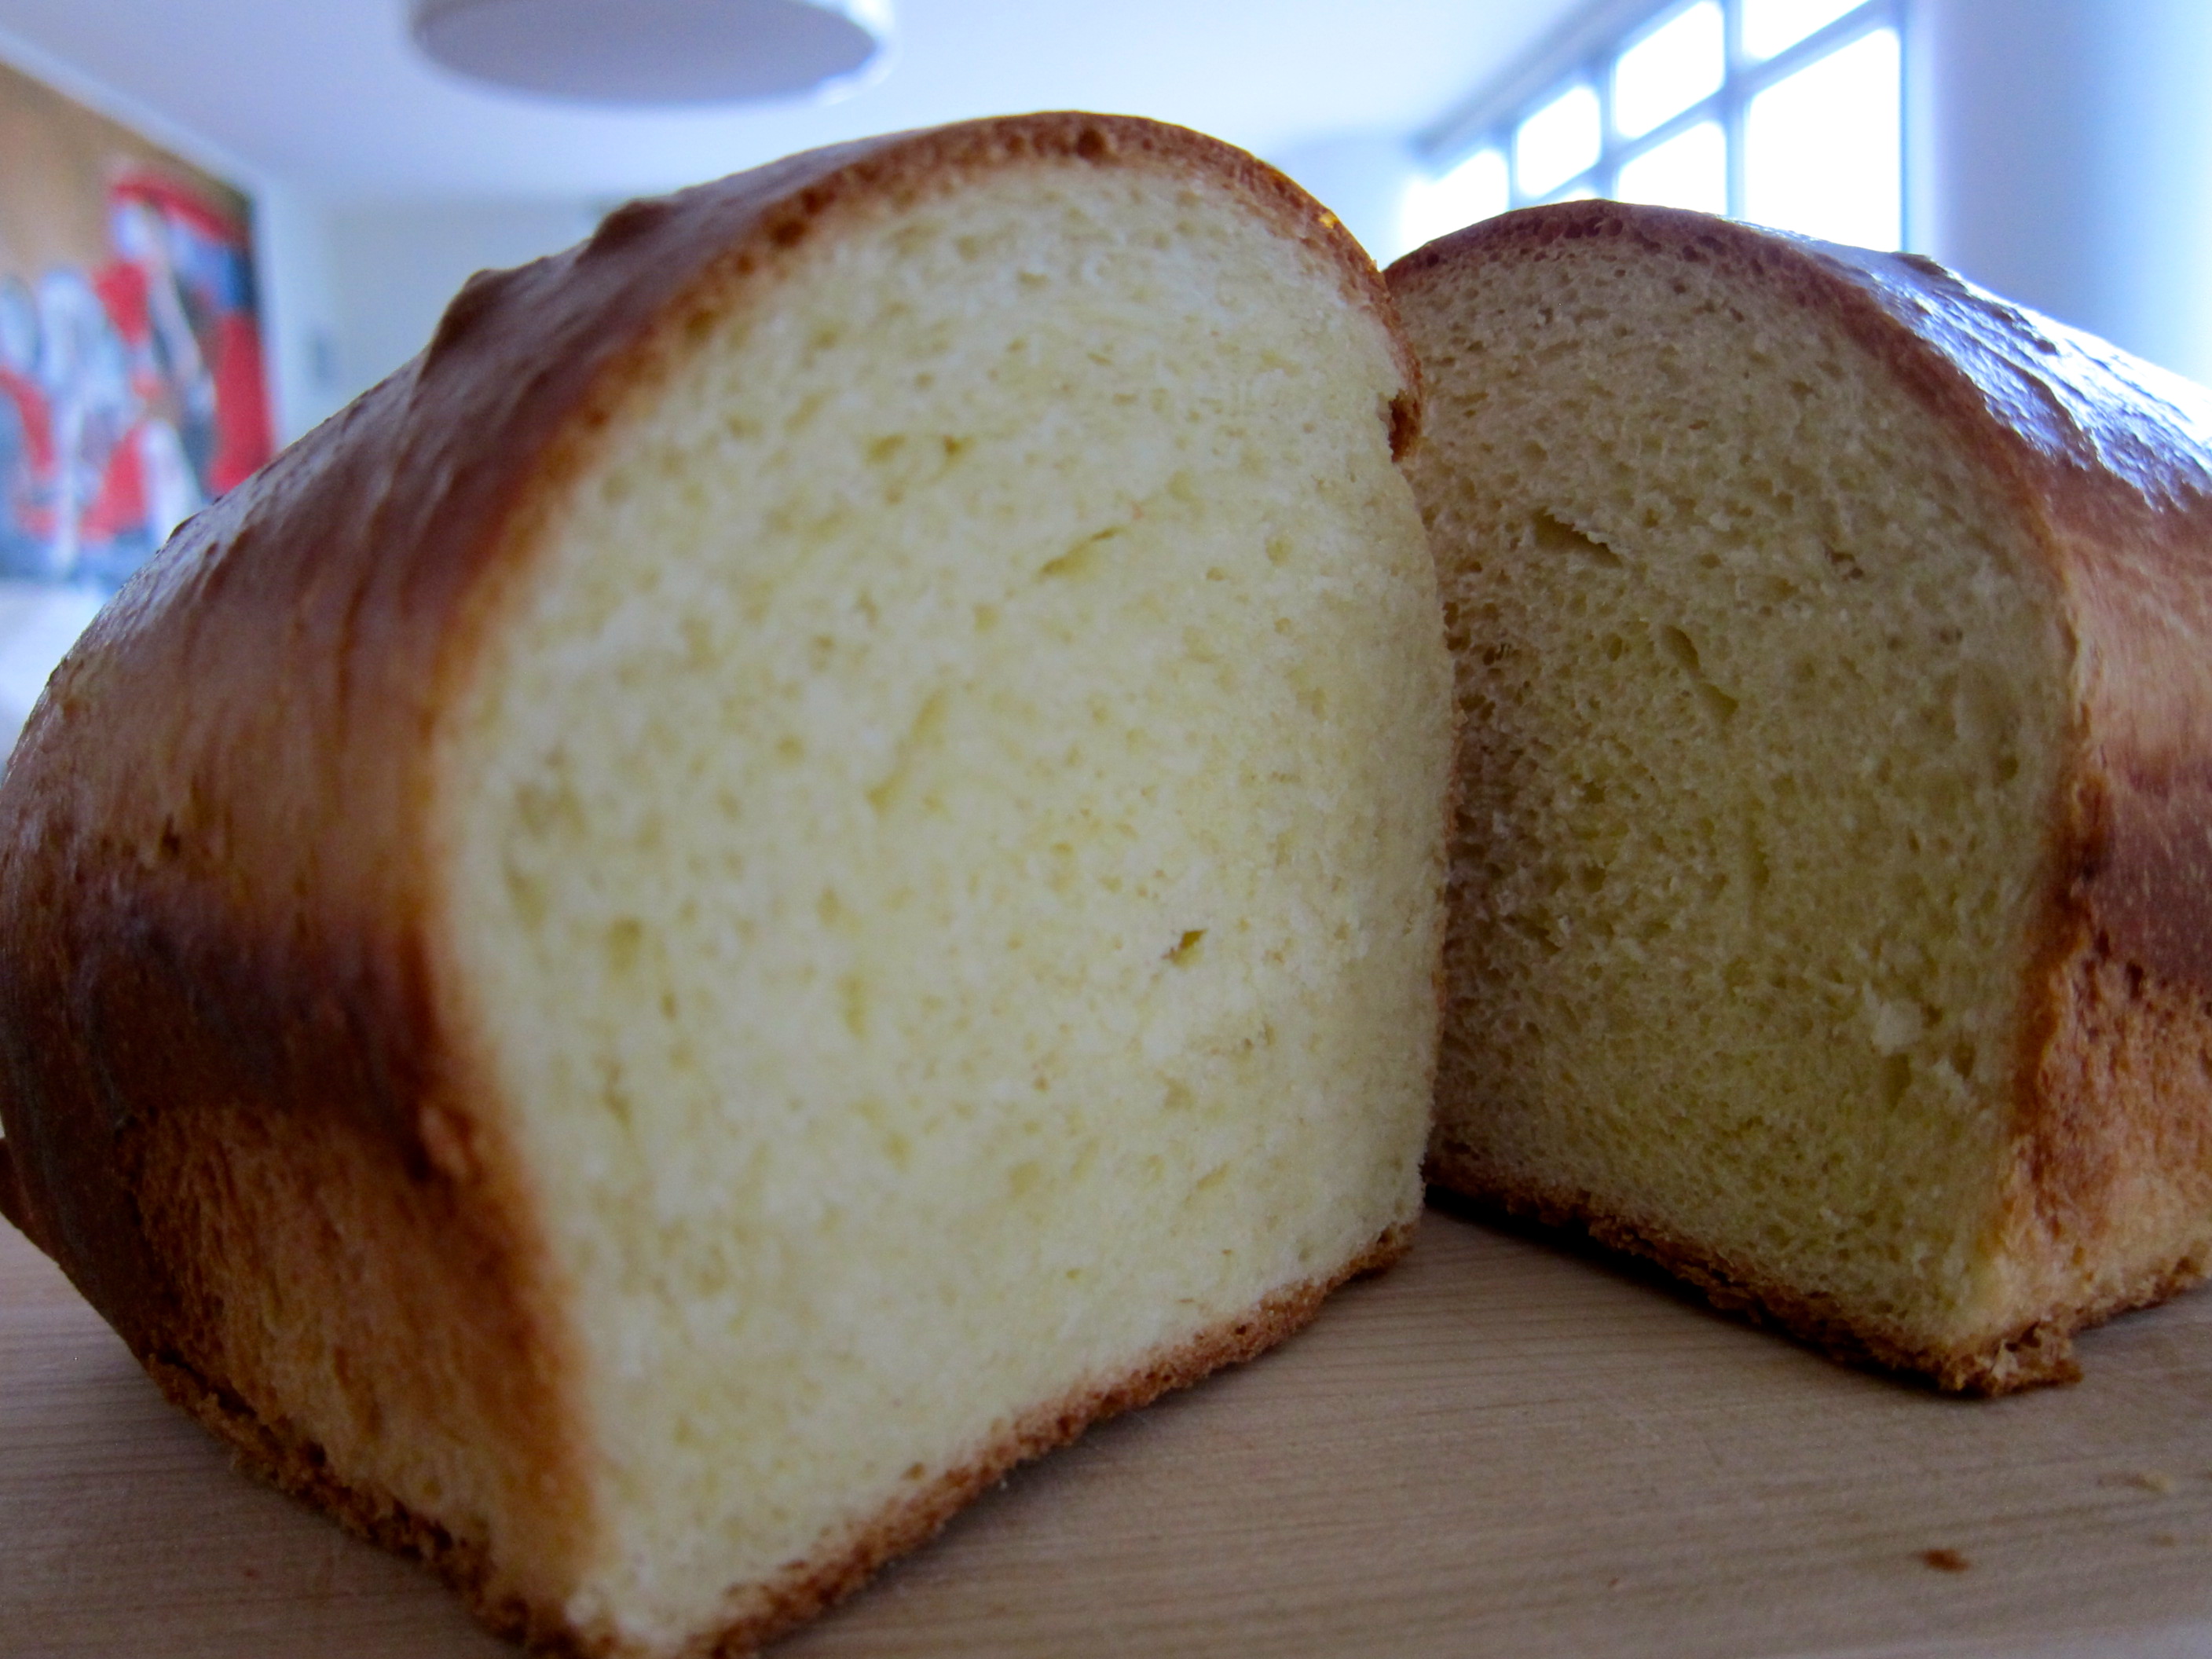
Bake breads until golden and a tester inserted in the center comes out clean, 40–45 minutes for small loaves (50–55 minutes for large loaf). Transfer pans to a wire rack and let cool 10 minutes before turning out.

DO AHEAD: Breads can be made 1 day ahead. Store wrapped tightly at room temperature.

Vermont Whole Wheat Oatmeal Honey Bread

DSC02141

I really should be starting to post recipes featuring apples and pears and the first winter squashes of the season. I have been furiously bookmarking recipes with seasonal ingredients, anxious to try them out. But in fact, I have done absolutely no cooking for a whole week now. Nada. Zero. That’s because last Friday I had arthroscopic hip surgery to repair a torn labrum and a hip impingement. So, I’ve been hobbling around on crutches, unable to carry anything, let alone stand long enough to cook. Not to mention that for the first few days I was on some serious painkillers that kept me too loopy to be near sharp knives and hot stoves.
DSC02124

The good news is that I’m recovering well and, fingers crossed, when I see the doctor on Monday, he will say I can stop using crutches. At which point, I will be thanking Steve for taking such good care of me by making cherry scones and passion fruit ice cream.

In all seriousness, though, I hate not being able to cook. It’s not just the relaxation it provides or the fact that I know what we are eating (as opposed to take-out food). It’s that it gives me a sense of power that I don’t feel anywhere else. When I am in the kitchen, I am in control. I take decisions and act on them. I make things, physical things, with my own two hands. I’ve been really missing that this week.DSC02127

So, instead of a recipe for french apple cake or roasted squash with dates and thyme (both of which should be appearing here soon), I give you a recipe for a loaf of bread on the healthier side of things. Let me start by saying that I am not a huge fan of whole wheat breads. I definitely do not like the ones you find in the supermarket that proudly call themselves whole wheat, with big letters, but a closer look at the ingredients reveals high fructose corn syrup, “natural” flavors, and a bunch of other, not so “whole” things. But I also don’t really like homemade whole wheat breads either. I find them too dense, too bitter, and a chore to eat.

This recipe, however, is one I quite enjoyed. It uses oats, sugar, honey, and cinnamon to make the bread lighter and a little sweeter. If you can find King Arthur’s White Whole Wheat Flour (a whole wheat flour that is lighter than the traditional kind), the bread comes out soft and bouncy, more like a white loaf, but with the benefits of a whole wheat bread. If you can only find regular whole wheat flour, go ahead and use that. It will be just as good.

DSC02150

Vermont Whole Wheat Oatmeal Honey Bread – Slightly adapted from King Arthur Flour 

Ingredients:

2 cups boiling water
1 cup rolled oats, traditional or quick (not instant)
1/2 cup maple sugar or brown sugar
1 tablespoon honey
1/4 cup (4 tablespoons) butter
1 tablespoon kosher salt or 2 1/2 teaspoons table salt
1 teaspoon ground cinnamon
1 tablespoon instant yeast
1 1/2 cups King Arthur White Whole Wheat Flour (or regular whole wheat flour)
4 cups all-purpose flour

Directions:

In a large mixing bowl, combine the water, oats, maple or brown sugar, honey, butter, salt, and cinnamon. Let cool to lukewarm, about 10 to 15 minutes.

Add the yeast and flours, stirring to form a rough dough. Knead (about 10 minutes by hand, 5 to 7 minutes by machine) until the dough is smooth and satiny.

Transfer the dough to a lightly greased bowl, cover the bowl with lightly greased plastic wrap, and allow the dough to rise for 1 hour. Since the dough is warm to begin with (from the boiling water), it should become quite puffy.

Divide the dough in half, and shape each half into a loaf. Place the loaves in two greased 8 1/2″ x 4 1/2″ bread pans.

Cover the pans with lightly greased plastic wrap and allow the loaves to rise until they’ve crowned about 1″ over the rim of the pan, about 60 to 90 minutes. Preheat the oven to 350°F.

Bake the loaves in the preheated 350°F oven for 35 to 40 minutes, tenting them lightly with aluminum foil after 25 minutes, to prevent over-browning. Remove them from the oven when they’re golden brown, and the interior registers 190°F on a digital thermometer.

Turn the loaves out onto a rack to cool. Store at room temperature, well-wrapped, for several days; freeze for longer storage.

Julia’s Best Banana Bread

I like my bananas firm and just turned yellow, with a hint of green still visible. Once they fully ripen, get brown spots, and turn super sweet, I don’t want to eat them anymore. What I usually do is blend them with other fruit and some orange juice for a breakfast smoothie.
IMG_2414
I know that most people like to make banana bread with overripe bananas, but I’ve never cared for the banana breads I’ve tasted. They are often cake baritones: heavy, overly sweet, and dense. I always feel like they need some tenor, or even soprano, flavor notes in there. But I never attempted to make one of my own because all the recipes I saw seemed to pretty much be variations on a pound cake with added mashed bananas.

IMG_2404

This changed when Bon Appetit ran an article called “A Slice of Paradise: Andrew McCarthy’s Banana Bread Quest.”In it, the actor Andrew McCarthy (yeah, that Andrew McCarthy, from Pretty in Pink) talks about his search for the best banana bread on the island of Maui in Hawaii. He finds it at a remote, little roadside stand called Julia’s. Fortunately, he leaves with the recipe.

IMG_2405

As soon as I saw the recipe I knew I had to try it. It’s easy, two-bowls-and-a-whisk kind of easy. And it uses no butter, just eggs and oil. Even more important, it calls for just two bananas, not three like most other recipes I have seen. But I decided to make one small but important change. I had bought a bag of coconut palm sugar, a kind of sugar extracted from the nectar of the coconut tree. It’s very trendy right now because it’s supposed to be better for you than regular cane sugar.

IMG_2408

I don’t care much about that claim. What intrigued me about it was its taste. It’s earthy and complex. There is butterscotch and coffee and coconut in there. I thought it would go well in this Hawaiian recipe for banana bread, so I substituted half of the white sugar with it.

IMG_2402

The end result is the best banana bread I have ever tasted, by far. Granted, the benchmark was already low, but this was heavenly. The cake is moist but not dense. The banana flavor is distinct but not overpowering. The coconut palm sugar gives it both darker notes and a little acidity.

No baritones or sopranos here. Just a good old folk singer singing on the beaches of Maui.

IMG_2417

Julia’s Best Banana Bread – Slightly adapted from Bon Appetit

Note: If you don’t have coconut palm sugar, you can use light brown sugar instead. Or you can just use all white sugar, as the original recipe does.

1 3/4 cup all-purpose flour
1 1/2 teaspoons baking soda
3/4 teaspoon kosher salt
3 large eggs
3/4 cup white sugar
3/4 cup coconut palm sugar (break up any lumps with your fingers)
1 cup mashed ripe bananas (about 2 large)
3/4 cup vegetable oil

Preheat oven to 350°. Coat a 9x5x3-inch loaf pan with vegetable oil. Dust with flour and tap out excess.

Whisk flour, baking soda, and salt in a medium bowl. In a large bowl, whisk eggs, sugars, and bananas until smooth. Add dry ingredients to banana mixture and stir gently, just until there no more traces of flour. Pour the batter into prepared pan.

Bake until a tester inserted into the center of bread comes out clean, 60-70 minutes. Transfer to a wire rack and let bread cool in pan for 15 minutes. Run a knife around inside of pan to release the bread. Turn out onto rack and let cool completely.

You can make this 3-days ahead and store it in an airtight container at room temperature. Or you can slice it and wrap individual slices (or pairs) in plastic wrap and freeze them. Take out of the freezer at least two hours before eating and leave on countertop, unwrapped, to defrost.

Poor Man’s Brioche

Do you like brioche bread? Yeah, I thought so. Who doesn’t like the rich, sweet taste of the golden yellow crumb and the faint bitterness of the caramelized crust, right? You know why you love brioche so much? This is why:

IMG_2212

Yeah, brioche is what’s known as an enriched bread, which means it’s not just flour, yeast, water, and salt, but it’s also butter and eggs and milk or cream. The good stuff! But who cares, right? Toasted brioche slices with butter and honey or brioche french toast with maple syrup is the stuff that make life worth living. Too bad that finding good brioche is so tough. And don’t tell me they sell it at the grocery store in a plastic bag because if you take a look at the ingredients list, you’ll see that you’re eating high fructose corn syrup with some flour thrown in for texture.

IMG_2201

Well, guess what? You can make your own brioche and it’s easy! Actually, it’s as easy as throwing stuff in a mixer, waiting, and folding a letter in thirds. No kneading and no fancy dough shaping.

Let me explain.

Making real brioche is tough. In The Bread Baker’s Apprentice: Mastering the Art of Extraordinary Bread by Peter Reinhart (one of the best books on bread making out there), there is a traditional recipe for brioche that takes two days and includes 2 cups of butter and 5 eggs for three brioche loaves. Yikes! But he also provides a recipe for what he calls a “Poor Man’s Brioche” which takes only a few hours and includes just 1/2 cup of butter and 4 eggs for two brioche loaves.

Yes, I said a few hours. I told you the recipe was easy. I didn’t say it was quick! But seriously, the vast majority of that time is just waiting for the dough to rise, so this is a perfect recipe for a lazy Sunday or a day off from work. I’ve adapted it here for you and I’ve included more detailed instructions so that even if you’ve never made bread or never baked anything, you can still do it.

You can thank me later 😉

Poor Man’s Brioche – Adapted from The Bread Baker’s Apprentice: Mastering the Art of Extraordinary Bread

1/2 cup (2.25 oz) flour (preferably bread flour but all purpose is fine too)
2 1/2 teaspoons active dry yeast or 2 teaspoons instant yeast
1/2 cup (4 oz) lukewarm whole milk (90°-100° F)
4 large eggs
3 1/4 cups (14.75 oz) flour (preferably bread flour but all purpose is fine too)
2 tablespoons sugar
1 1/4 teaspoons table salt
1/2 cup (one stick) unsalted butter at room temperature
1 egg, whisked till frothy for the egg wash

Lightly grease two 8.5 x 4.5 inch loaf pans. Dust with flour and shake out excess flour. Set aside.

In your mixer bowl, add the 1/2 cup flour, yeast, and lukewarm milk and stir with spoon until combined. Cover with plastic wrap and let it rise for 30-45 minutes until it looks frothy and risen. It should be pocked with burst bubbles. If it doesn’t seem to rise at all, put it somewhere warm (like your oven with just the light on). Don’t worry too much about how much it has risen. You just want the yeast to start working. This is now called the sponge:

IMG_2200
Add the four eggs to the risen sponge and whisk until everything is combined. Put the bowl onto the mixer and use either the paddle or the dough hook. In a separate medium bowl, stir or whisk together the 3 1/4 cups of flour, sugar and salt. Add everything to the mixer bowl and mix at low speed for a couple of minutes until everything is combined. At this point you’ll have a dry and shaggy dough. That’s fine. Stop the mixer and let it rest for 5 minutes.

IMG_2202

If you were using the paddle, switch to the dough hook. Start the mixer again and add the butter two tablespoons at a time. Wait until the butter is completely mixed in before you add the next two tablespoons. Once all the butter is mixed in, increase the speed to medium low and mix for about 6 minutes, until you get a smooth dough that clears the sides and bottom of the bowl.

IMG_2203

Take the dough out of the mixer bowl and put it in a lightly oiled bowl. Cover it with plastic wrap and let it rise for 90 minutes or until it doubles in size. Then comes the fun part. Take the risen dough out of the bowl and divide it into two equal pieces. Take one piece and place it on a lightly floured surface. Using your fingertips, pat it into a rectangle about 6 by 8 inches.

IMG_2205

Now, take the top and fold it halfway towards the bottom , like you would a letter. Use your fingertips to lightly press the edge into the dough.

IMG_2206

Now take the top edge again(the one that’s now double in thickness) and fold it down to meet the bottom edge. Use your fingertips again to press the dough edges together.

IMG_2207

That’s it. You can tuck in the side edges if you want but it’s not essential. Place the dough, seam side down, into the loaf pan and repeat with the other half of the dough. You’ll probably notice that the dough doesn’t even come close to filling the pans. That’s ok. This dough will rise a lot. You want it to be much smaller than the loaf pans, otherwise it won’t have to room to rise.

IMG_2208

At this point, preheat your oven to 350° F. Cover the loaf pans with plastic wrap and let them rise for about 60-70 minutes until the dough comes just above the rim of the loaf pans. Brush the tops with the beaten egg wash.

IMG_2211

Bake the two loaves for 35-40 minutes until the tops are dark golden brown. If you want to be really certain they’re done and you have a thermometer, you can stick it in the bottom of one of the loaves. If the internal temperature is above 190° F, they’re done. Let them cool in the pans for 15 minutes and then take them out and cool them completely on a rack.

IMG_2214

Brioche freezes very well. Wait until it’s completely cool, wrap it in tin foil and freeze it. When you want to have some, take it out and leave it on the countertop for at least 4 hours or overnight.