Burmese Semolina Cake

DSC02766

During my daily commute I often daydream about all kinds of stuff. One of my favorite daydreaming activities is trying to figure out what I would name my restaurant, if I were to open one. I have absolutely no intention to ever actually open a restaurant. It would take away all the joy of cooking and sharing food with others. But it’s fun to try and think of a name for this fantasy restaurant.

DSC02750

I don’t know how important a restaurant name is to its success. I’m sure that a really bad name (“Crappy’s” or “Slime and Sweat” or “Danger”) could sink a place. But is there really any difference if a place is called after the owner’s name or a combination of two food ingredients or some made up word that sounds appetizing? Probably not.

So for my restaurant, I’ve gone through many ideas. There are many Greek words related to food but a lot of them just don’t sound right in English or they are hard for Americans to pronounce right. The word for salt in the Cypriot dialect is “alas,” which in English is, according to the dictionary, “an expression of grief, pity, or concern.” The word for vinegar is “xydi” but it’s pronounced kseethee (with the th as in “they”).

DSC02754

It turns out, it’s really tough to find a good name for a restaurant. I’ve been going over this for a while now and I think I finally have a name. I would name my restaurant “Tatounna”. It has nothing to do with food, but it’s what I called my sister when we were little (I think it’s what she called herself first, because she couldn’t pronounce her actual name). My sister and I both love food, though she’s not as interested in cooking it as I am. But most of all, it’s a happy sounding name and it’s my sister, whom I love so very much.

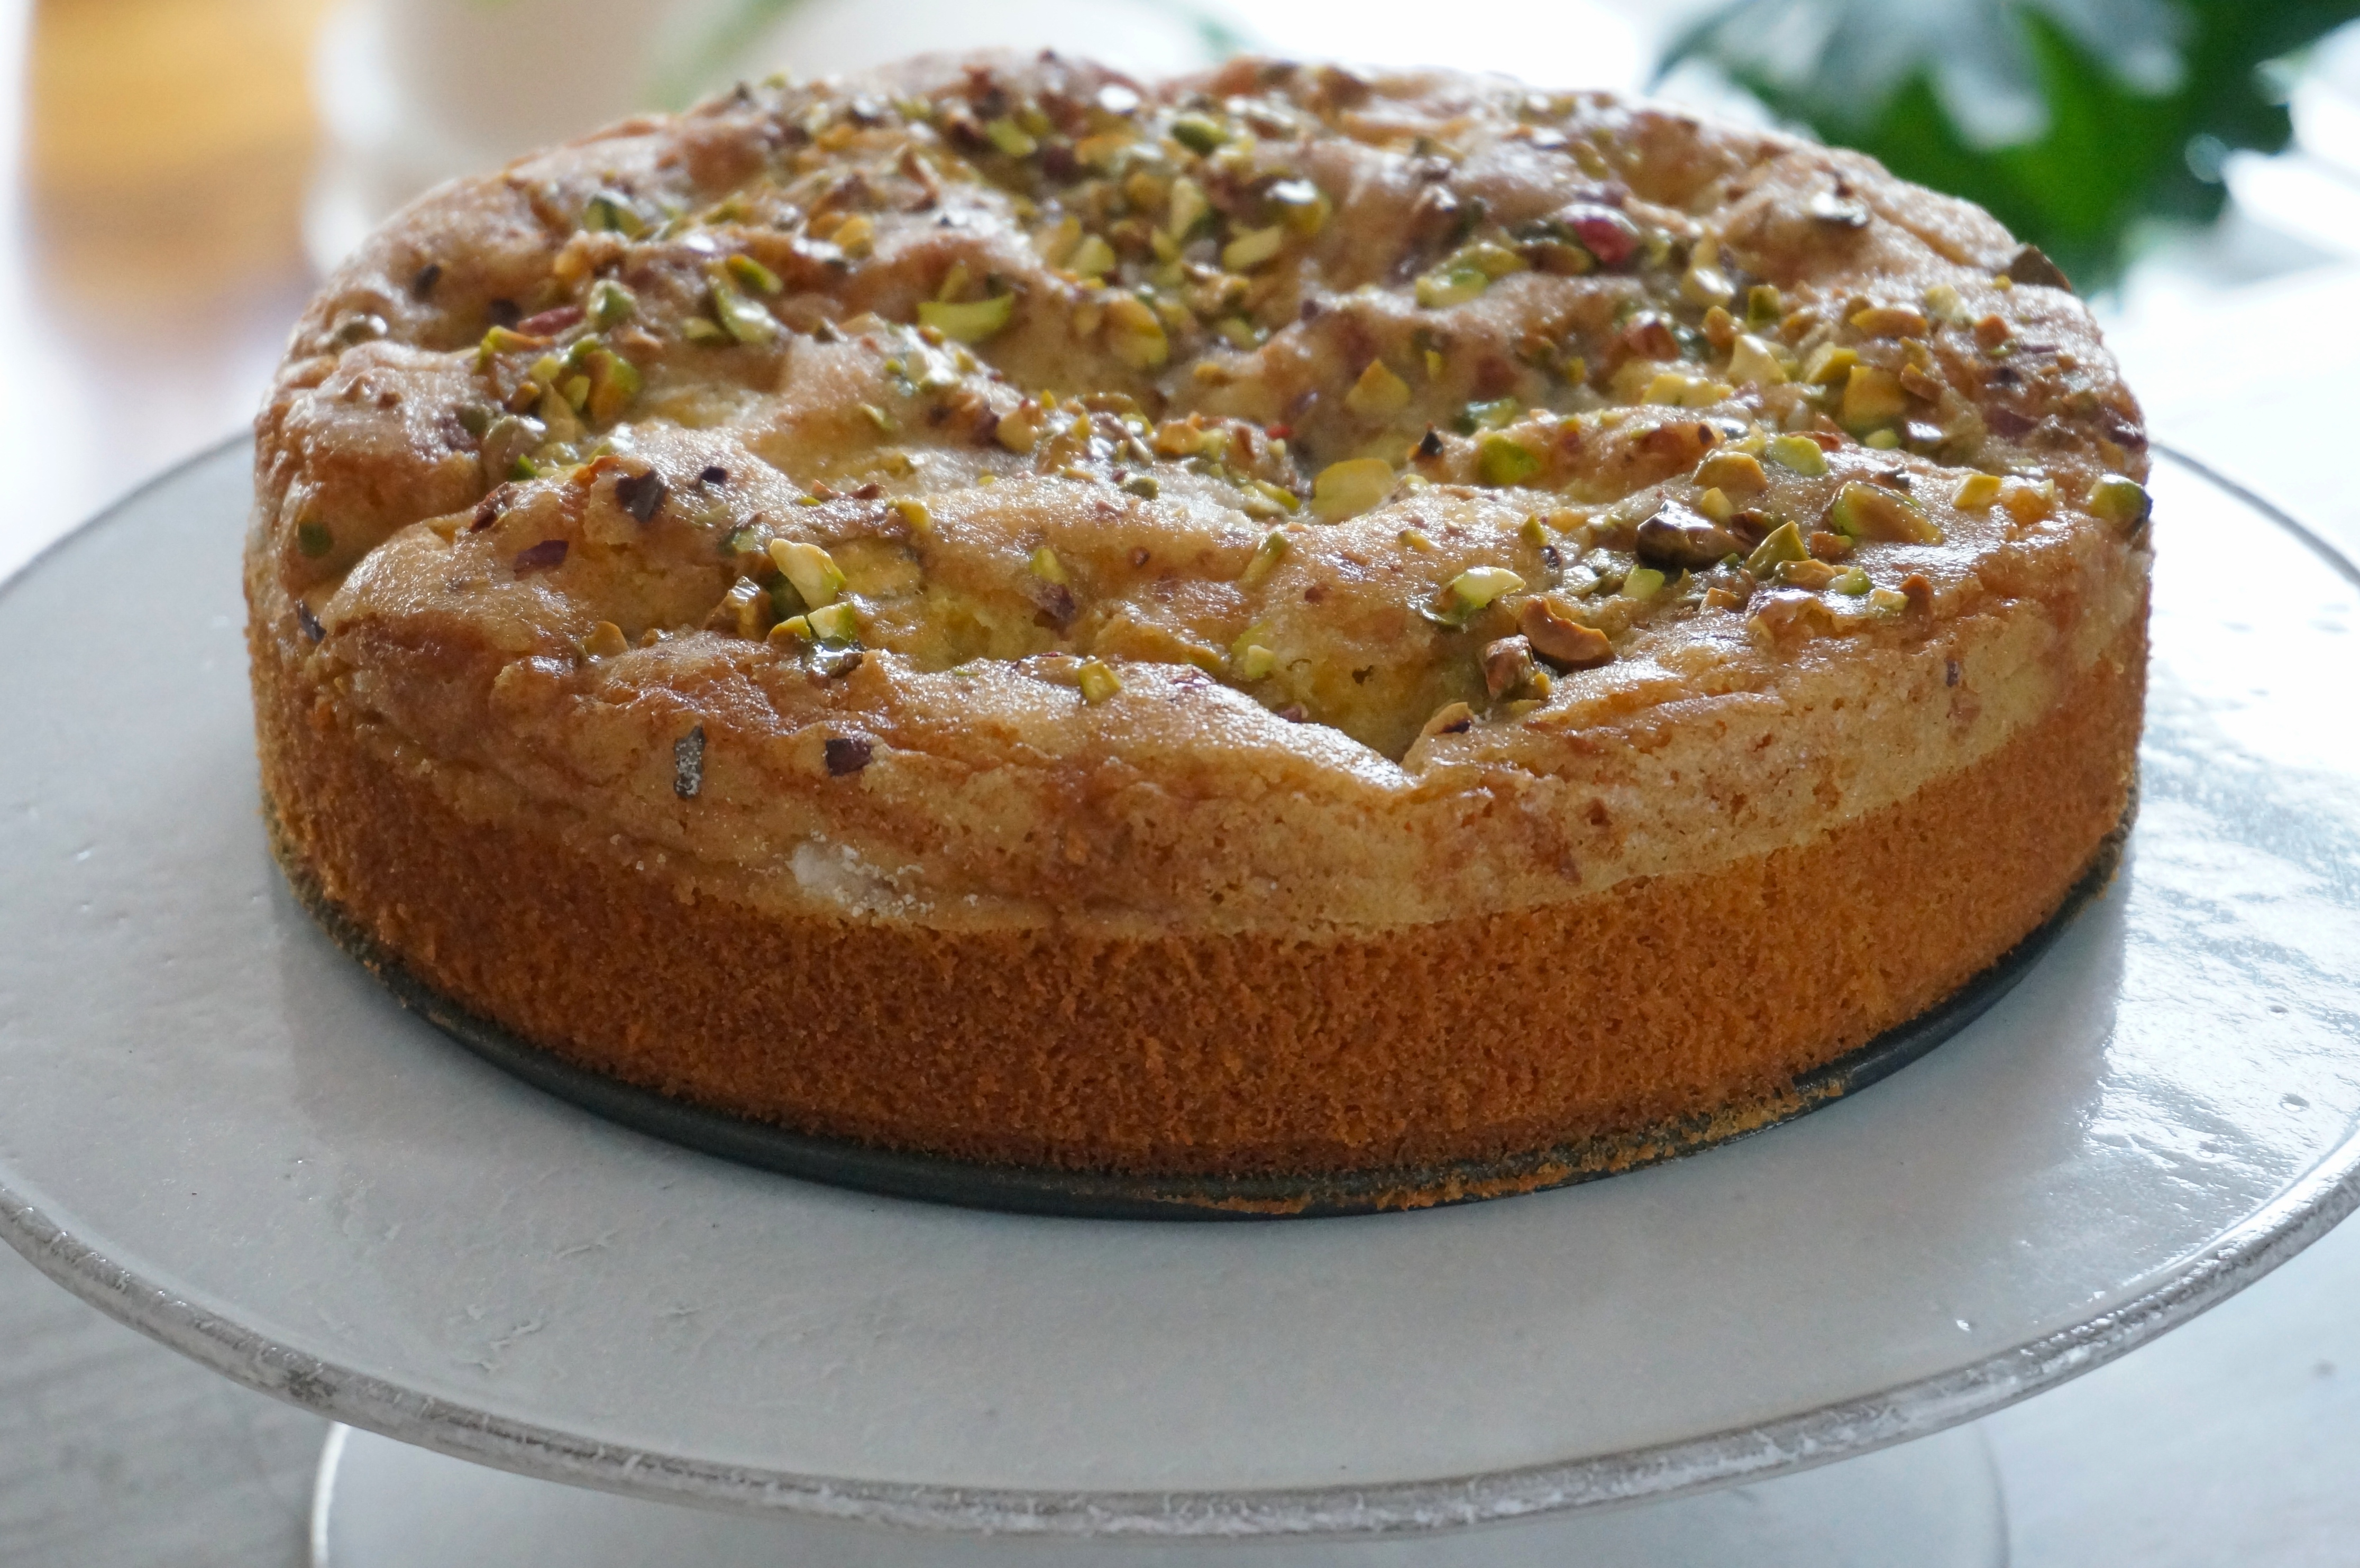
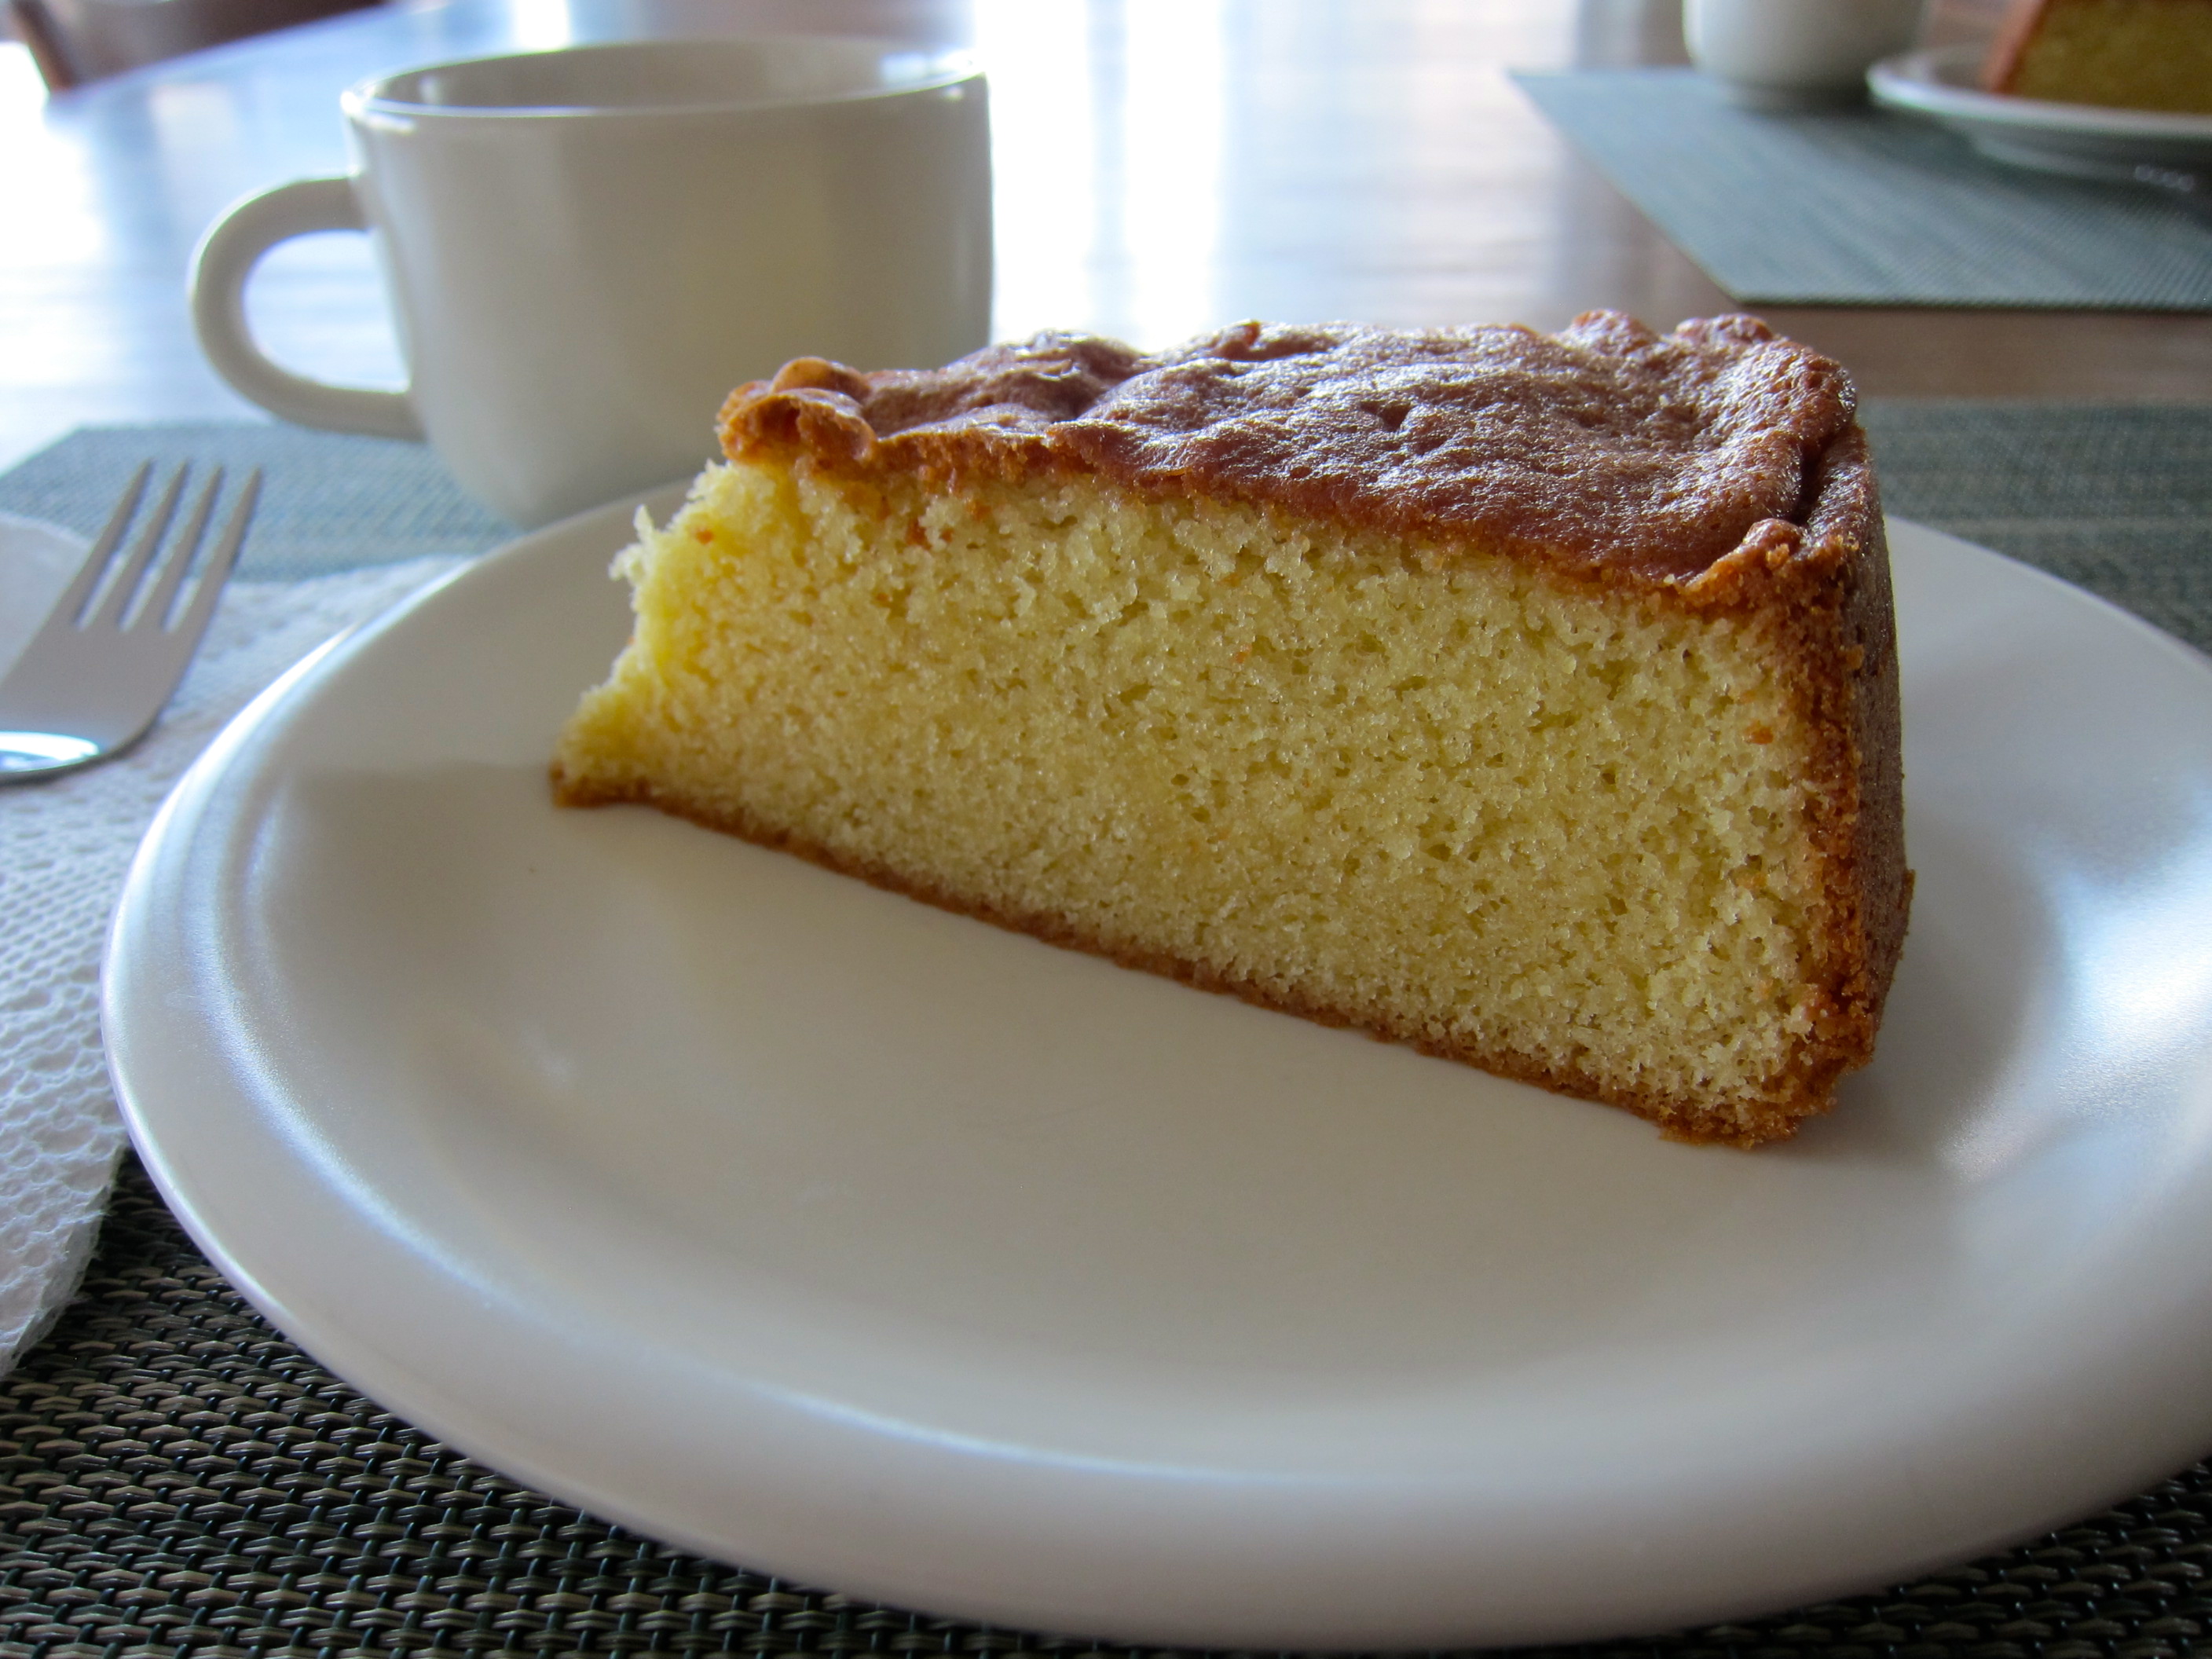
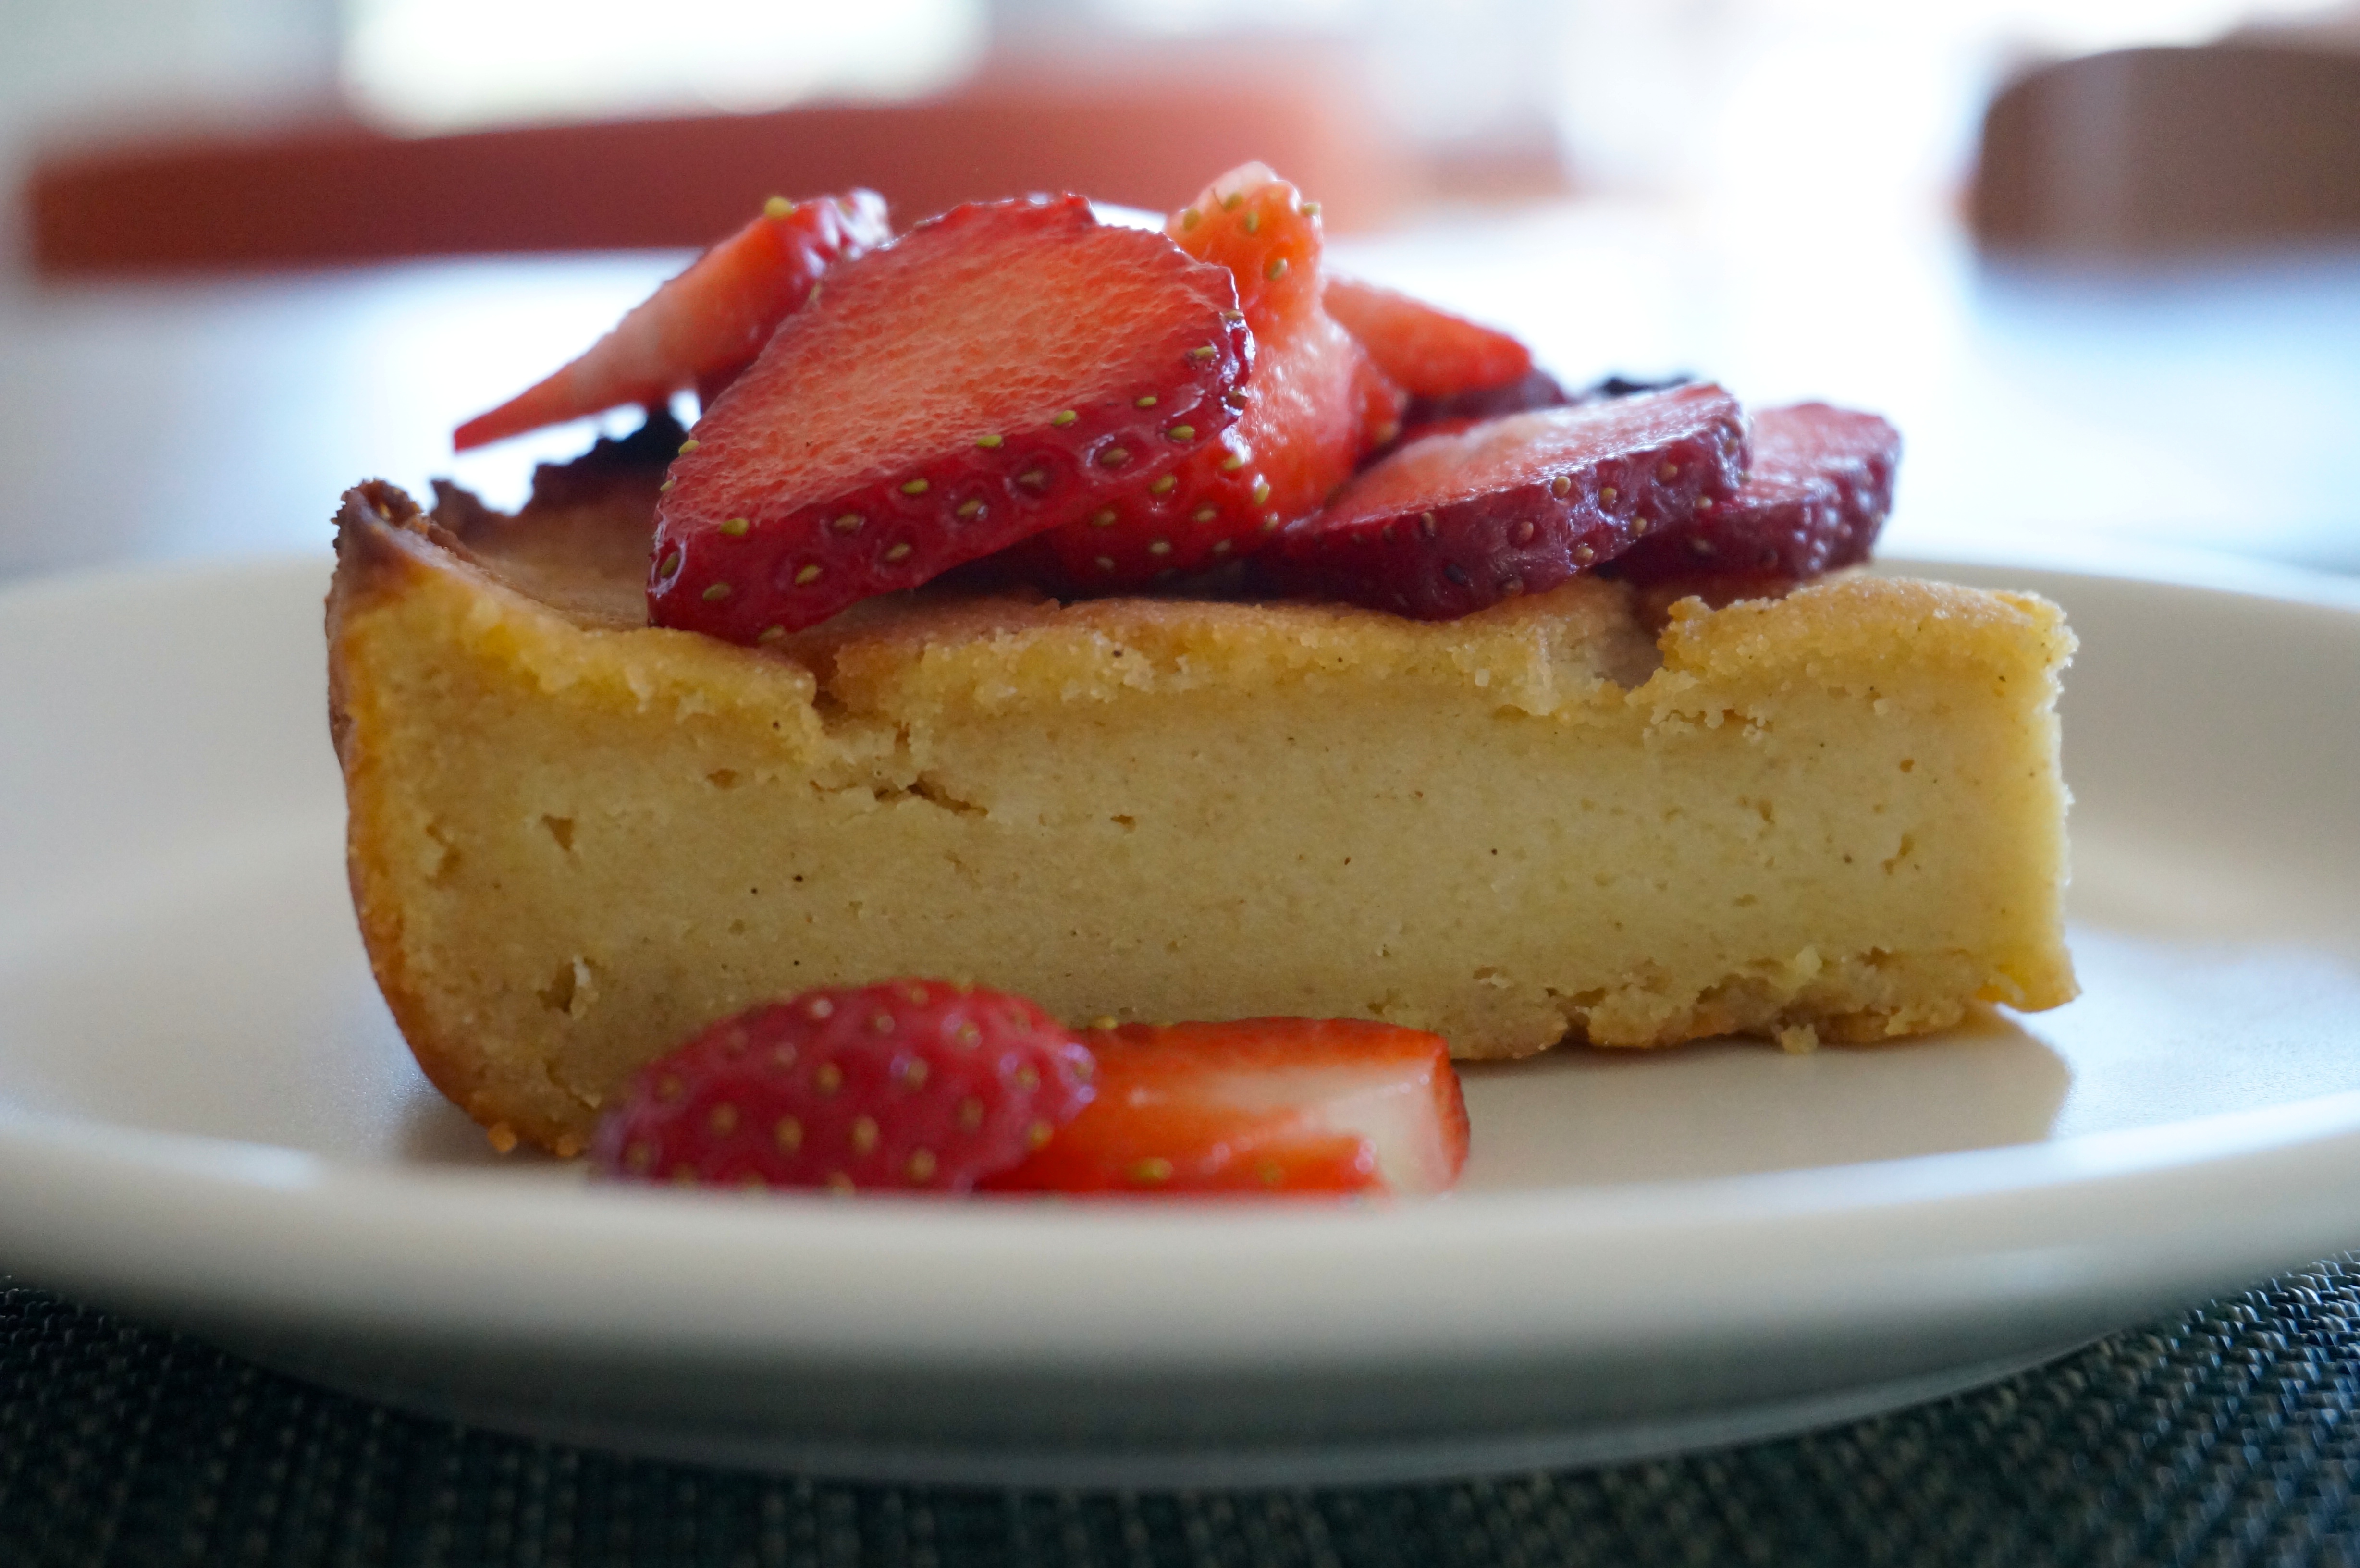
I probably wouldn’t serve this Burmese semolina cake at Tatounna restaurant. But I’ve found myself with a bunch of draft blog posts for recipes that involve apricots and plums and cherries. And the season for them is over. So, instead of giving you a recipe that you can’t make for another 10 months, Burmese semolina cake it is. It’s actually a peculiar cake. It’s dense and intensely fragrant with toasted semolina, but only slightly sweet, with the texture of a very thick and gritty pudding. It makes for a great afternoon snack or it can be topped with ice cream or fruit salad for a more complete dessert.
DSC02760


Burmese Semolina Cake – Slightly adapted from Bon Appétit

Ingredients:

2 tablespoons unsalted butter, melted, cooled slightly, divided, plus more
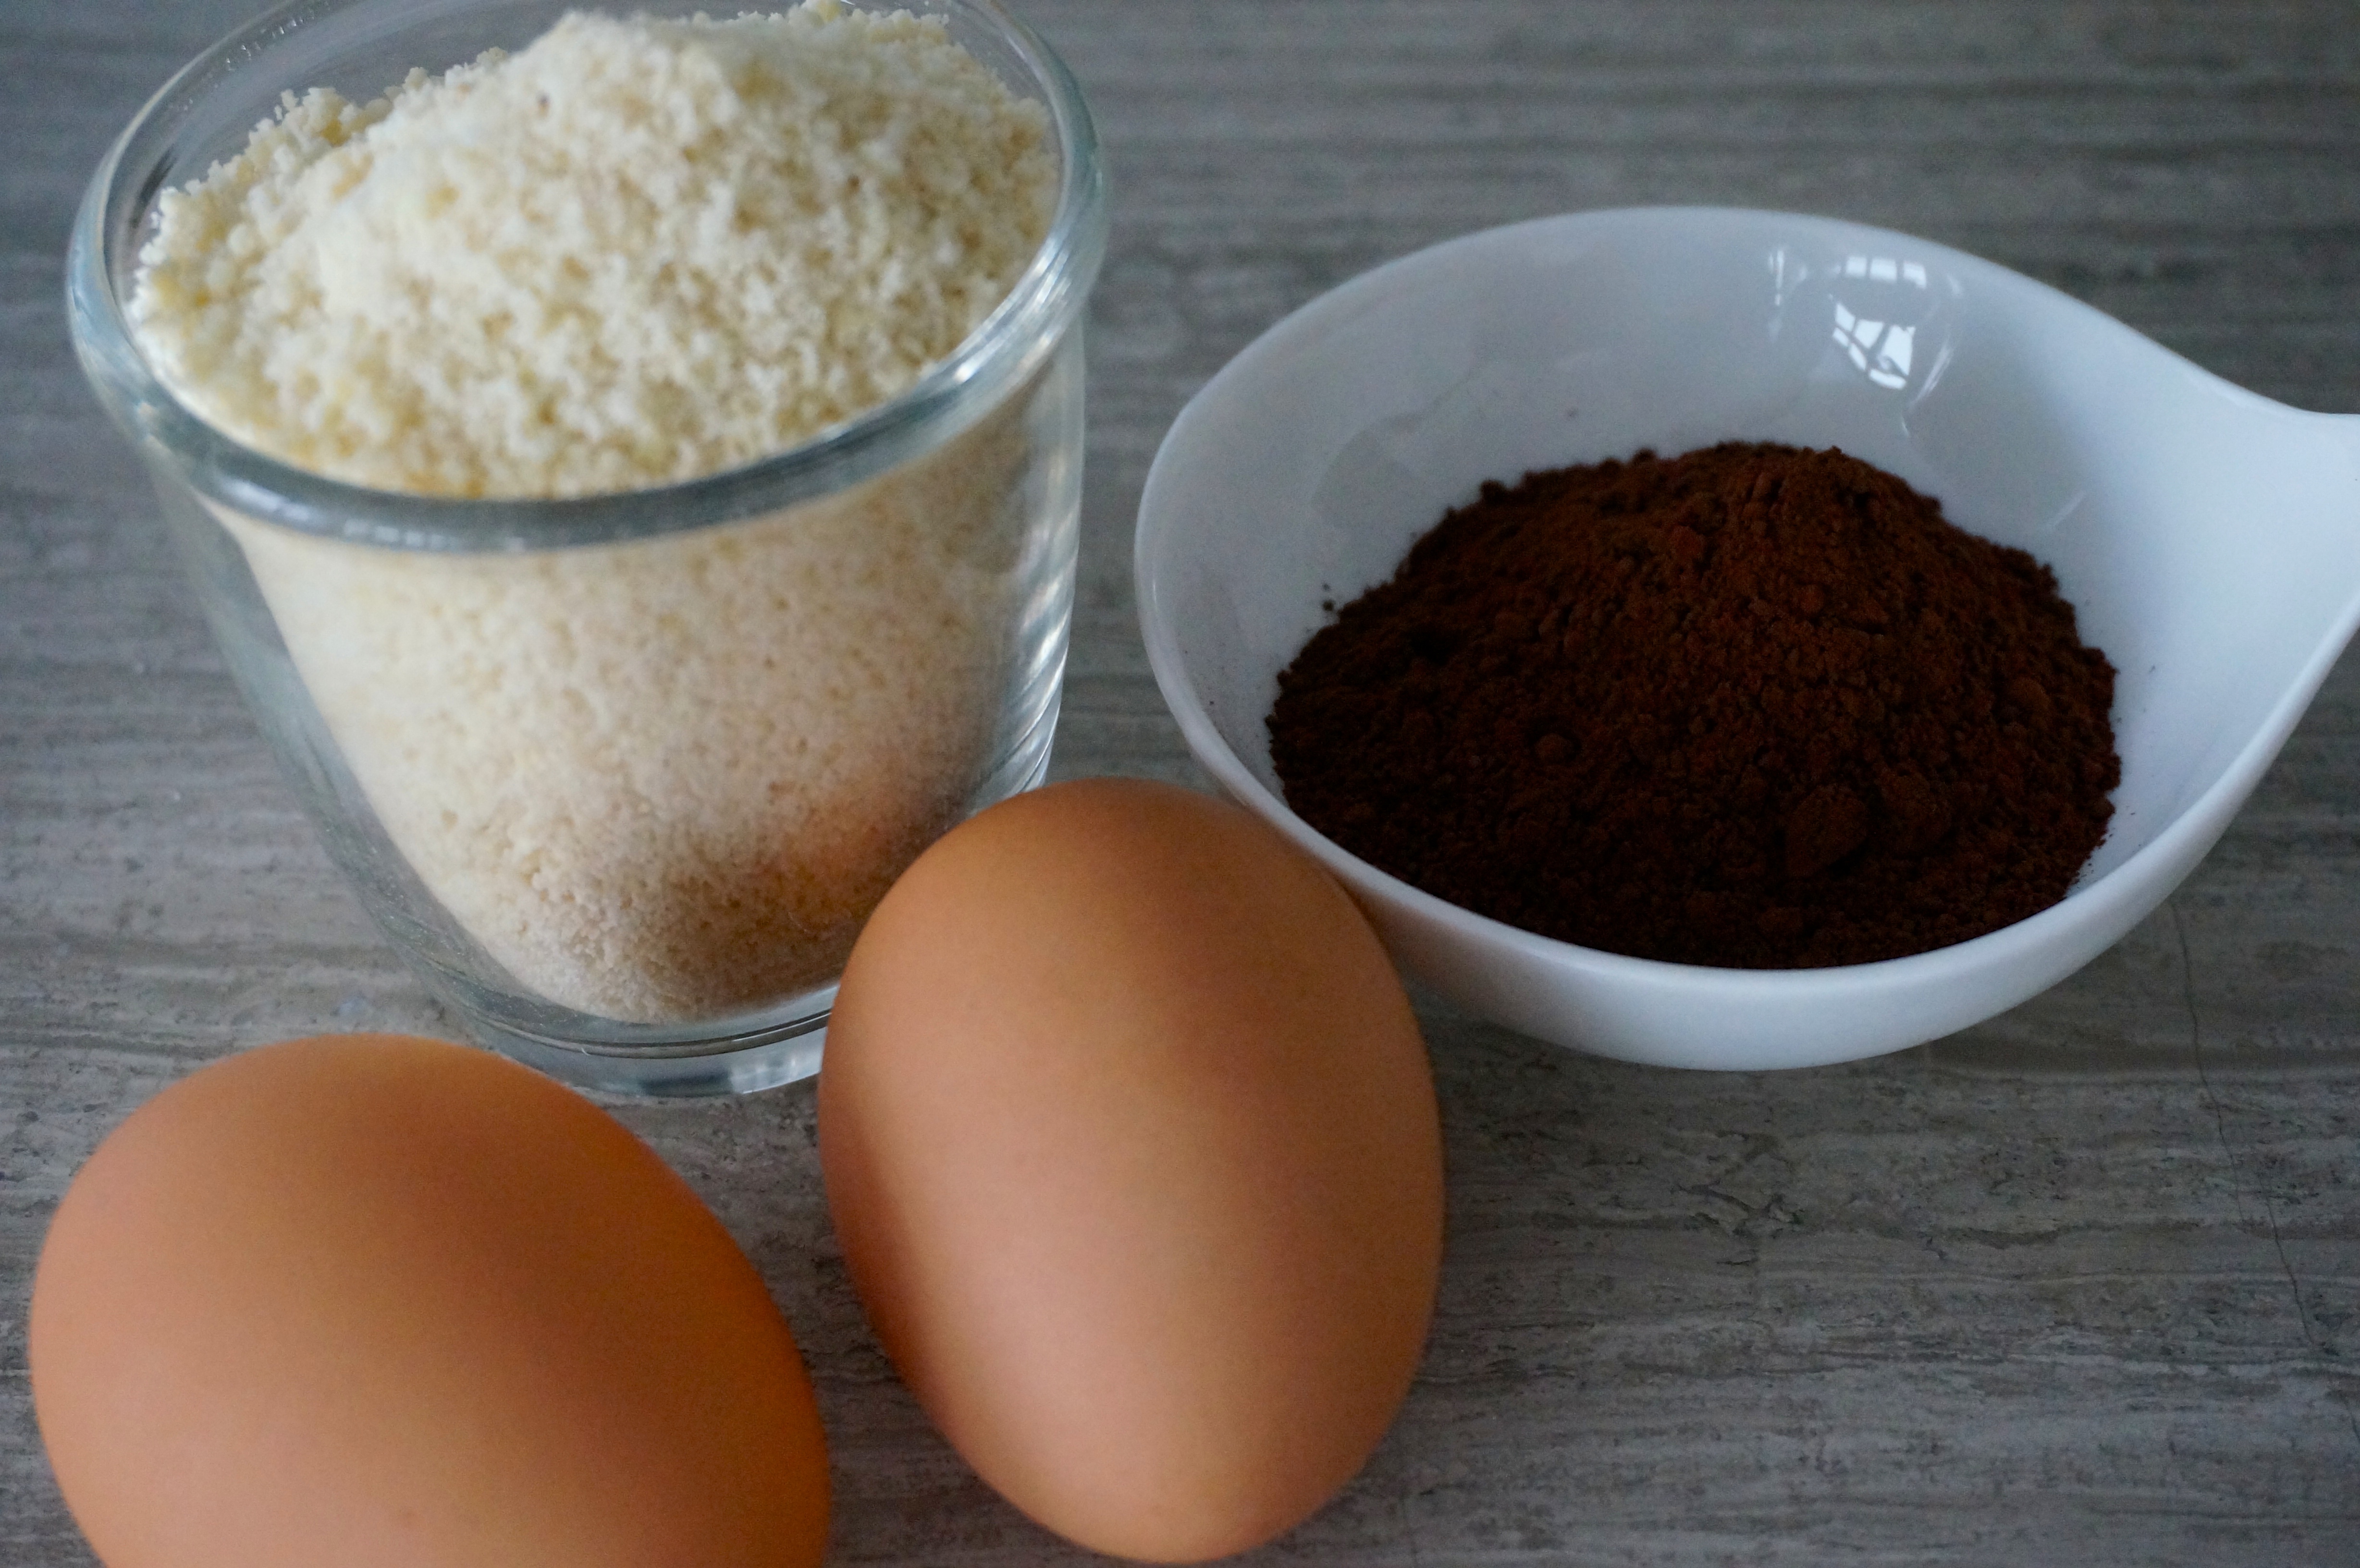
1¼ cups semolina flour
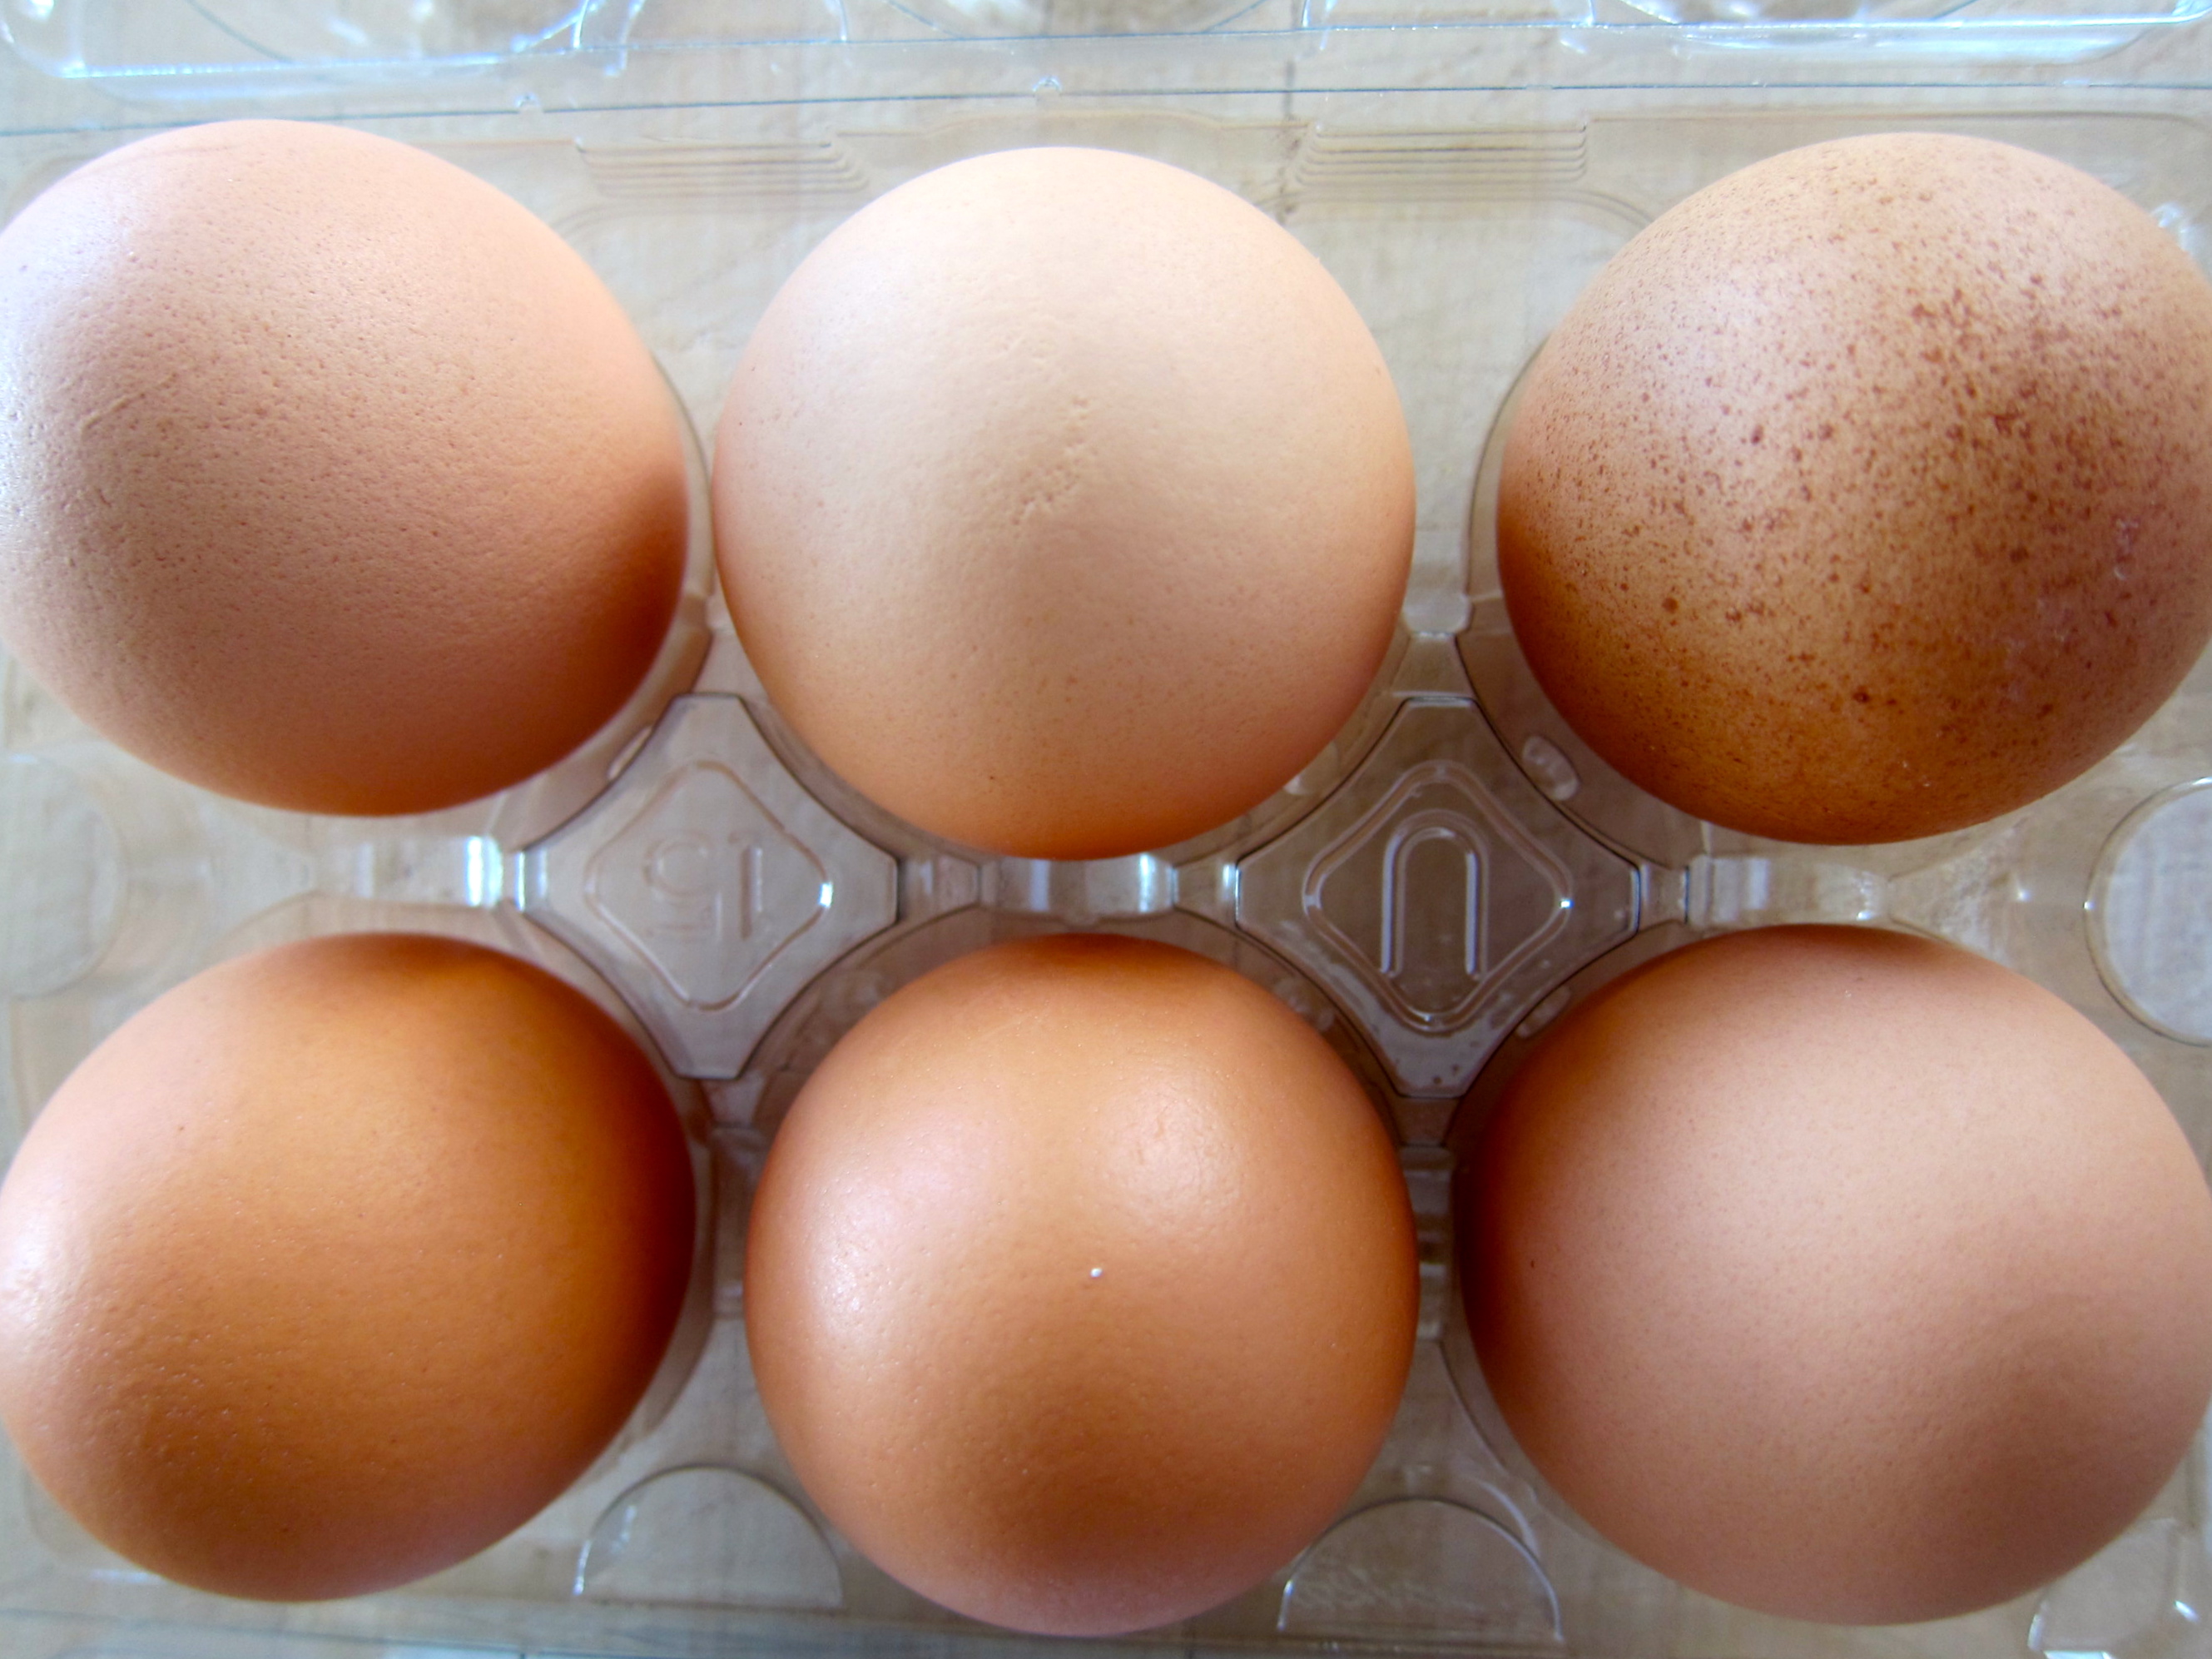
1 large egg
1 14-oz. can coconut milk
1½ cups half-and-half
⅓ cup sugar
1 teaspoon kosher salt

Directions:

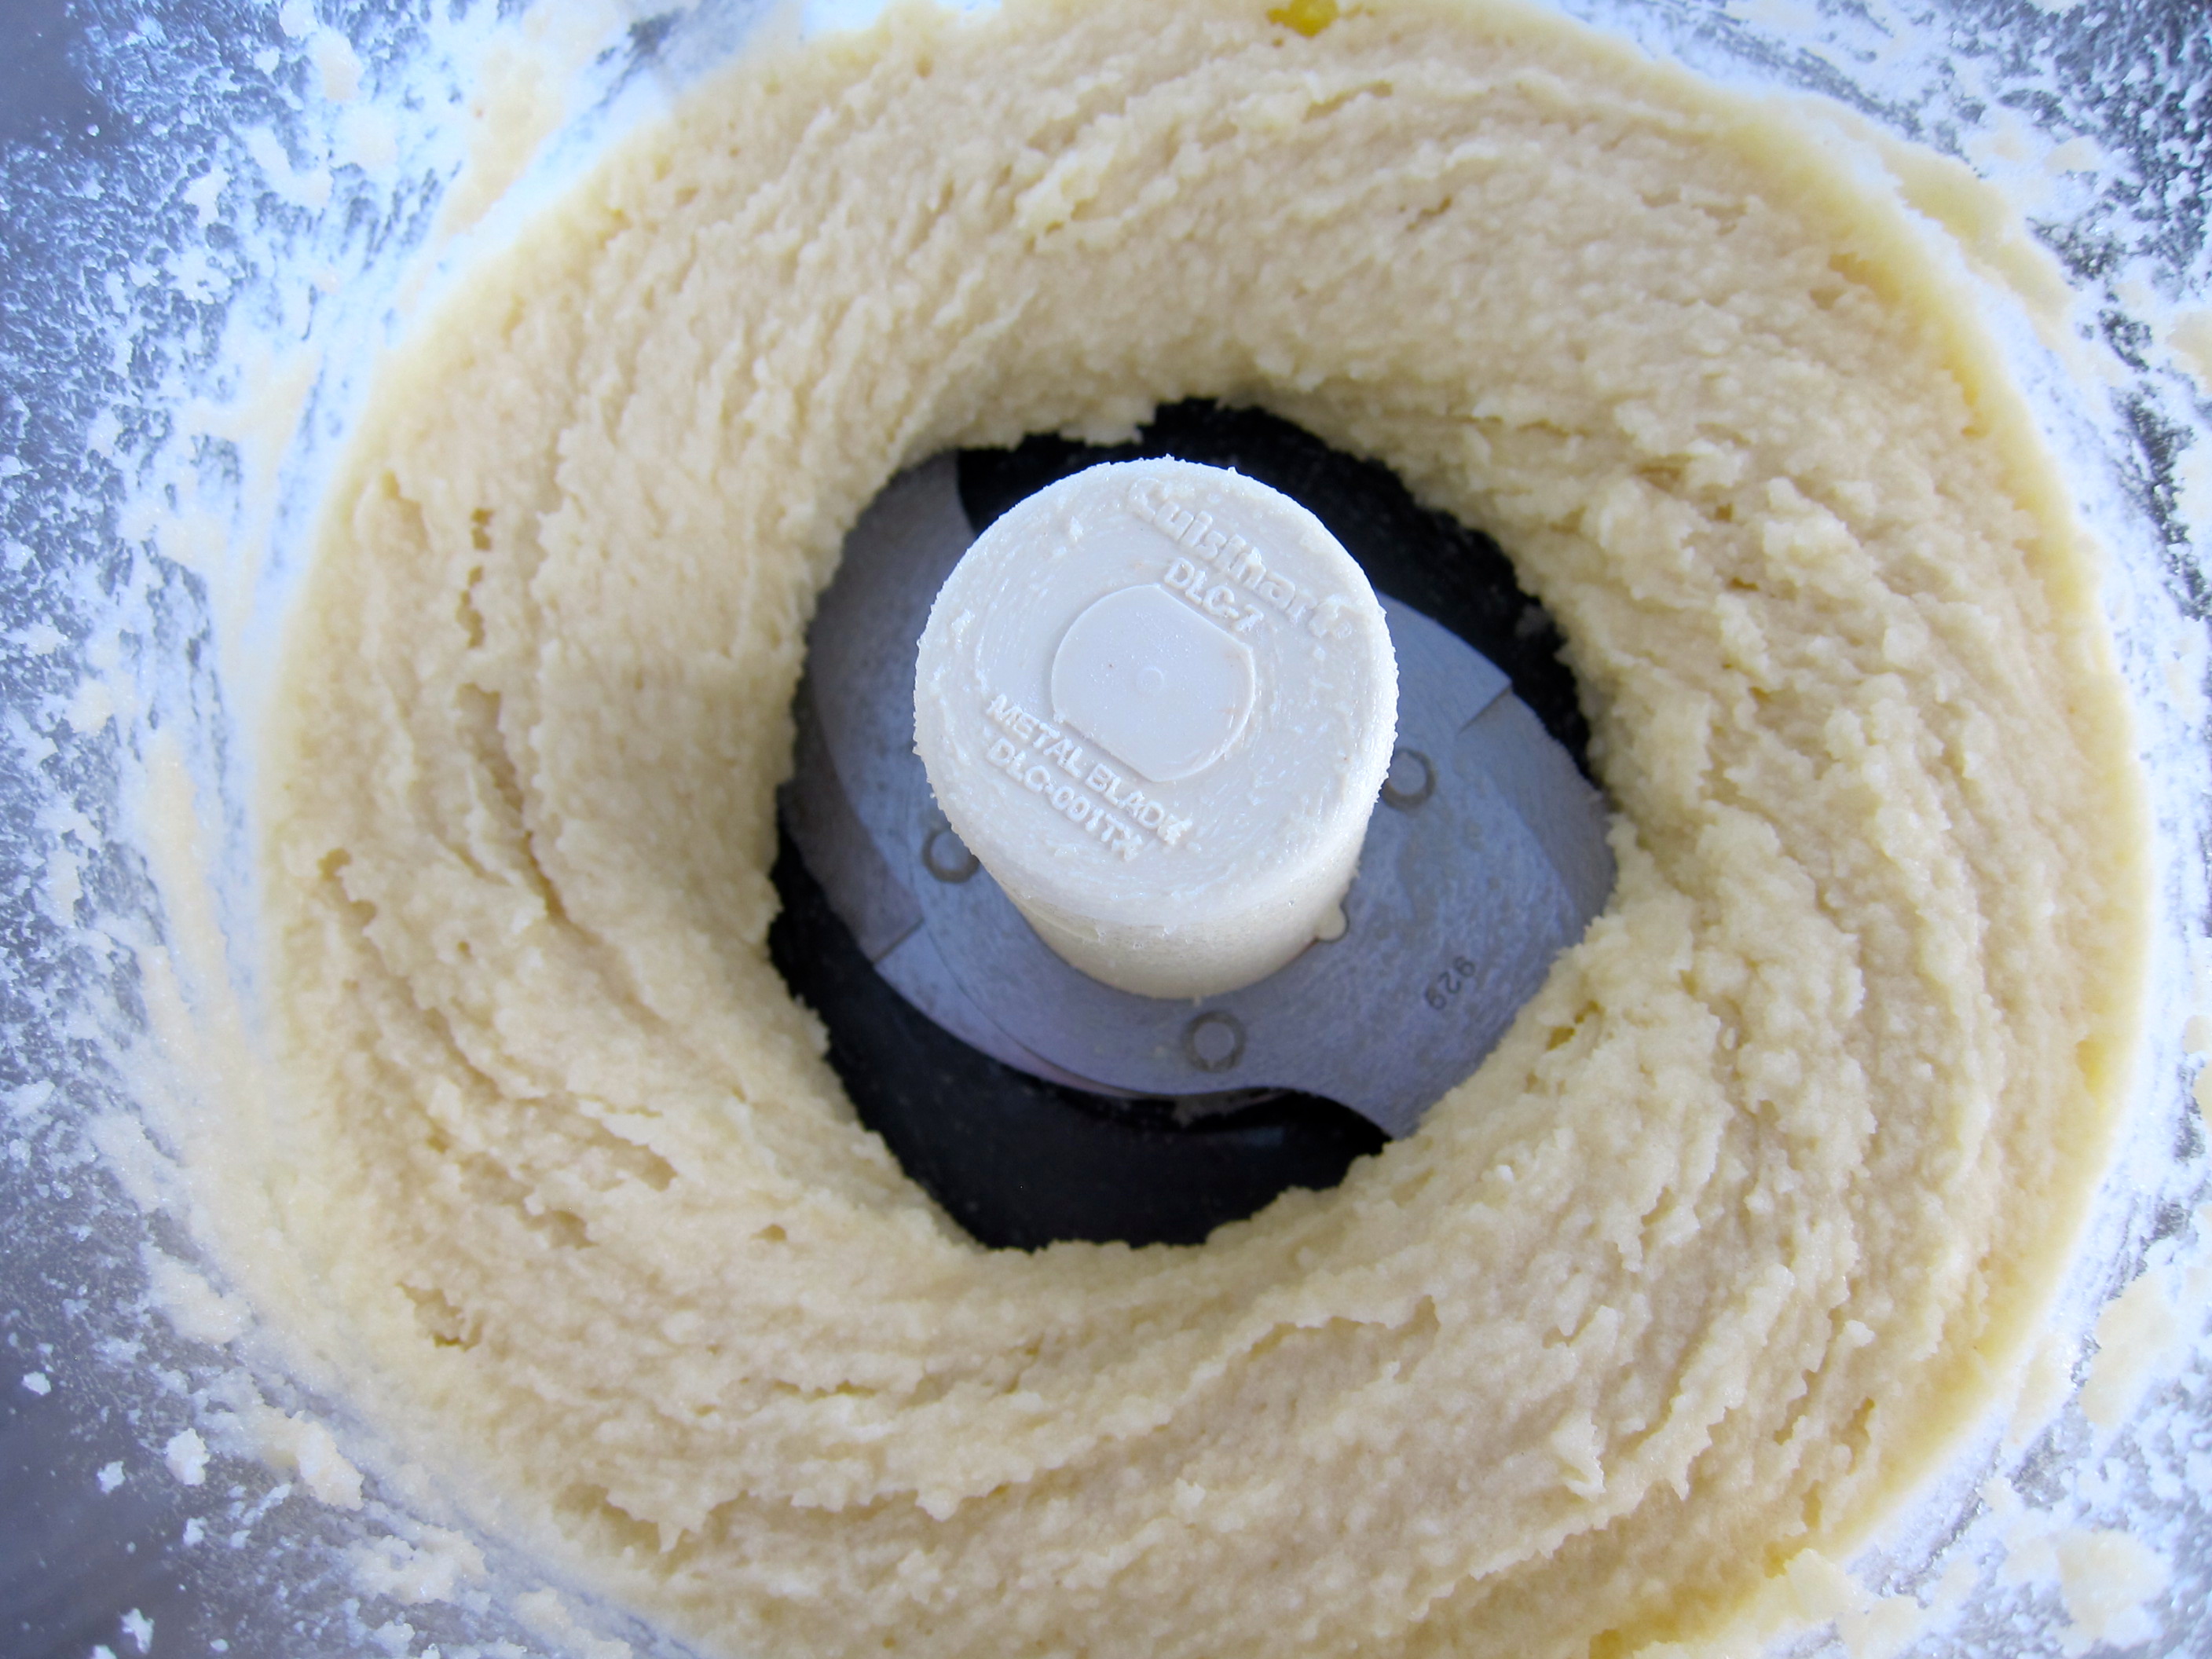
Preheat oven to 425°. Butter an 8×8” baking dish. Toast semolina in a large dry skillet over medium-high heat, stirring, until darkened and nutty-smelling, about 2 minutes. Let cool.

Whisk egg, coconut milk, half-and-half, sugar, salt, and 1 Tbsp. butter in a large saucepan. Gradually whisk in semolina and bring mixture to a boil over medium-high heat, whisking, until mixture is very thick and pulls away from the sides of saucepan, about 4 minutes. Scrape batter into baking dish.

Bake cake until golden brown and a tester inserted into the center comes out clean, 45–50 minutes. Transfer dish to a wire rack. Brush cake with remaining 1 Tbsp. butter; let cool slightly.

Double Chocolate Zucchini Bread

DSC03058

I am not a fan of the cherished American tradition of making desserts out of vegetables. I have never liked pumpkin pie. Sweet potato pie? Not for me. I’ll eat a slice of carrot cake but only because it’s usually covered in sugary, creamy frosting (though I did recently find this unfrosted recipe that I love). I think zucchini muffins are ok as a snack but as dessert? No way. It’s not because I don’t like the vegetables themselves. I love them. But only in savory dishes.

DSC03051

Maybe it’s an American vs. non-American thing. We tried to get our friends in Paris to have some pumpkin pie one year when we were celebrating Thanksgiving with them. They wouldn’t even touch it. For them, it was a double abomination. It was made out of pumpkin, a vegetable, and it included a healthy amount of cinnamon, a spice they associate with savory dishes and can’t understand why Americans put it in every dessert (I’m on the side of Americans on that one; I love cinnamon in desserts).

DSC03053

In any case, this is the time of year when people who are lucky enough to have vegetable gardens start to post pictures of all the zucchini they are getting and asking for recipes to use it up. Inevitably, zucchini bread recipes start appearing left and right. I usually ignore them. But when I saw this recipe for double chocolate zucchini bread, I was curious. I mean double chocolate! I am happy to report that a couple of hour later I had made the first zucchini bread I love.

Now, let’s be honest here. This is a chocolate cake. No, a double chocolate cake. The zucchini is a minor player. Really minor. You won’t even know it’s there. But heck, if you want an excuse to justify eating a slice of moist, rich, luscious chocolate cake, tell people this is a zucchini bread and that it’s actually “good for you.” And then walk away before they ask to try a bite out of your own slice.

DSC03065

Double Chocolate Zucchini Bread – Slightly adapted from The Kitchn

Ingredients:

1/2 vegetable oil
1 cup (7 ounces) granulated sugar
2 large eggs
2/3 cup (1 ounce) cocoa powder
1 teaspoon vanilla extract
1/4 teaspoon salt
2 teaspoons baking powder
2 cups coarsely grated zucchini
1 1/3 cups (6 ounces) all-purpose flour
1/2 cup semisweet chocolate chips

Directions:

Butter and flour an 8×5-inch loaf tin then preheat the oven to 350°F.

In a medium bowl, whisk together the cocoa, salt, baking powder, and flour.

In a large bowl, whisk together the oil, eggs, vanilla, and sugar until combined. Stir in the zucchini until combined.

Add dry ingredients to the wet ingredients and fold until combined (do not overmix). Fold in the chocolate chips.

Transfer the batter to the loaf tin and spread out using a spatula or the back of a spoon. Bake for 60 to 70 minutes until the cake has risen and a toothpick inserted into the center of the loaf comes out without batter on it (the toothpick might just have some melted chocolate on it from the chocolate chips).

Let the cake cool in the pan for 10 minutes before turning out onto a wire rack to finish cooling completely.

Lemon Cake with Raspberries and Pistachios

DSC03030

It seems to me that this year has given us an amazing berry season, at least in the Northeast. Not only for strawberries and raspberries, but this year we’ve eaten blackberries so sweet and juicy that it felt like we had never tasted real blackberries before. And the blueberries have been consistently great for weeks. I love this time of year, with all the amazing fruits and vegetables overflowing in market stands and grocery shelves. I always end up buying way too many so I’m always looking for ways to preserve the ones we’ll never manage to eat before they spoil. So, I end up making lots of jam in the summer, as well as some pickled vegetables.

DSC03028

This lemon cake with raspberries and pistachios is a fantastic way to use some of the beautiful raspberries of this season. When I saw the recipe in Bon Appétit, I was a little skeptical. I had already made a different raspberry cake with buttermilk and we were pretty happy with it. But I gave this recipe a try anyway. I’m so glad I did. This cake is spectacular! Its magic comes from the lemon syrup you brush on it as soon as it comes out of the oven. It soaks into the top part of the cake, so that when you eat it you get layers of sweetness and tanginess along with the distinctive floral taste of raspberries. And the pistachios and sprinkled sugar on top add a little crunch that makes the whole thing pop. And to top it all, it uses olive oil instead of butter, so it’s on the healthier side.

Believe me, you want to try this cake. It’s a total winner. And it also freezes beautifully (I freeze it in slices and defrost them on the countertop overnight), though it will probably disappear pretty quickly after it cools down.

DSC03024

Lemon Cake with Raspberries and Pistachios – Slightly adapted from Bon Appétit

Note: Do not be tempted to use less syrup than the recipe calls for. The cake needs it all.

Ingredients:

A little vegetable oil for greasing pan
1¾ cups all-purpose flour
1½ teaspoon baking powder
½ teaspoon kosher salt
4 large eggs
1¼ cups plus 2 Tbsp. sugar, separated
2 teaspoons vanilla extract
2 tablespoons finely grated lemon zest
1 tablespoon plus ¼ cup fresh lemon juice, separated
¾ cup olive oil
1 cup fresh raspberries (about 4 oz.)
3 tablespoons chopped pistachios

Directions:

Preheat oven to 350°. Lightly grease a 9” diameter cake pan or springform pan with vegetable oil. Whisk flour, baking powder, and salt in a small bowl.

Using an electric mixer, beat eggs and 1 cup sugar until light and fluffy, about 5 minutes. With mixer running, add vanilla, 1 Tbsp. lemon juice, and lemon zest then gradually add oil, mixing just until combined. Fold in dry ingredients.

Scrape batter into prepared pan and smooth top. Scatter berries over cake, then pistachios and 2 Tbsp. sugar. Bake cake until a tester inserted into the center comes out clean, 45–55 minutes.

While cake is baking, bring remaining ¼ cup sugar and remaining ¼ cup lemon juice to a boil in a medium saucepan, stirring to dissolve sugar; let lemon syrup cool.

Transfer hot cake (still in pan) to a wire rack and immediately brush with lemon syrup (use all of it). Let cake cool completely in pan.

Cake can be stored for two days, wrapped tightly at room temperature. It can also be frozen.

Gluten-free, Dairy-free Chocolate Orange Cake

DSC02255

This is what my cookbooks look like. Whenever I buy a new one I go through it and mark any recipe that looks like something I’d want to try. I like to use these nifty Post-it bookmarks that are clear where they attach to the page so that they don’t cover anything. As you can see from the photo (and this is only a small sample of the cookbooks I have), I end up with a lot of recipes that I want to try out. And this doesn’t include recipes from magazines and blogs, which I collect using the fantastic Paprika recipe manager app.

DSC02277

To make a long story short, I really shouldn’t be adding to my collection of recipes to try. But the other day I was reading a newspaper from back home online, when at the bottom of the page I noticed the title of a recipe: Incredibly Light Chocolate Orange Cake (without Flour).  I was intrigued. Chocolate and orange are one of my favorite flavor combinations (here’s looking at you, irresistible orangettes!). A quick look at the ingredient list revealed ground almonds as the substitute for flour and boiled, whole oranges as the substitute for butter. I was beyond intrigued. I had to try it.

DSC02240

The result was actually very interesting. A moist cake with a distinct chocolate taste but redolent with aromas of orange. I say aromas because the presence of orange in this cake goes beyond what you would get if you used only orange juice. Since it incorporates the entire fruit, you get the sweet and tangy flavor of the orange segments, the mellow bitterness of the pith, and the sharp taste of the orange oil from the rind. All together, it creates a not-too-sweet cake that begs for another bite, if only to decipher the complex combination of tastes hitting your tongue at the same time.

DSC02262

I know this post seems to come a day late, given that yesterday was Valentine’s day. But Steve and I don’t really do much on Valentine’s day, a day we feel ambivalent about. Back in my single days, I used to hold a dinner party for all my single friends, making beef bourguignon and a chocolate torte, all of us toasting to our singledom, in defiance of this silly holiday that taunted us.

Now that I think about it, given the bitter and sweet flavor combinations of this cake, it would perhaps make a perfect Valentine’s day cake, for both those in celebration of the day and those who don’t like it.

DSC02288

Gluten-free, Dairy-free Chocolate Orange Cake – Translated and slightly adapted from Phileleftheros

Ingredients:

2 small oranges, preferably organic/unsprayed (about 12 oz / 345 g)
2 tablespoons orange liqueur, like Grand Marnier
1 ½ teaspoon baking powder
½ teaspoon baking soda
½ cup unsweetened cocoa (2 oz / 55 g)
1 ¼ cups sugar (7 ¾ oz / 250 g)
2 cups ground almonds (7 oz / 200 g)
pinch of salt
6 large eggs

Directions:

Preheat the oven at 350º F (180º C). Lightly grease the bottom and sides of a springform 8″ (20 cm) cake pan. Cover the bottom of the pan with parchment paper.

Wash the oranges and place them in a medium-sized pot. Cover them with cold water and heat over medium-high heat until they come to a boil. Reduce the heat to low, cover, and let simmer for about 1 1/2 to 2 hours. Drain oranges and let cool. (Oranges can be boiled up to two days in advance and kept in the fridge)

Roughly chop the oranges, remove any pits, and place in the bowl of a food processor. Add liqueur and process until no pieces of orange are left. The mixture should be a relatively smooth pulp with small pieces of rind (it doesn’t have to become completely smooth). Add the baking powder, baking soda, cocoa, sugar, almonds, and a pinch of salt. Process until combined.

Add eggs one at a time, processing until each egg is combined. Pour mixture in prepared pan and bake for about 60 minutes, until a cake tester inserted in the middle comes out clean. Immediately run a sharp knife around the edge of the pan and place the pan on a cooling rack. Let cake cool completely in the pan.

Teddie’s Apple Cake

DSC01333

We just came back from a lovely weekend in the Hudson Valley, where we were visiting friends who have moved permanently there and opened a shop in Hudson, NY (It’s called Finch, and it’s amazing). The weather was beautiful, but there was the unmistakable chill of fall in the air.

And if you didn’t know it from the dying leaves, still showing some of their riotous colors of copper and sienna and gold yellows, or from the bright orange pumpkins crowding the farmer stands along the way, you certainly knew that fall was here from the abundance of apples everywhere.

DSC01331

It’s a funny season, the fall. Despite the many celebrations it holds (Halloween, Thanksgiving, Rosh Hashanah), it’s really a season of decay. The glorious life of the spring and summer, the flowers and trees and fruits just wither away during the fall, until the winter comes and everything goes into hibernation, in anticipation of the next spring.

DSC01327

But there are many reasons to love the fall. One of the biggest ones for me are apples. I love apples. So much can be done with them. Every fall, I start to crave apple desserts. Pies and cakes and crumbles and compotes. So, this fall I started with this recipe, which I found on the great Food52 Genius Recipes blog. Simple to make, this isn’t the prettiest of cakes. But it makes a hearty breakfast or a great accompaniment to tea or coffee on a cold fall afternoon. Or serve it with some caramel sauce drizzled over and some whipped cream and you have a dessert to die for.

DSC01343

Teddie’s Apple Cake Adapted from Food52

Note: The original recipe calls for raisins but I decided to use dried cherries because I like their tartness better. I also used pecans instead of walnuts because…well, I just don’t like walnuts.

The top of this cake is really crackly, so you want to make it in a pan where you don’t have to invert it to take it out. You can use a tube pan with a removable bottom, or you can line two loaf pans with parchment paper that is long enough to hang over the sides of the pan. That way, when the cake is finished, you just grab the two ends of the parchment paper and pull the cake out of the pan.

Ingredients:

Butter for greasing pan(s)
3 cups flour, plus more for dusting pan
1 1/2 cup vegetable oil
2 cups sugar
3 eggs
1 teaspoon salt
1 teaspoon cinnamon
1 teaspoon baking soda
1 teaspoon vanilla
3 cups peeled, cored, and thickly sliced tart apples like Honeycrisp or Granny Smith (from 2 large apples)
1 cup chopped pecans
1 cup dried cherries, roughly chopped

Directions:

1. Preheat oven to 350°F. Butter and flour a 9-inch tube pan. Or butter two loaf pans and line them with enough parchment paper that it overhangs on both long sides of each pan. In a medium bowl, whisk together 3 cups of flour, the salt, cinnamon and baking soda. Set aside.

2. Beat the oil and sugar together in a mixer until well combined, about 5 minutes. Add the eggs, one at a time, waiting until each is fully incorporated before adding the next. Beat until the mixture is thick and creamy. Add the vanilla, beat a few more seconds and then stop the mixer.

3. Add the flour mixture in the batter and fold in until just combined. Add the apples, pecans and dried cherries and stir just until combined.

4. Transfer the mixture to the prepared pan(s). Bake for 1 hour and 15 minutes, or until a toothpick inserted in the center comes out clean. Cool in the pan before lifting out.

Almond Cake

Almond Cake

There’s a great cookbook, called “Baked Elements: Our 10 Favorite Ingredients,”  written by the two guys that own the bakery Baked in Red Hook, Brooklyn. In it, they provide different recipes that use their favorite ingredients, including malt, caramel, and bananas. The book is great, the recipes fantastic, and the 10 favorite ingredients are spot on but there is one glaring omission, in my opinion: almonds, or more specifically almond paste.

IMG_2584

Something magic happens when you take almonds, mix them with sugar, and grind them into a paste, commonly known as marzipan if the sugar percentage is sufficiently high. They turn into something so addictive (at least for me), that I’ve been known to eat a whole stick of marzipan in one sitting. In fact, making marzipan is the first food I ever prepared.

IMG_2572

I was six years old when one day in school, our teacher taught us how to make amygdalota, marzipan that’s shaped into round fruit shapes, rolled into granulated sugar, and decorated with a single clove to resemble the fruit stem. I have never forgotten that day. The excitement of making the delicious amygdalota, bringing them home to show my mom, and then eating them on top of it all was just too much joy to ever forget it.

IMG_2571

Since then, I have loved anything and everything that uses almond paste, like this recipe for almond cake. This is an amazing cake. It’s moist and tender, with a distinct, but not overpowering flavor of almonds.

I have good news and not-so-good news about the cake. First, the good news. This is a single bowl cake, so it’s easy to make. The bowl in this case is the bowl of a food processor. Everything is added in order and processed to make the batter. It takes just a few minutes and you have very little to clean afterwards.

Now, the not-so-good news. You know how sometimes you’ll find an amazing recipe that uses really healthy ingredients but somehow makes something that tastes really rich and sinful? Well, this is the opposite kind of recipe. It uses lots of butter and eggs and sugar but the resulting cake tastes light and harmless. I’m not sure why, but I’d like to think that it’s the almond paste. In my book, it makes everything better.

IMG_2582

Almond Cake – Very slightly adapted from DavidLebovitz.com

1 1/3 cups (265g) sugar
7-8 ounces (198-225g) almond paste (not marzipan)
3/4, plus 1/4 cup (140g total) flour
1 cup (8 ounces, 225g) unsalted butter, at room temperature, cubed
1 1/2 teaspoons baking powder
3/4 teaspoon salt
1 teaspoon vanilla extract
6 large eggs, at room temperature

1. Preheat the oven to 325ºF (162ºC). Grease a 9- or 10-inch (23-25 cm) cake or spring form pan with butter, dust it with flour and tap out any excess. Line the bottom of the pan with a round of parchment paper.

2. In the bowl of a food processor, grind the sugar, almond paste, and 1/4 cup (35g) of flour until the almond paste is finely ground and the mixture resembles sand. It will only take a few seconds but make sure there are no clumps of almond paste left.

IMG_2573

3. In a small bowl, whisk together the remaining 3/4 cup (105g) of flour, baking powder, and salt.

4. Once the almond paste is completely broken up, add the cubes of butter and the vanilla extract, then process until the batter is very smooth and fluffy.

IMG_2574

5. Add the eggs one at a time, processing a bit before the next addition. Scrape the sides down as needed.

After you add all the eggs, the mixture may look curdled (mine didn’t). It’ll come back together after the next step.

6. Add half the flour mixture and pulse the machine a few times, then add the rest, pulsing the machine until the drying ingredients are just incorporated, but do not overmix.

7. Scrape the batter into the prepared cake pan and bake the cake for 65 minutes, or until the top is deep brown and feels set when you press in the center.

8. Remove the cake from the oven and run a sharp or serrated knife around the perimeter, loosing the cake from the sides of the pan. Let the cake cool completely in the pan.

Eliopitta / Ελιοπιττα (Olive and Mint Cake)

When I was a little kid I never did well in sports. I could never keep up with all the other kids and always ended up winded and tired, while everyone else was still running and kicking balls around. It was generally decided that I was just a “weak” kid, so I learned to live with that label and gave up on sports. It wasn’t until my early teen years that we found out the real reason for my “weakness.”

IMG_2567

I remember it was a night when my parents were out visiting some friends and my sister and I were home alone. This was a time when it was acceptable and safe to leave your young kids alone at home. I started coughing and the more I coughed, the harder it became for me to breathe, which made me cough even more, creating a vicious cycle that ended in my sister calling our parents and asking them to come home because I was having difficulty breathing.

IMG_2557

To make a long story short, we soon found out I had asthma (though it wouldn’t be until a couple of decades later that I would learn on my own that there is such a thing as exercise-induced asthma, explaining my “weakness” in sports). My parents were told to take me to an allergist, so one day my dad and I visited one. I still remember his office, a dark room that smelled of stale cigarettes (remember, this was in the early 80s) and old leather. He opened a large wooden box with several vials in it and pricked my arms to test my sensitivity to allergens. His verdict? I was allergic to olive tree blossoms.

IMG_2563

Now, keep in mind that I lived on a Mediterranean island. There were olive trees everywhere. There was even one outside my bedroom window, which my dad, in an attempt to help me, cut down completely. To this day, I don’t really believe that I have a specific allergy to olive blossoms. I do have seasonal allergies and I do have exercise-induced asthma. But olive blossoms specifically? Doubtful.

IMG_2560

Fortunately, the allergist didn’t tell us that I was allergic to olives themselves because I would then have missed out on this olive and mint savory cake that my mom made regularly. It was a great snack or quick breakfast that my sister and I loved to eat. It features a divine trinity of flavors: olives, mint, and onions. The onions turn sweet and combine with the briny saltiness of the olives, only to be confronted with the aromatic mint, in a combination that is as salient in my childhood as peanut butter and jelly is to most kids in the U.S.

IMG_2569

Eliopitta / Ελιοπιττα (Olive and Mint Cake)

Note: I like to make this cake in a bundt pan because that’s how my mom always made it but you can use two regular loaf pans instead. I’ve also made this into muffins that are great for a picnic or a party. If you make muffins, adjust the cooking time down.

4 eggs
1 12 oz can of evaporated milk (unsweetened)
1/3 cup olive oil (plus some more to grease pan)
2/3 cup vegetable oil
1 medium onion, chopped
1 cup of pitted, black olives, coarsely chopped
3 tablespoons chopped, fresh mint or 2 tablespoons of dried mint
3 cups (375 gr) all-purpose flour (plus some more for plan)
3 1/2 teaspoons baking powder

Preheat oven to 350°.

Use a little olive oil to grease either one bundt cake pan or two 9×5 inch loaf pans. Sprinkle with flour and shake out excess. Set pan(s) aside.

In the bowl of a mixer beat eggs well for a few minutes until they have expanded in volume and they are pale yellow and creamy. Add the evaporated milk and the oils and beat until combined.

In a medium bowl whisk together flour and baking powder. Add the flour mixture to liquids. Mix with a spatula until just combined. Do not overmix. Fold in olives, onions, and mint. Pour batter into prepared pan(s) and bake for about 50-60 minutes, until a knife inserted in the middle comes out clean.

Let cool in the pan for 10 minutes and then invert onto rack to cool completely.