Almond Flour Brownies (Gluten Free)

DSC05129

Back in February, when the weather was still cold and snowy, we decided to throw a winter chili party. We figured that it would be a great way to get everyone together and shake away the winter blues with some warm chili and lots of wine. We invited our friends who live in the city and made two big batches of chili: a Moroccan beef chili with raisins (that I will share with you at some point) and Steve’s vegetable chili. As always we made too much and had chili in the freezer for weeks afterwards. But it was worth it. The party was a hit. Everyone loved the food and, more importantly, the chance to hang out with everyone and catch up (or in some cases, meet for the first time).DSC05126

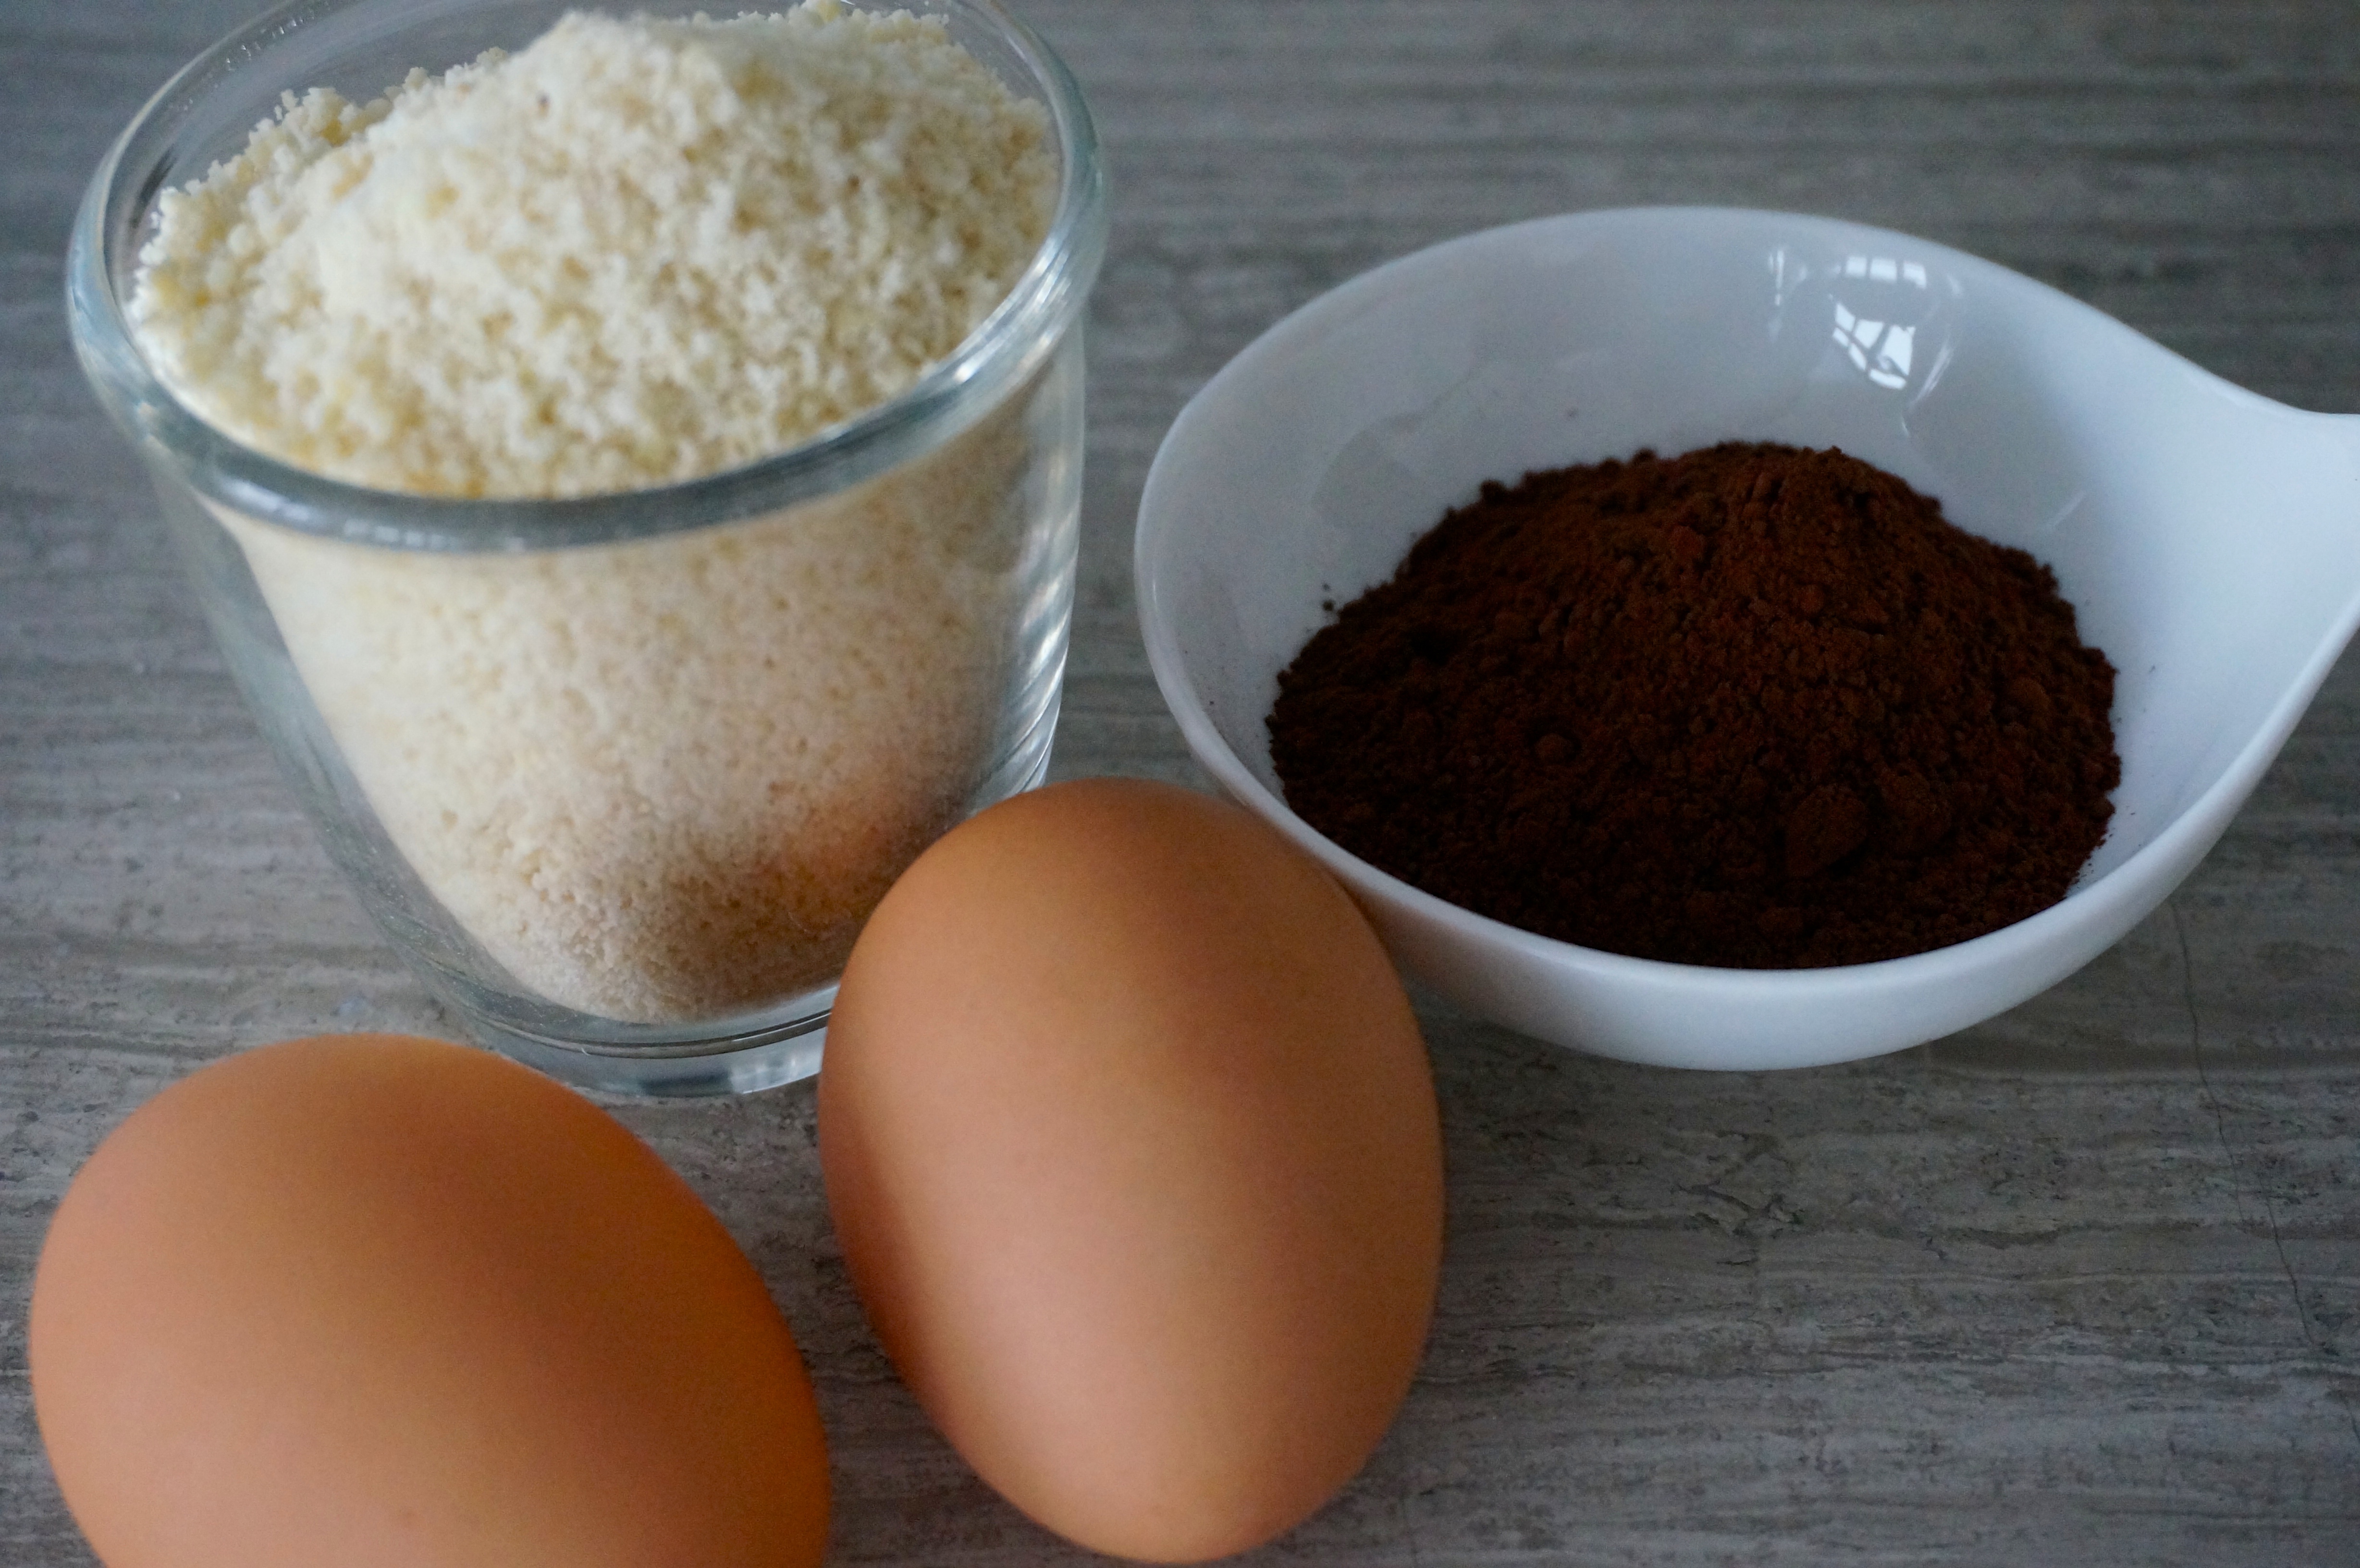
When it came time for dessert, I wanted to give people a couple of options. So, I made my mom’s pasta flora and for the second option, I decided to try a recipe I had bookmarked months before and was always curious about. It’s a recipe for brownies that uses only ground almonds and no flour at all (so it’s naturally gluten free). I’ll be honest, I didn’t think they would come out that great but I was really wrong. More than one person at the party (including myself) proclaimed them some of the best brownies they’ve ever had. They have a deeply rich chocolate taste and they’re chewy with a crackly top. The almond flour gives them a pretty unique texture that I don’t think I’ve ever experienced in a brownie before. And the best part? They are made in a single bowl with just a wooden spoon (or sturdy spatula). DSC04984

Almond Flour Brownies (Gluten Free) – Adapted from King Arthur Flour

Makes 9 large or 12-16 smaller brownies

Note: This recipe is all about the cocoa you use. Choose a good brand (like Valrhona) of  cocoa.

Ingredients:

1 3/4 cups sugar
5 tablespoons butter
1/2 teaspoon salt
1 teaspoon vanilla extract
3/4 cup cocoa powder, Dutch-process or natural
1 teaspoon baking powder
1 1/2 cups almond flour
3 large eggs
Flaky sea salt for topping (optional)

Directions:

Preheat the oven to 350°F. Grease an 8″ square pan or 9″ round pan; either should be at least 2″ deep. Place parchment paper in the pan, letting it overhang on both sides, to make it easier to remove brownies.

Place the sugar, butter, and salt in a large microwave-safe bowl. Heat on high for about 2 minutes, stopping it every 30 seconds and mixing it with a wooden spoon or a very sturdy spatula.

Add the vanilla and cocoa to the sugar mixture and using the wooden spoon or sturdy spatula, mix them well. Add the baking powder and almond flour and mix with the spoon/spatula until thoroughly combined. The mixture will be getting quite thick.

In a small bowl, lightly beat the eggs with a fork. Add the eggs to the sugar/cocoa/butter mixture and use the spoon/spatula to mix them until the batter becomes looser and shiny.

Pour the batter into the prepared pan, spreading it to the edges. Sprinkle a few flakes of flaky sea salt on top (optional).

Bake the brownies for 35 to 40 minutes, until the top is set and the middle still feels a little wobbly when you touch it (the edges will be more set). A cake tester or toothpick inserted in the center will come out with wet crumbs.

Remove the brownies from the oven and cool them for about 15 minutes before cutting. Once the brownies are cool, cover them tightly with plastic. Store at room temperature for several days or freeze for longer storage (they are delicious straight out of the freezer).

Pasta with Peas and Pine Nuts in Minted Yogurt Sauce

DSC04187

For three weeks, Steve and I went completely gluten free. It was meant to be a test, to see if gluten is the source of my joint problems that I’ve had for the last twenty years or so. It’s become almost a joke with my friends. “What’s hurting this week?” I seem to develop tendonitis at the drop of a hat, and in some cases it takes years to go away (or never has, like with my shoulder). I’ve had various blood tests that haven’t shown any severe allergies or auto immune disorders, but we thought that maybe I have an intolerance for gluten that isn’t full blown celiac disease. A friend of ours who does have celiac was a very good source of information on going gluten free. So, we both gave it a try. Here’s what happened in those three weeks:

  1. A blood vessel burst in Steve’s right eye (nothing serious, but it did fill the inside of his eye’s white with red blood)
  2. I developed a weird rash on my upper body and started getting itchy at night
  3. The pain in my hip that I’ve been trying to treat for two years and which had been getting a little better started getting worse
  4. I developed a persistent heartburn

You get the idea. We didn’t feel any different or better by giving up gluten, so we ruled out gluten as a source of problems for me. Though we did joke that all of the things that happened to us during those three weeks were due to a severe gluten deficiency.

Here’s what I did learn by going gluten free for three weeks:

  1. In some ways, it’s relatively easy. You can eat almost everything, except wheat, barley, and rye, which can hide themselves in foods without you realizing it. But because of the gluten free craze, everything is well labeled and most restaurants indicate gluten free dishes on their menus
  2. You also don’t have to give up cake or pancakes or any baked goods like that because there is a fantastic gluten free flour called Cup 4 Cup that works incredibly well. I made a few cakes with it and we couldn’t tell the difference.
  3. I some ways it’s also very hard. If you have celiac disease, then you have to worry about gluten cross-contamination. If someone uses the same knife to cut bread that they use to cut your meat, depending on the severity of your allergy you can get very sick. That’s very hard to control, especially when eating out in restaurants.
  4. Bread is virtually impossible to replicate without gluten. So is pizza crust. All of a sudden, because we couldn’t eat them, bread and pizza because something we craved endlessly. There are gluten free pizzas and breads, but none that we tried came close to the original.
  5. Pasta is a different deal. There are some great pastas made with non-wheat flours (like corn and quinoa) that taste fantastic and even have that pasta chewiness. And since most recipes for pasta (like the one here) use ingredients that are gluten free, you can eat pasta to your heart’s content.

Our gluten free experiment ended last Sunday with white bread toast, slathered with butter and apricot jam. We are considering going off sugar for three weeks next but that’s much tougher. For now, we’ll replenish the gluten in our body and go from there.

DSC04181

Pasta with Peas and Pine Nuts in Minted Yogurt Sauce – Adapted from Jerusalem: A Cookbook

Ingredients:

3/4 cup (7 oz; 200 g) whole-milk Greek yogurt
1/3 cup (75 ml) olive oil
1 small clove garlic, pressed or grated on microplane
10-12 mint leaves
finely grated zest of 1 lemon
10 oz fresh or thawed frozen peas
6 oz pasta shapes of your liking
1/4 cup (30 g) pine nuts
1 teaspoon Aleppo pepper (or 1/2 teaspoon red pepper flakes)
4 oz (120 g) feta cheese, coarsely crumbled

Directions:

In the bowl of a food processor, combine the yogurt, 3 tablespoons (45 ml) of the olive oil, the garlic, the mint leaves, the lemon zest, and 2 oz (about 1/3 cup) of the peas. Process to a uniform pale green sauce, and transfer to a large mixing bowl.

Cook pasta in boiling salted water until it is al dente. While the pasta cooks, warm the remaining olive oil in a small frying pan over medium heat. Add the pine nuts and Aleppo pepper or chile flakes, and cook for 2-3 minutes, or until the pine nuts are golden and the oil is deep red. Also, warm the remaining peas in some boiling water (you could use some of the pasta water for this) and drain them.

Drain the cooked pasta into a colander, and shake it well to get rid of excess water that may have settled into the pasta’s crevices. Add the pasta gradually to the yogurt sauce; adding it all at once may cause the yogurt to separate. Add the warm peas and feta. Toss gently. Taste and adjust salt. Serve immediately, with pine nuts and chile oil spooned over each serving.

Gluten-free, Dairy-free Chocolate Orange Cake

DSC02255

This is what my cookbooks look like. Whenever I buy a new one I go through it and mark any recipe that looks like something I’d want to try. I like to use these nifty Post-it bookmarks that are clear where they attach to the page so that they don’t cover anything. As you can see from the photo (and this is only a small sample of the cookbooks I have), I end up with a lot of recipes that I want to try out. And this doesn’t include recipes from magazines and blogs, which I collect using the fantastic Paprika recipe manager app.

DSC02277

To make a long story short, I really shouldn’t be adding to my collection of recipes to try. But the other day I was reading a newspaper from back home online, when at the bottom of the page I noticed the title of a recipe: Incredibly Light Chocolate Orange Cake (without Flour).  I was intrigued. Chocolate and orange are one of my favorite flavor combinations (here’s looking at you, irresistible orangettes!). A quick look at the ingredient list revealed ground almonds as the substitute for flour and boiled, whole oranges as the substitute for butter. I was beyond intrigued. I had to try it.

DSC02240

The result was actually very interesting. A moist cake with a distinct chocolate taste but redolent with aromas of orange. I say aromas because the presence of orange in this cake goes beyond what you would get if you used only orange juice. Since it incorporates the entire fruit, you get the sweet and tangy flavor of the orange segments, the mellow bitterness of the pith, and the sharp taste of the orange oil from the rind. All together, it creates a not-too-sweet cake that begs for another bite, if only to decipher the complex combination of tastes hitting your tongue at the same time.

DSC02262

I know this post seems to come a day late, given that yesterday was Valentine’s day. But Steve and I don’t really do much on Valentine’s day, a day we feel ambivalent about. Back in my single days, I used to hold a dinner party for all my single friends, making beef bourguignon and a chocolate torte, all of us toasting to our singledom, in defiance of this silly holiday that taunted us.

Now that I think about it, given the bitter and sweet flavor combinations of this cake, it would perhaps make a perfect Valentine’s day cake, for both those in celebration of the day and those who don’t like it.

DSC02288

Gluten-free, Dairy-free Chocolate Orange Cake – Translated and slightly adapted from Phileleftheros

Ingredients:

2 small oranges, preferably organic/unsprayed (about 12 oz / 345 g)
2 tablespoons orange liqueur, like Grand Marnier
1 ½ teaspoon baking powder
½ teaspoon baking soda
½ cup unsweetened cocoa (2 oz / 55 g)
1 ¼ cups sugar (7 ¾ oz / 250 g)
2 cups ground almonds (7 oz / 200 g)
pinch of salt
6 large eggs

Directions:

Preheat the oven at 350º F (180º C). Lightly grease the bottom and sides of a springform 8″ (20 cm) cake pan. Cover the bottom of the pan with parchment paper.

Wash the oranges and place them in a medium-sized pot. Cover them with cold water and heat over medium-high heat until they come to a boil. Reduce the heat to low, cover, and let simmer for about 1 1/2 to 2 hours. Drain oranges and let cool. (Oranges can be boiled up to two days in advance and kept in the fridge)

Roughly chop the oranges, remove any pits, and place in the bowl of a food processor. Add liqueur and process until no pieces of orange are left. The mixture should be a relatively smooth pulp with small pieces of rind (it doesn’t have to become completely smooth). Add the baking powder, baking soda, cocoa, sugar, almonds, and a pinch of salt. Process until combined.

Add eggs one at a time, processing until each egg is combined. Pour mixture in prepared pan and bake for about 60 minutes, until a cake tester inserted in the middle comes out clean. Immediately run a sharp knife around the edge of the pan and place the pan on a cooling rack. Let cake cool completely in the pan.