I like my bananas firm and just turned yellow, with a hint of green still visible. Once they fully ripen, get brown spots, and turn super sweet, I don’t want to eat them anymore. What I usually do is blend them with other fruit and some orange juice for a breakfast smoothie.

I know that most people like to make banana bread with overripe bananas, but I’ve never cared for the banana breads I’ve tasted. They are often cake baritones: heavy, overly sweet, and dense. I always feel like they need some tenor, or even soprano, flavor notes in there. But I never attempted to make one of my own because all the recipes I saw seemed to pretty much be variations on a pound cake with added mashed bananas.
This changed when Bon Appetit ran an article called “A Slice of Paradise: Andrew McCarthy’s Banana Bread Quest.”In it, the actor Andrew McCarthy (yeah, that Andrew McCarthy, from Pretty in Pink) talks about his search for the best banana bread on the island of Maui in Hawaii. He finds it at a remote, little roadside stand called Julia’s. Fortunately, he leaves with the recipe.

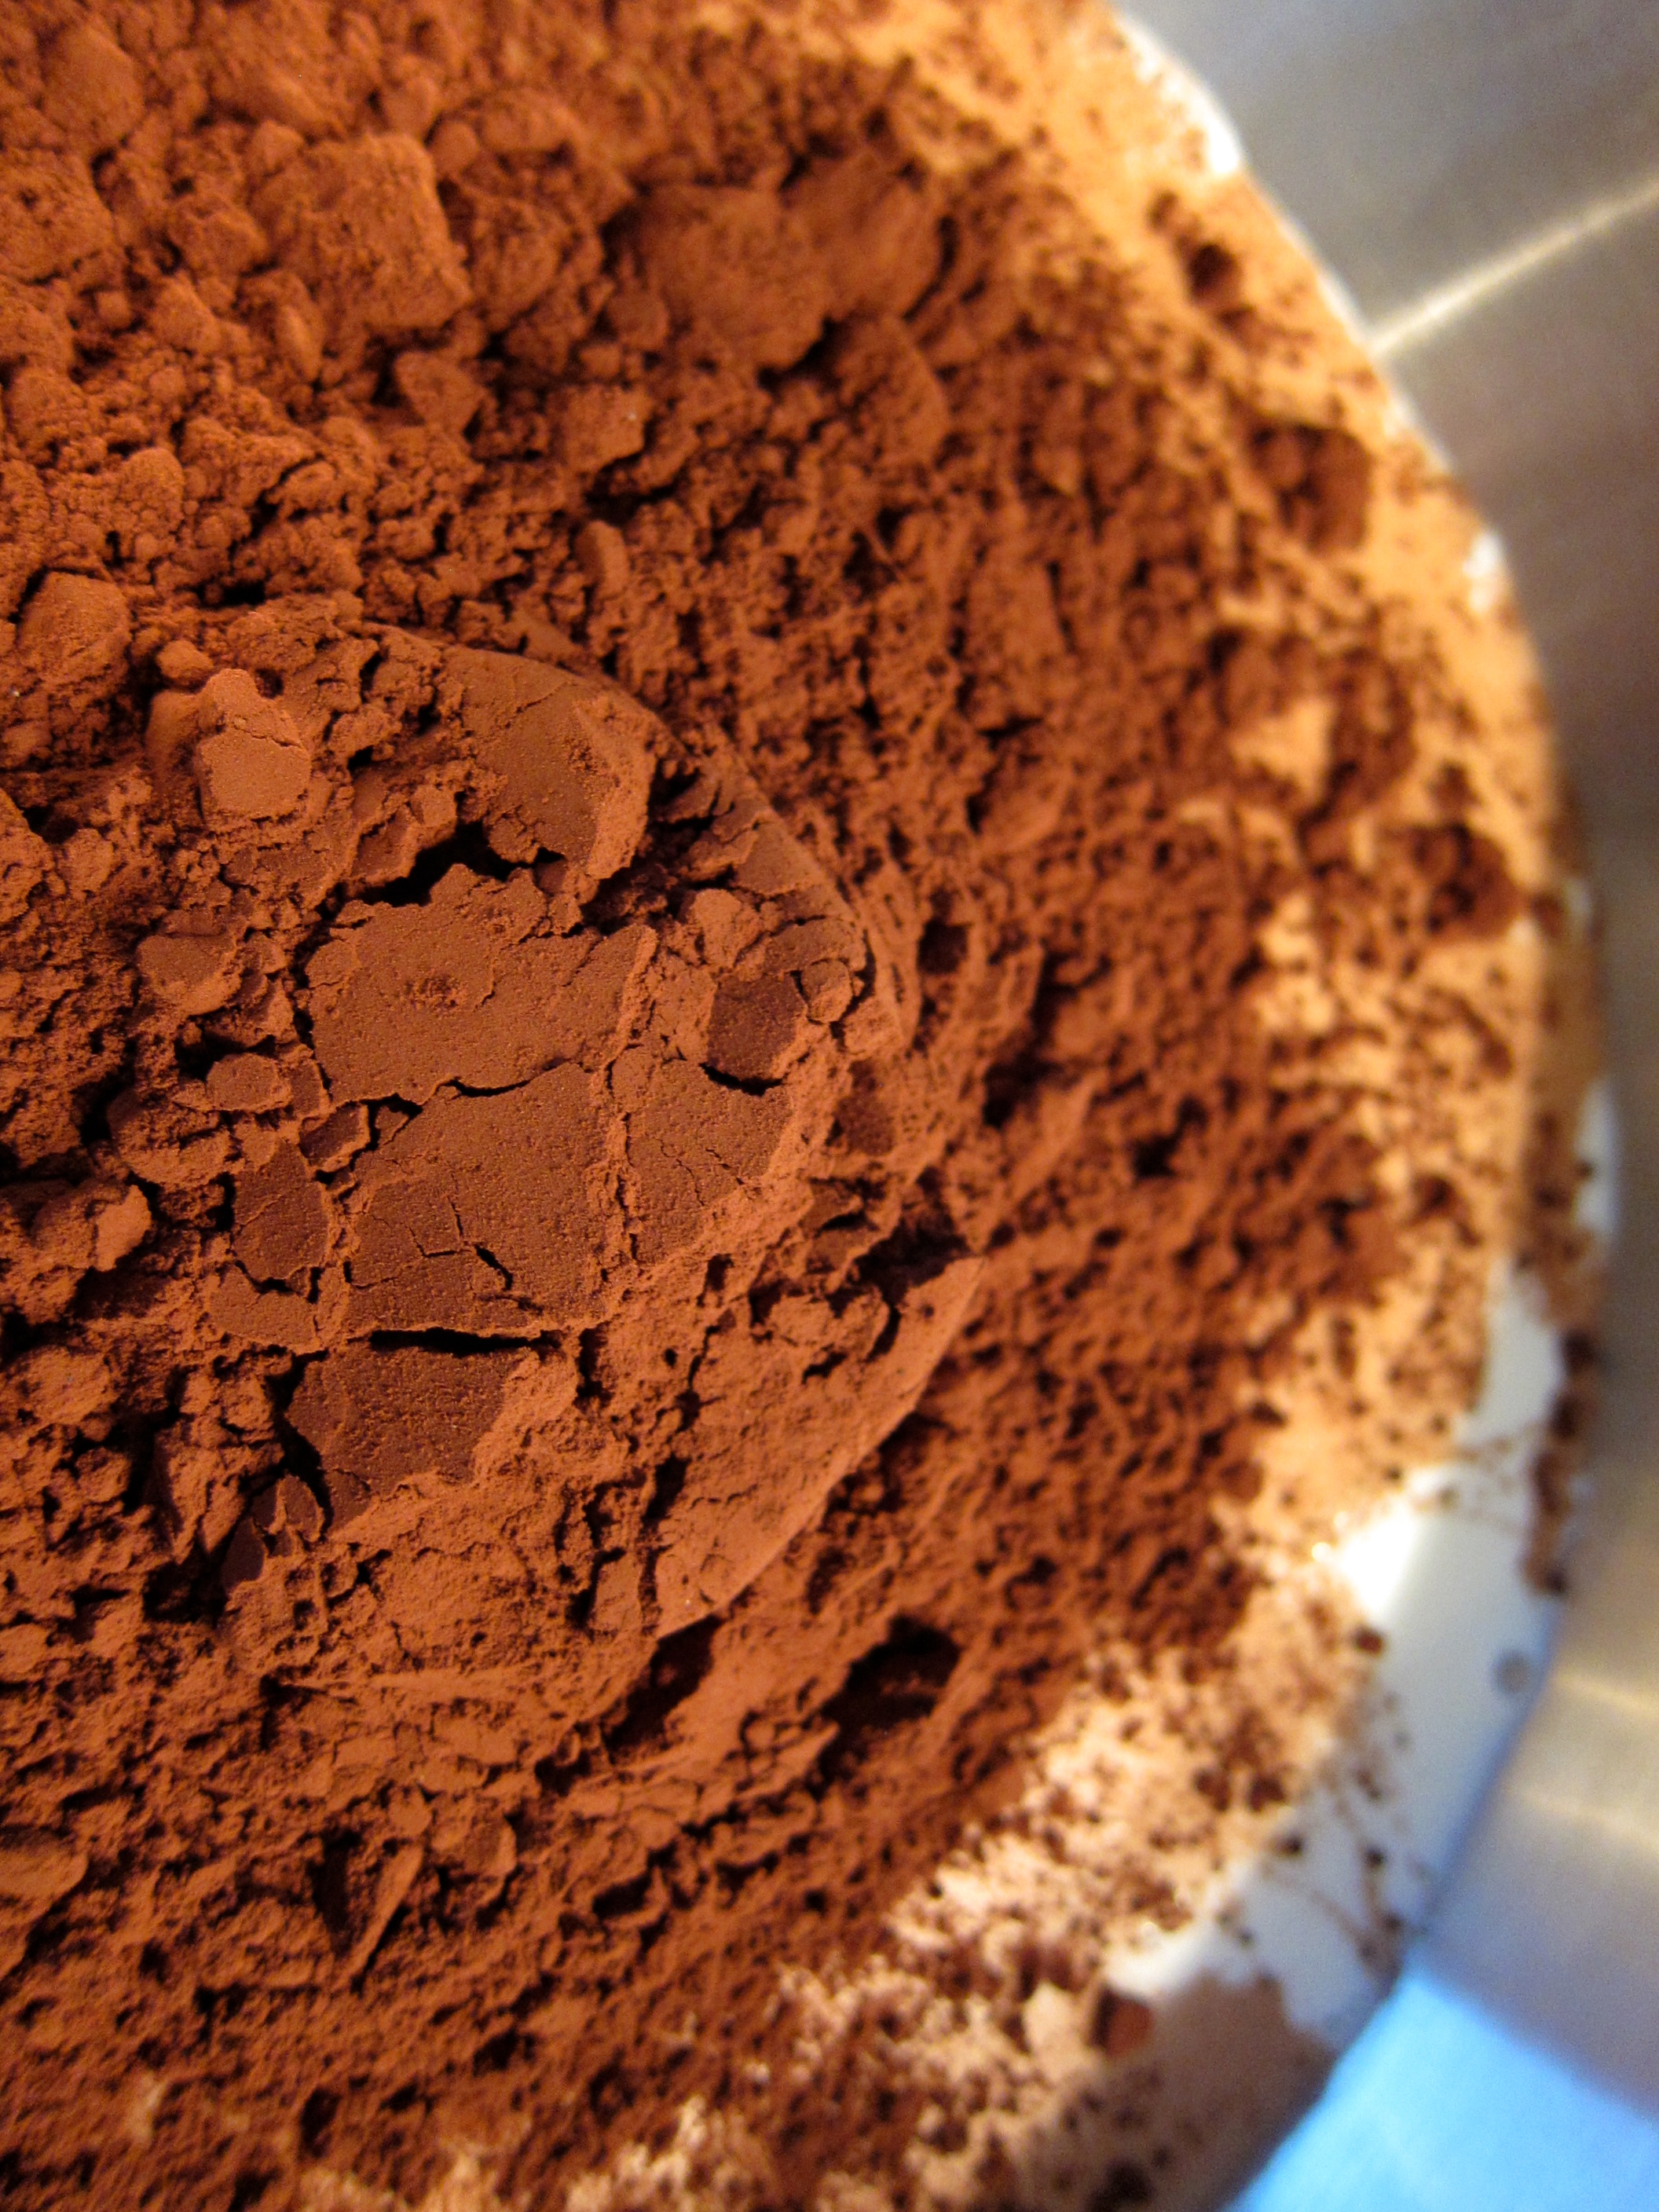
As soon as I saw the recipe I knew I had to try it. It’s easy, two-bowls-and-a-whisk kind of easy. And it uses no butter, just eggs and oil. Even more important, it calls for just two bananas, not three like most other recipes I have seen. But I decided to make one small but important change. I had bought a bag of coconut palm sugar, a kind of sugar extracted from the nectar of the coconut tree. It’s very trendy right now because it’s supposed to be better for you than regular cane sugar.
I don’t care much about that claim. What intrigued me about it was its taste. It’s earthy and complex. There is butterscotch and coffee and coconut in there. I thought it would go well in this Hawaiian recipe for banana bread, so I substituted half of the white sugar with it.

The end result is the best banana bread I have ever tasted, by far. Granted, the benchmark was already low, but this was heavenly. The cake is moist but not dense. The banana flavor is distinct but not overpowering. The coconut palm sugar gives it both darker notes and a little acidity.
No baritones or sopranos here. Just a good old folk singer singing on the beaches of Maui.

Julia’s Best Banana Bread – Slightly adapted from Bon Appetit
Note: If you don’t have coconut palm sugar, you can use light brown sugar instead. Or you can just use all white sugar, as the original recipe does.
1 3/4 cup all-purpose flour
1 1/2 teaspoons baking soda
3/4 teaspoon kosher salt
3 large eggs
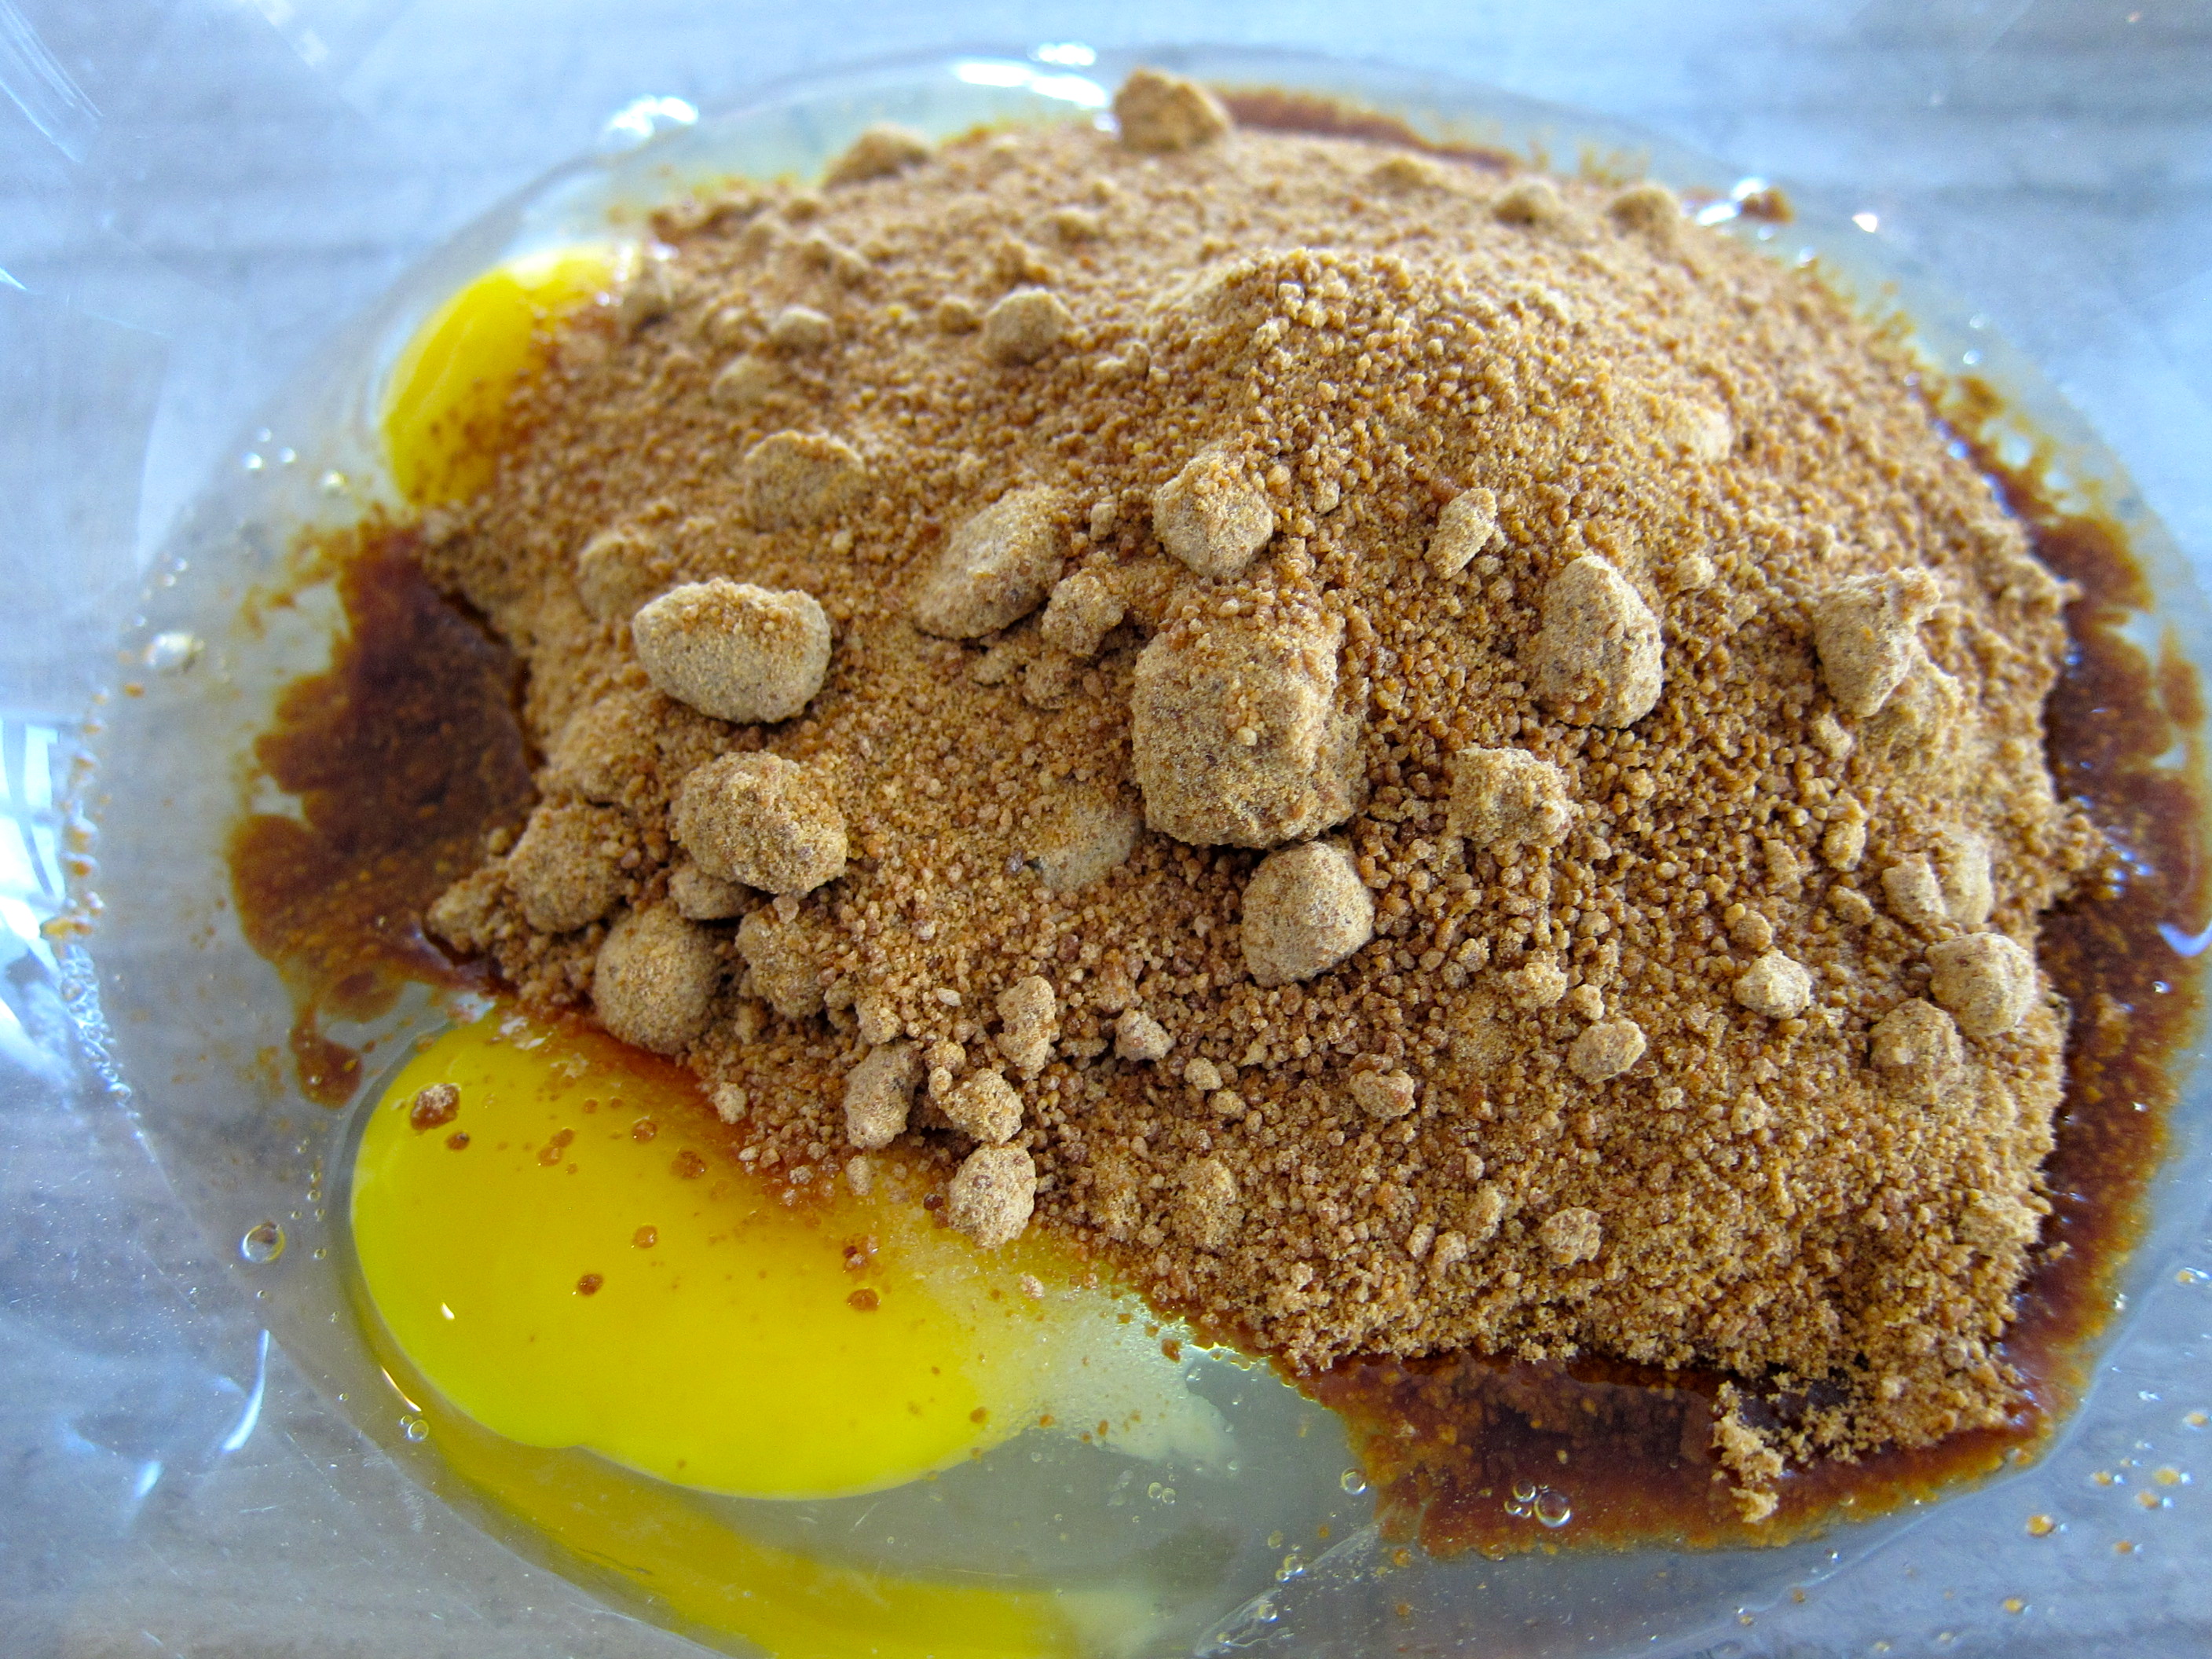
3/4 cup white sugar
3/4 cup coconut palm sugar (break up any lumps with your fingers)
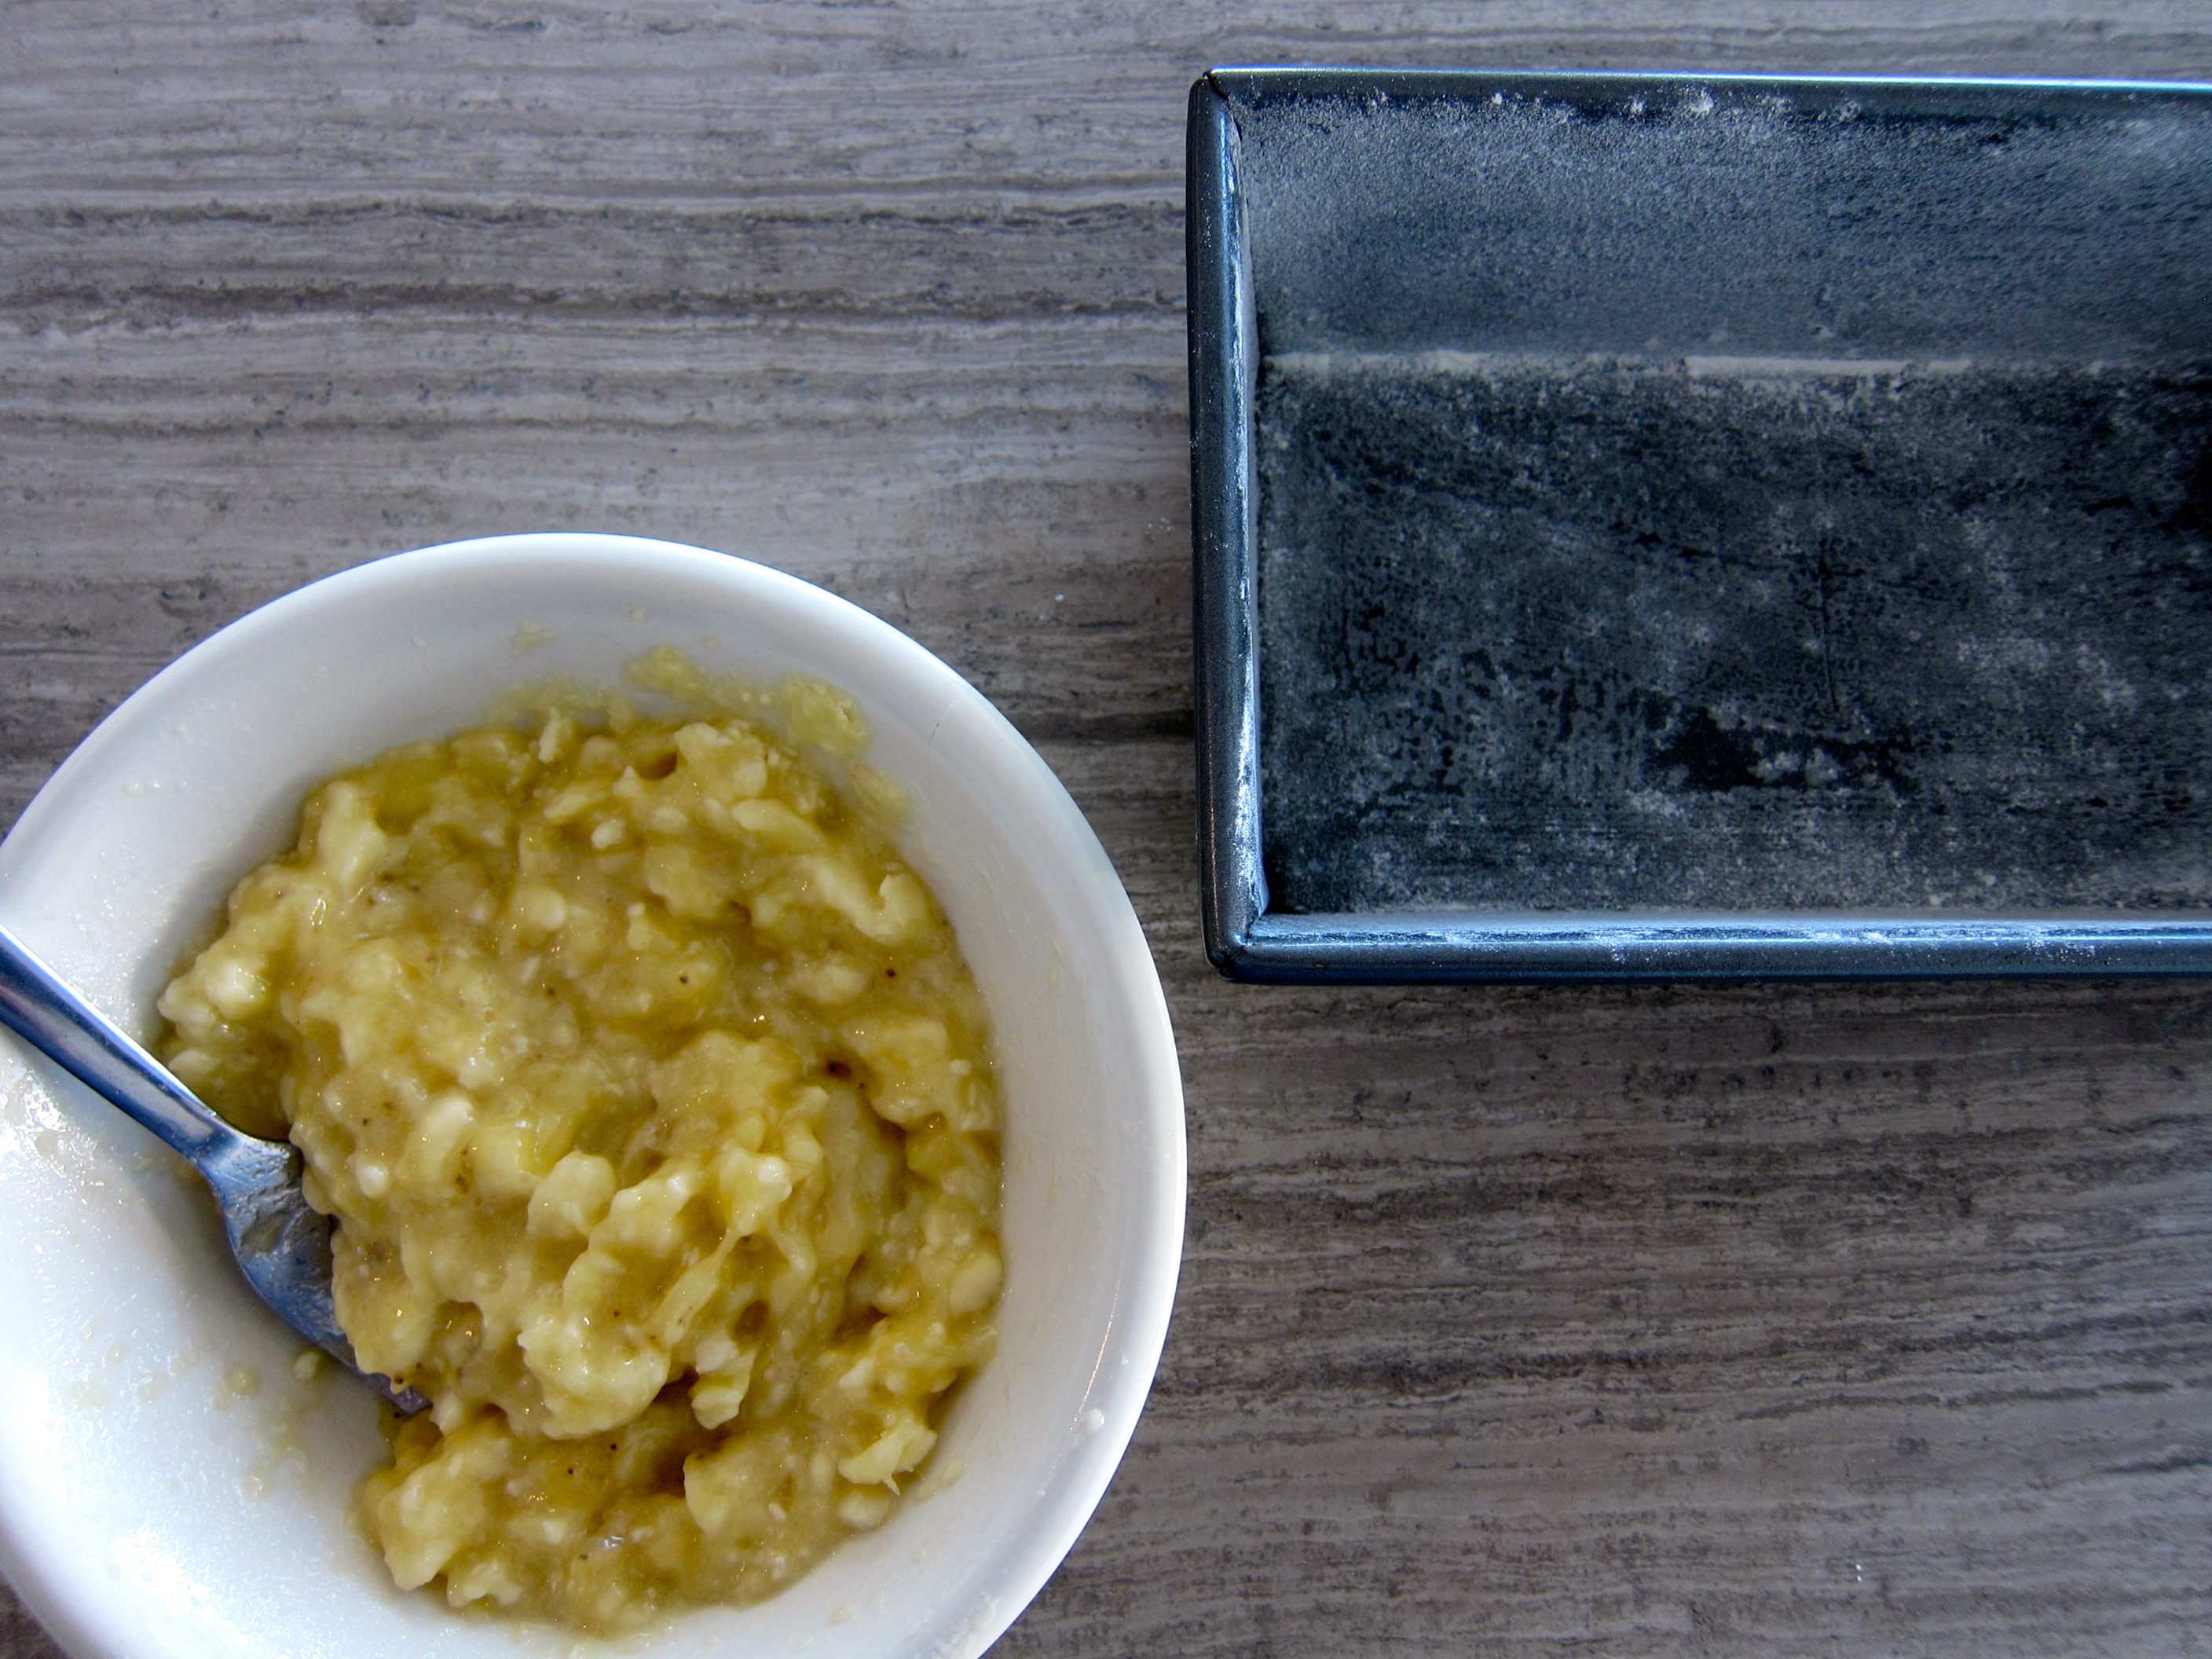
1 cup mashed ripe bananas (about 2 large)
3/4 cup vegetable oil
Preheat oven to 350°. Coat a 9x5x3-inch loaf pan with vegetable oil. Dust with flour and tap out excess.
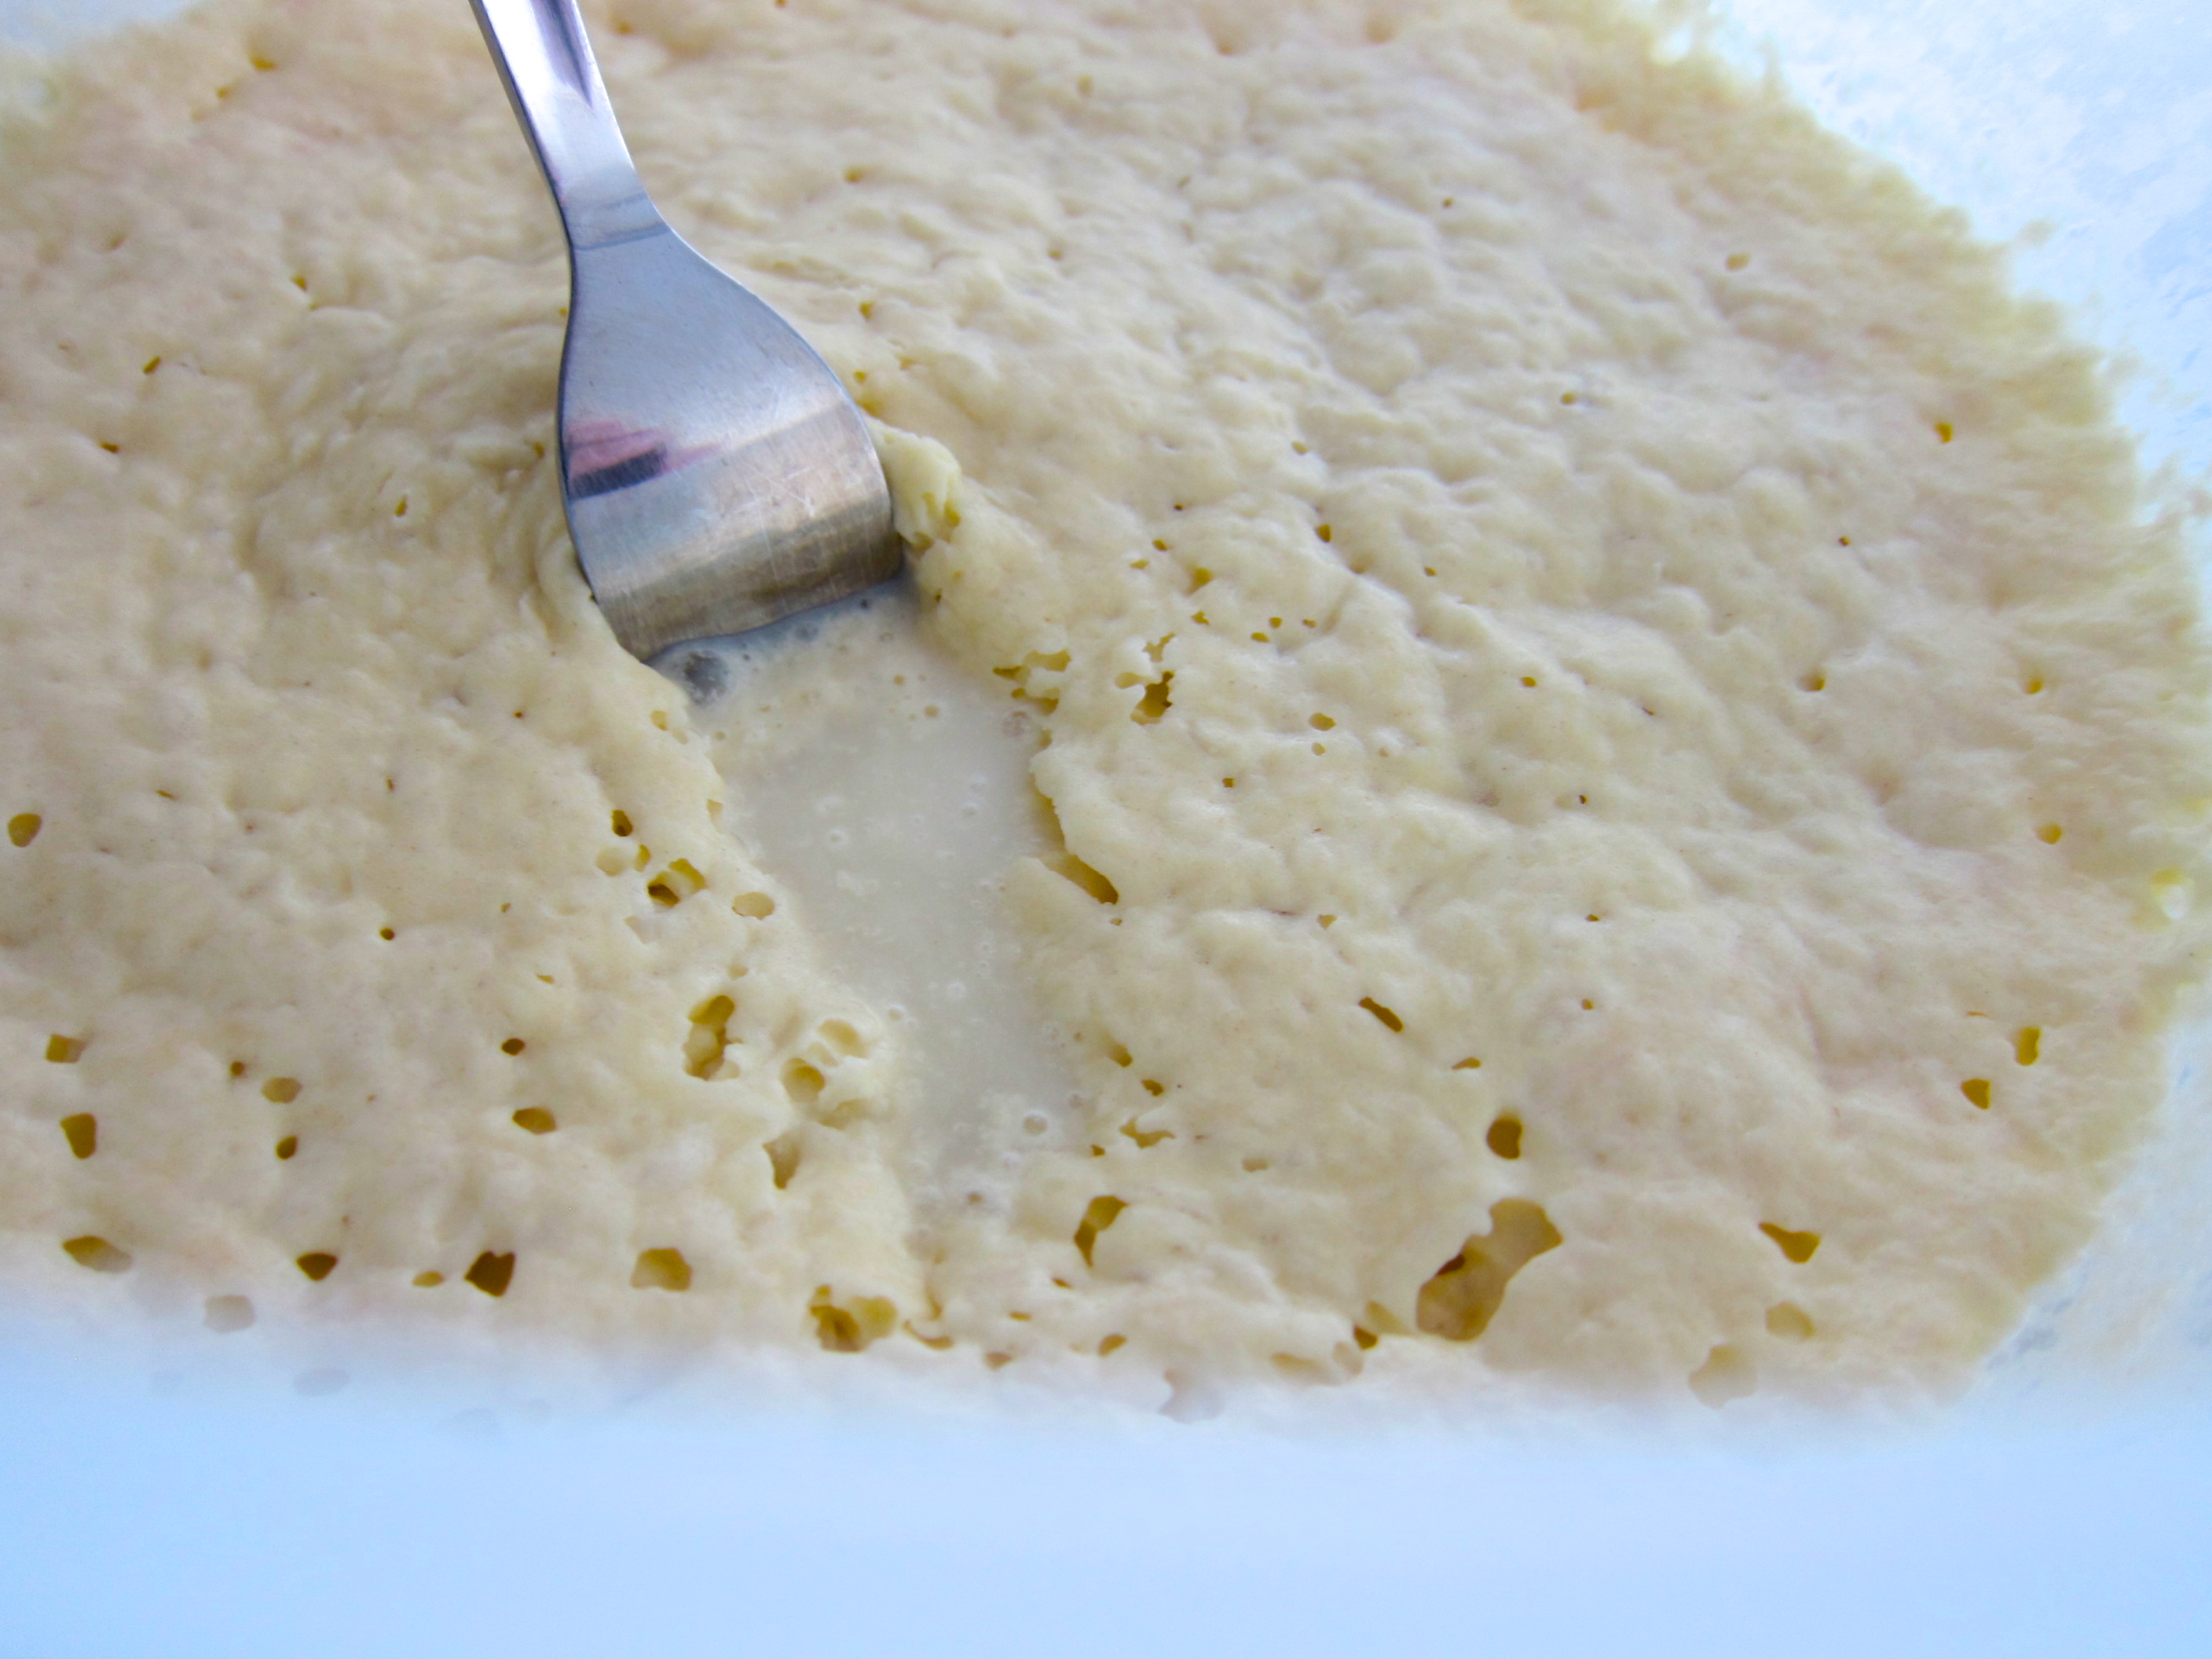
Whisk flour, baking soda, and salt in a medium bowl. In a large bowl, whisk eggs, sugars, and bananas until smooth. Add dry ingredients to banana mixture and stir gently, just until there no more traces of flour. Pour the batter into prepared pan.
Bake until a tester inserted into the center of bread comes out clean, 60-70 minutes. Transfer to a wire rack and let bread cool in pan for 15 minutes. Run a knife around inside of pan to release the bread. Turn out onto rack and let cool completely.
You can make this 3-days ahead and store it in an airtight container at room temperature. Or you can slice it and wrap individual slices (or pairs) in plastic wrap and freeze them. Take out of the freezer at least two hours before eating and leave on countertop, unwrapped, to defrost.