
")
There is no better way to experience the inertia of history than through ethnic cuisines. Take the Mediterranean, for example. If you were to take a cruise around the region and sample food from all the countries you visit – Spain, Italy, Morocco, Greece, Cyprus, Israel, Lebanon, Egypt – you’ll start to notice that variations of the same dish have a way of popping up in every place.
Talk to the people of each country and they will tell you that the dish originated with them, brandishing its name as proof or the use of a local ingredient as irrefutable evidence. In reality, so much of the “traditional” foods of those countries come from their past, often going back centuries to empires that ruled the region: the Greeks, the Romans, the Venetians, the Ottomans.


It’s both a comforting and frustrating experience. Comforting, in that it confirms the sameness in all of us, the artificiality of our differences, and our shared roots. Frustrating because it seems unable to bridge differences that have led to wars and conflict. If Israelis and Palestinians could all concentrate on their common culinary tradition, would they be more conciliatory towards each other? Would Greeks and Turks? Doubtful.
This recipe is for one of those dishes that spans different countries in the Mediterranean. I knew it as a Greek Cypriot dessert called pasta flora. Growing up, my mom made it regularly and it was one of my favorites. At some point, I found out that it was also made in Greece but somewhat differently, with a short, cookie-like crust, instead of the cake base used in Cyprus. Then a few years back, an Italian friend I invited to dinner brought over a dessert she made. As soon as I saw it, I exclaimed “You made a pasta flora!” She smiled and said “a pasta FROLA,” stressing the reversed r and l.
It turned out, it’s an Italian dessert called pasta frola. And today, doing a little bit of research, I found out it’s also an Argentinian dessert, brought over by Italian immigrants, usually filled with quince paste, instead of the apricot jam used in Cyprus.
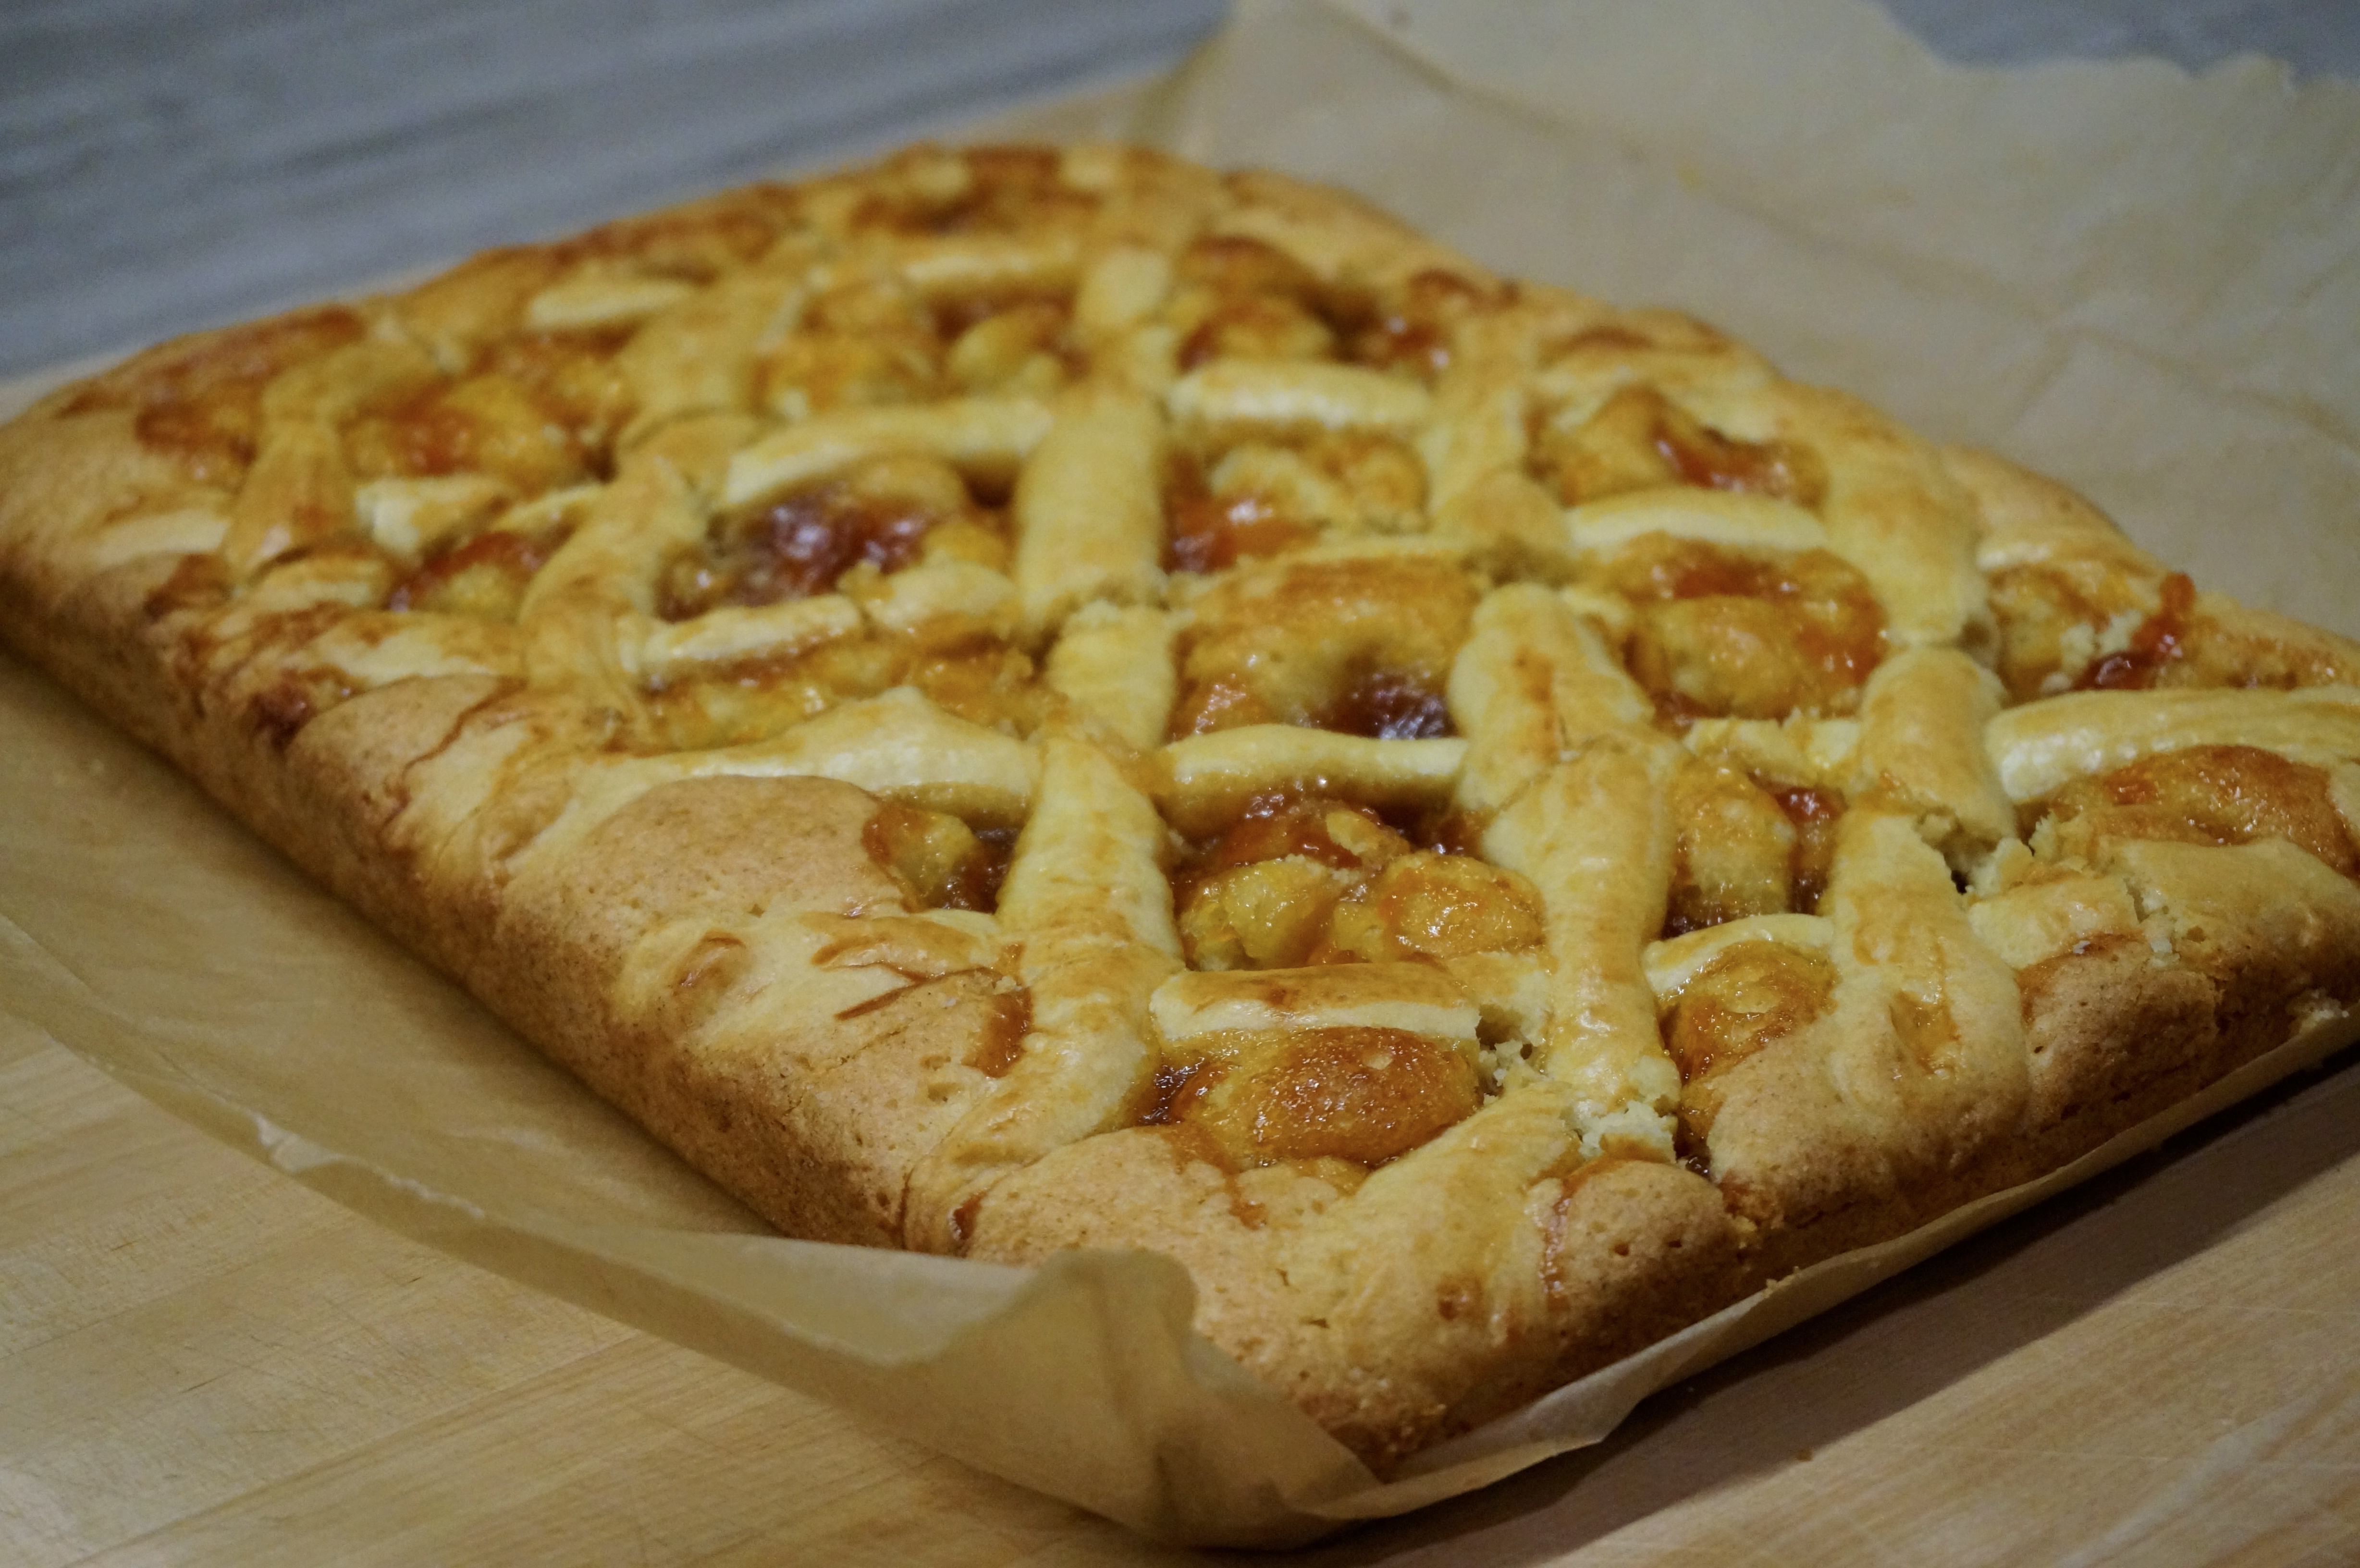
Here’s the bottom line: No matter where this comes from, it’s a winner. This recipe is for the Cypriot version. It makes something more like a coffee cake, with a layer of apricot jam and a lattice crust. It’s simple to prepare and makes a wonderful dessert or even breakfast, no matter where you are from or what part of the world you are eating it in.

Pasta Flora / Παστα Φλωρα (Apricot Jam Coffee Cake – Cyprus Version) – Adapted from Μαγειρεύοντας για φίλους Tόμος α
Ingredients:
2 1/2 cups all purpose flour
3 teaspoons baking powder
pinch of salt
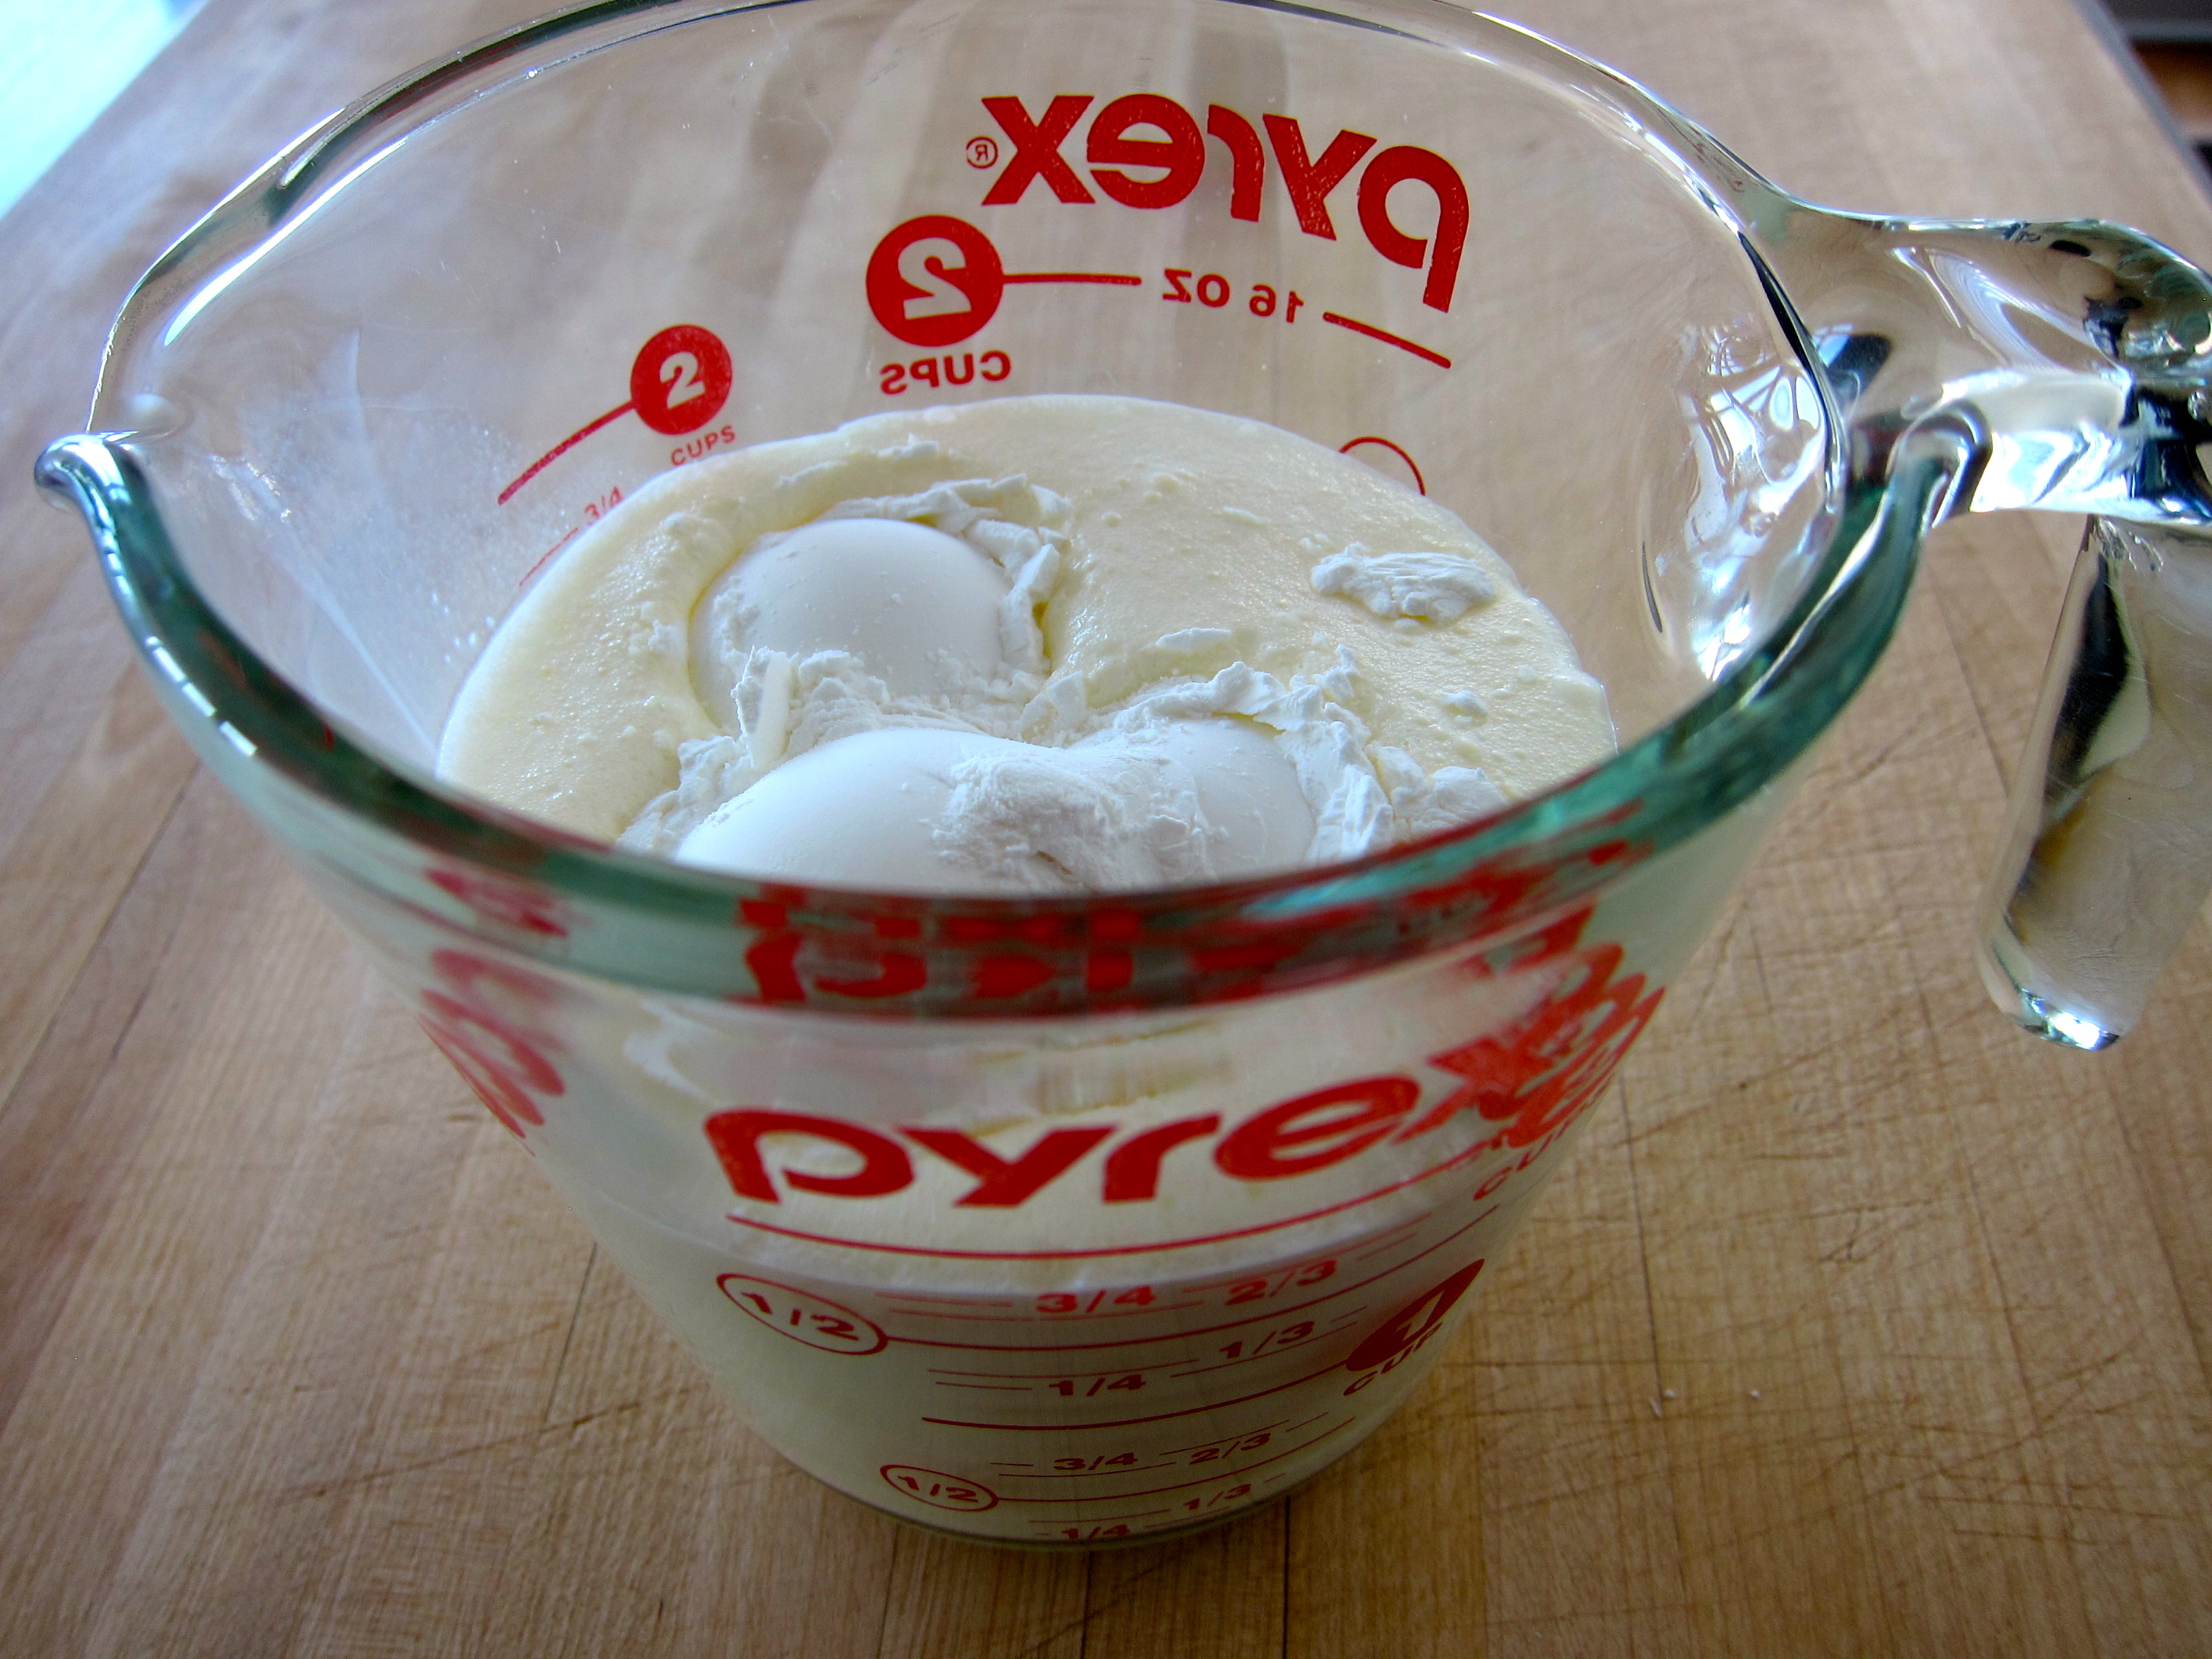
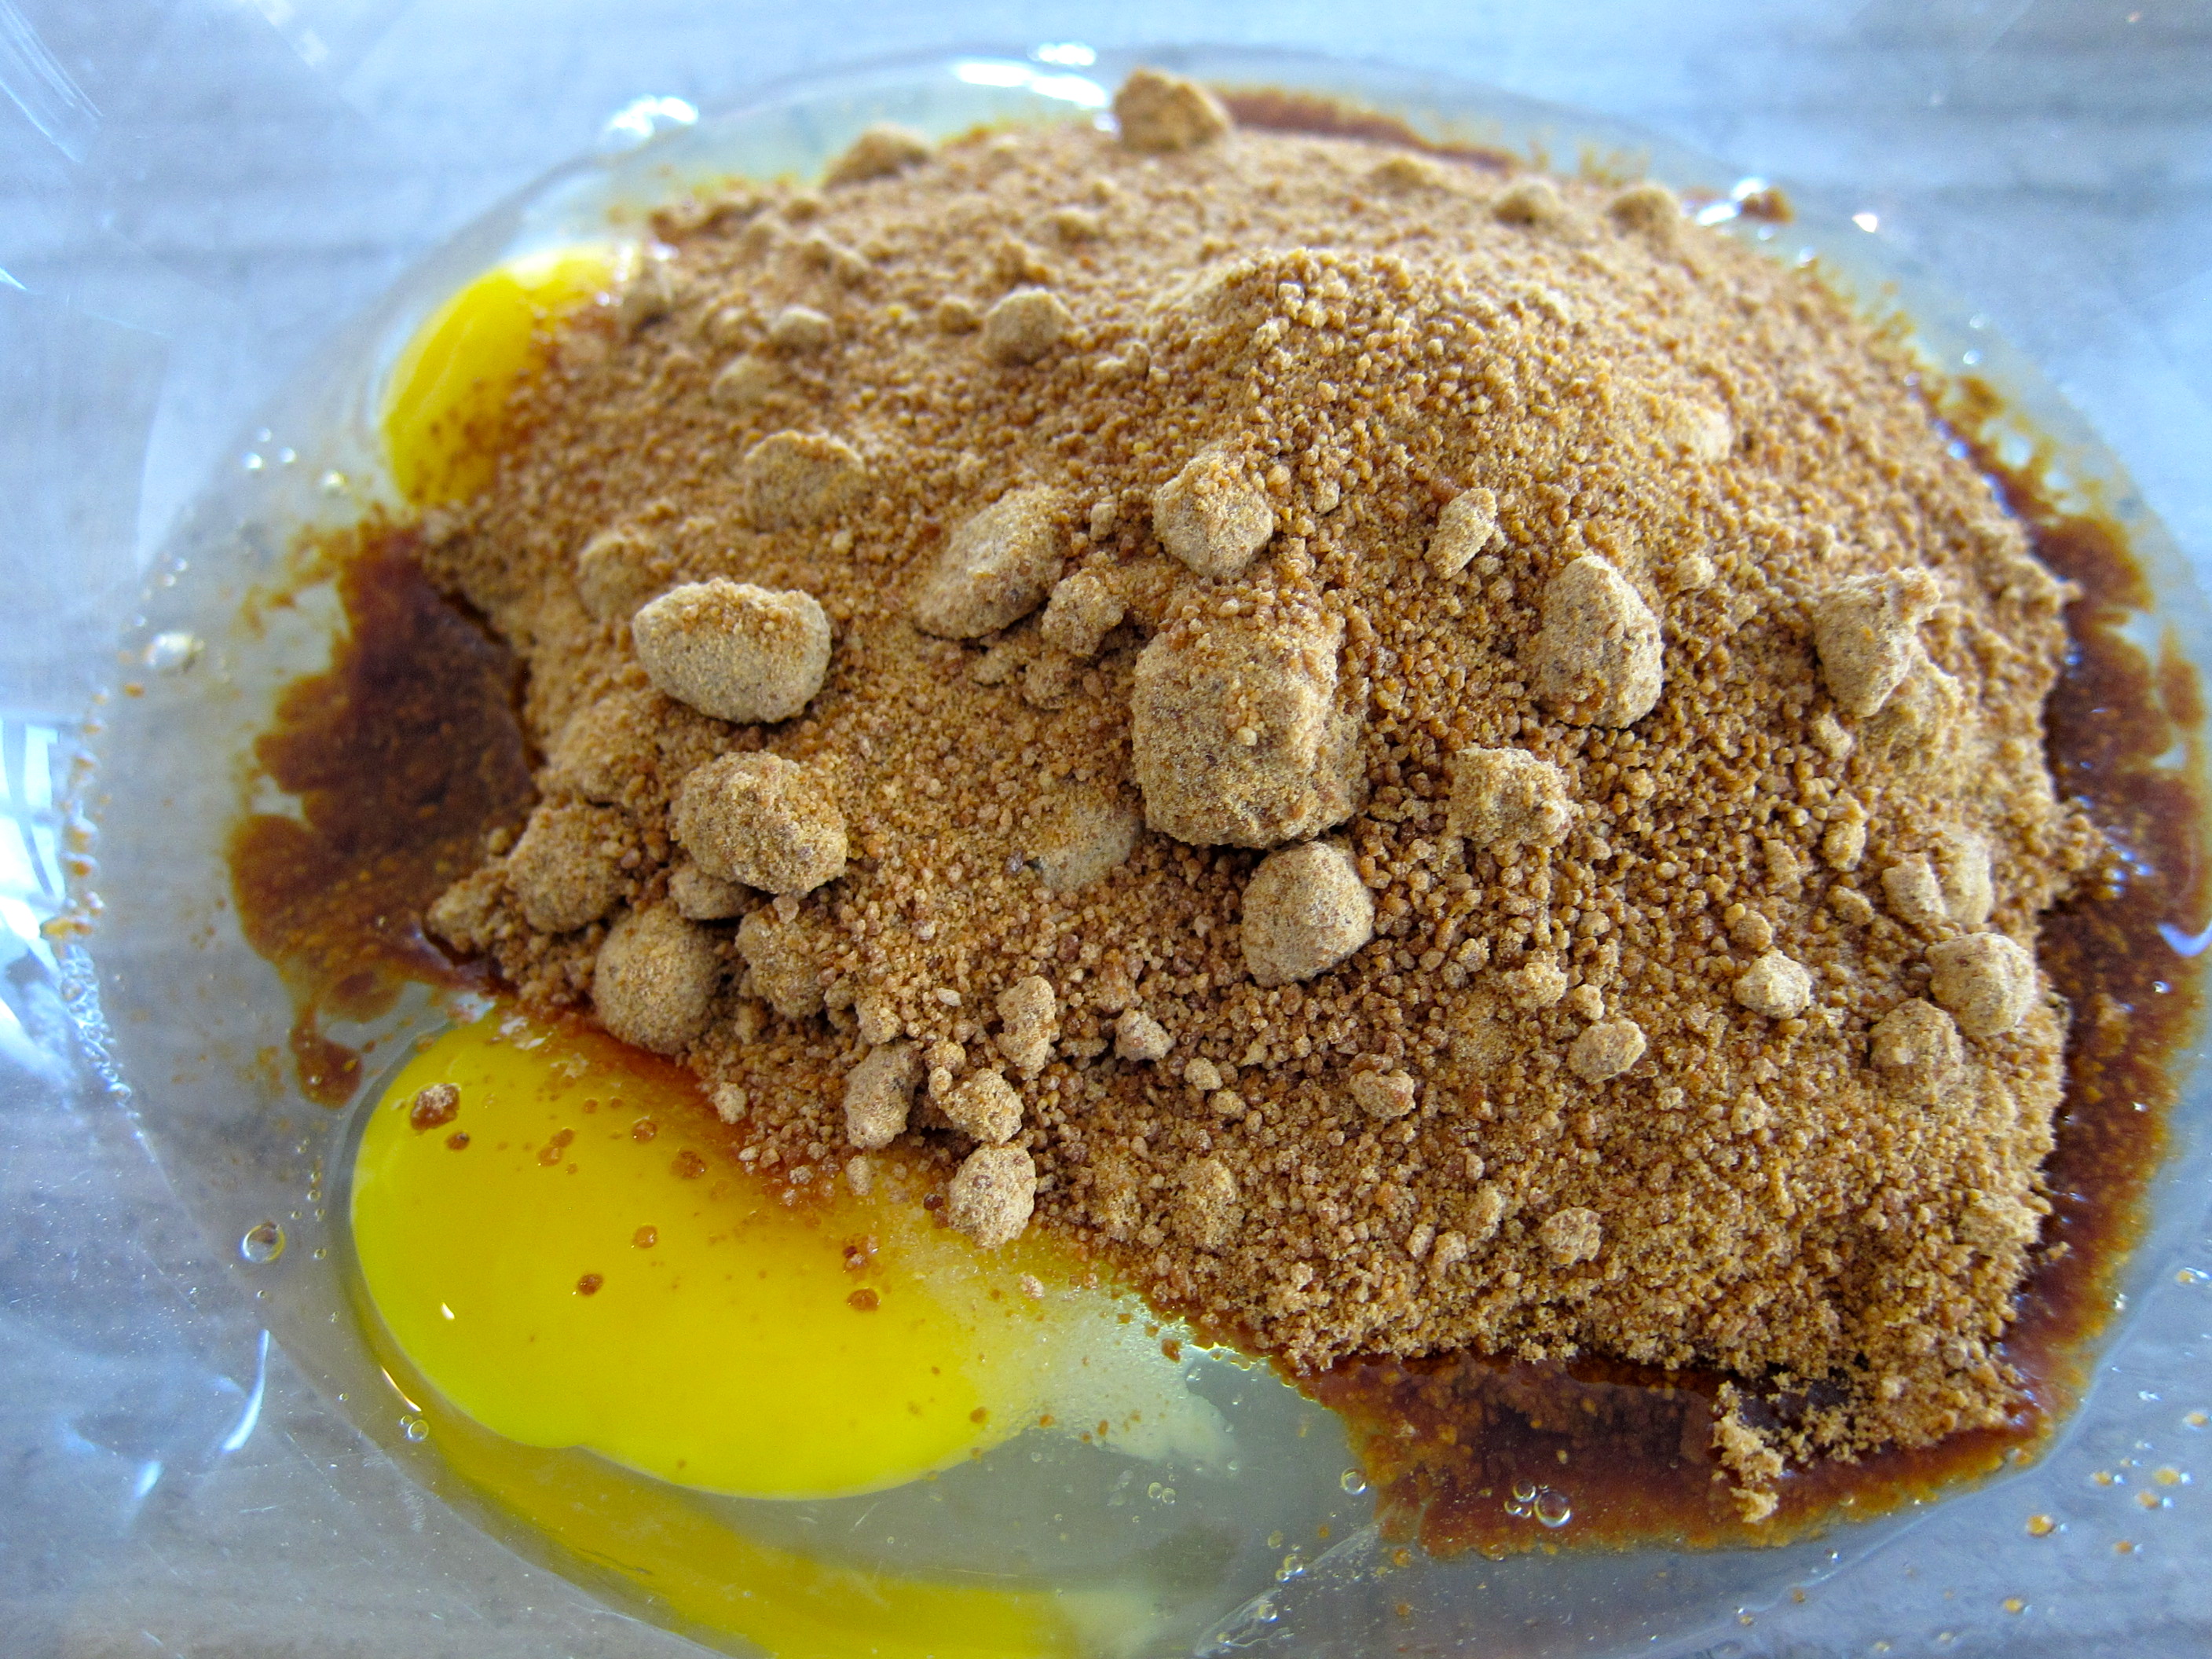
3 large eggs
1 cup sugar
1 cup vegetable oil
1 teaspoon brandy or cognac
finely grated zest of one lemon
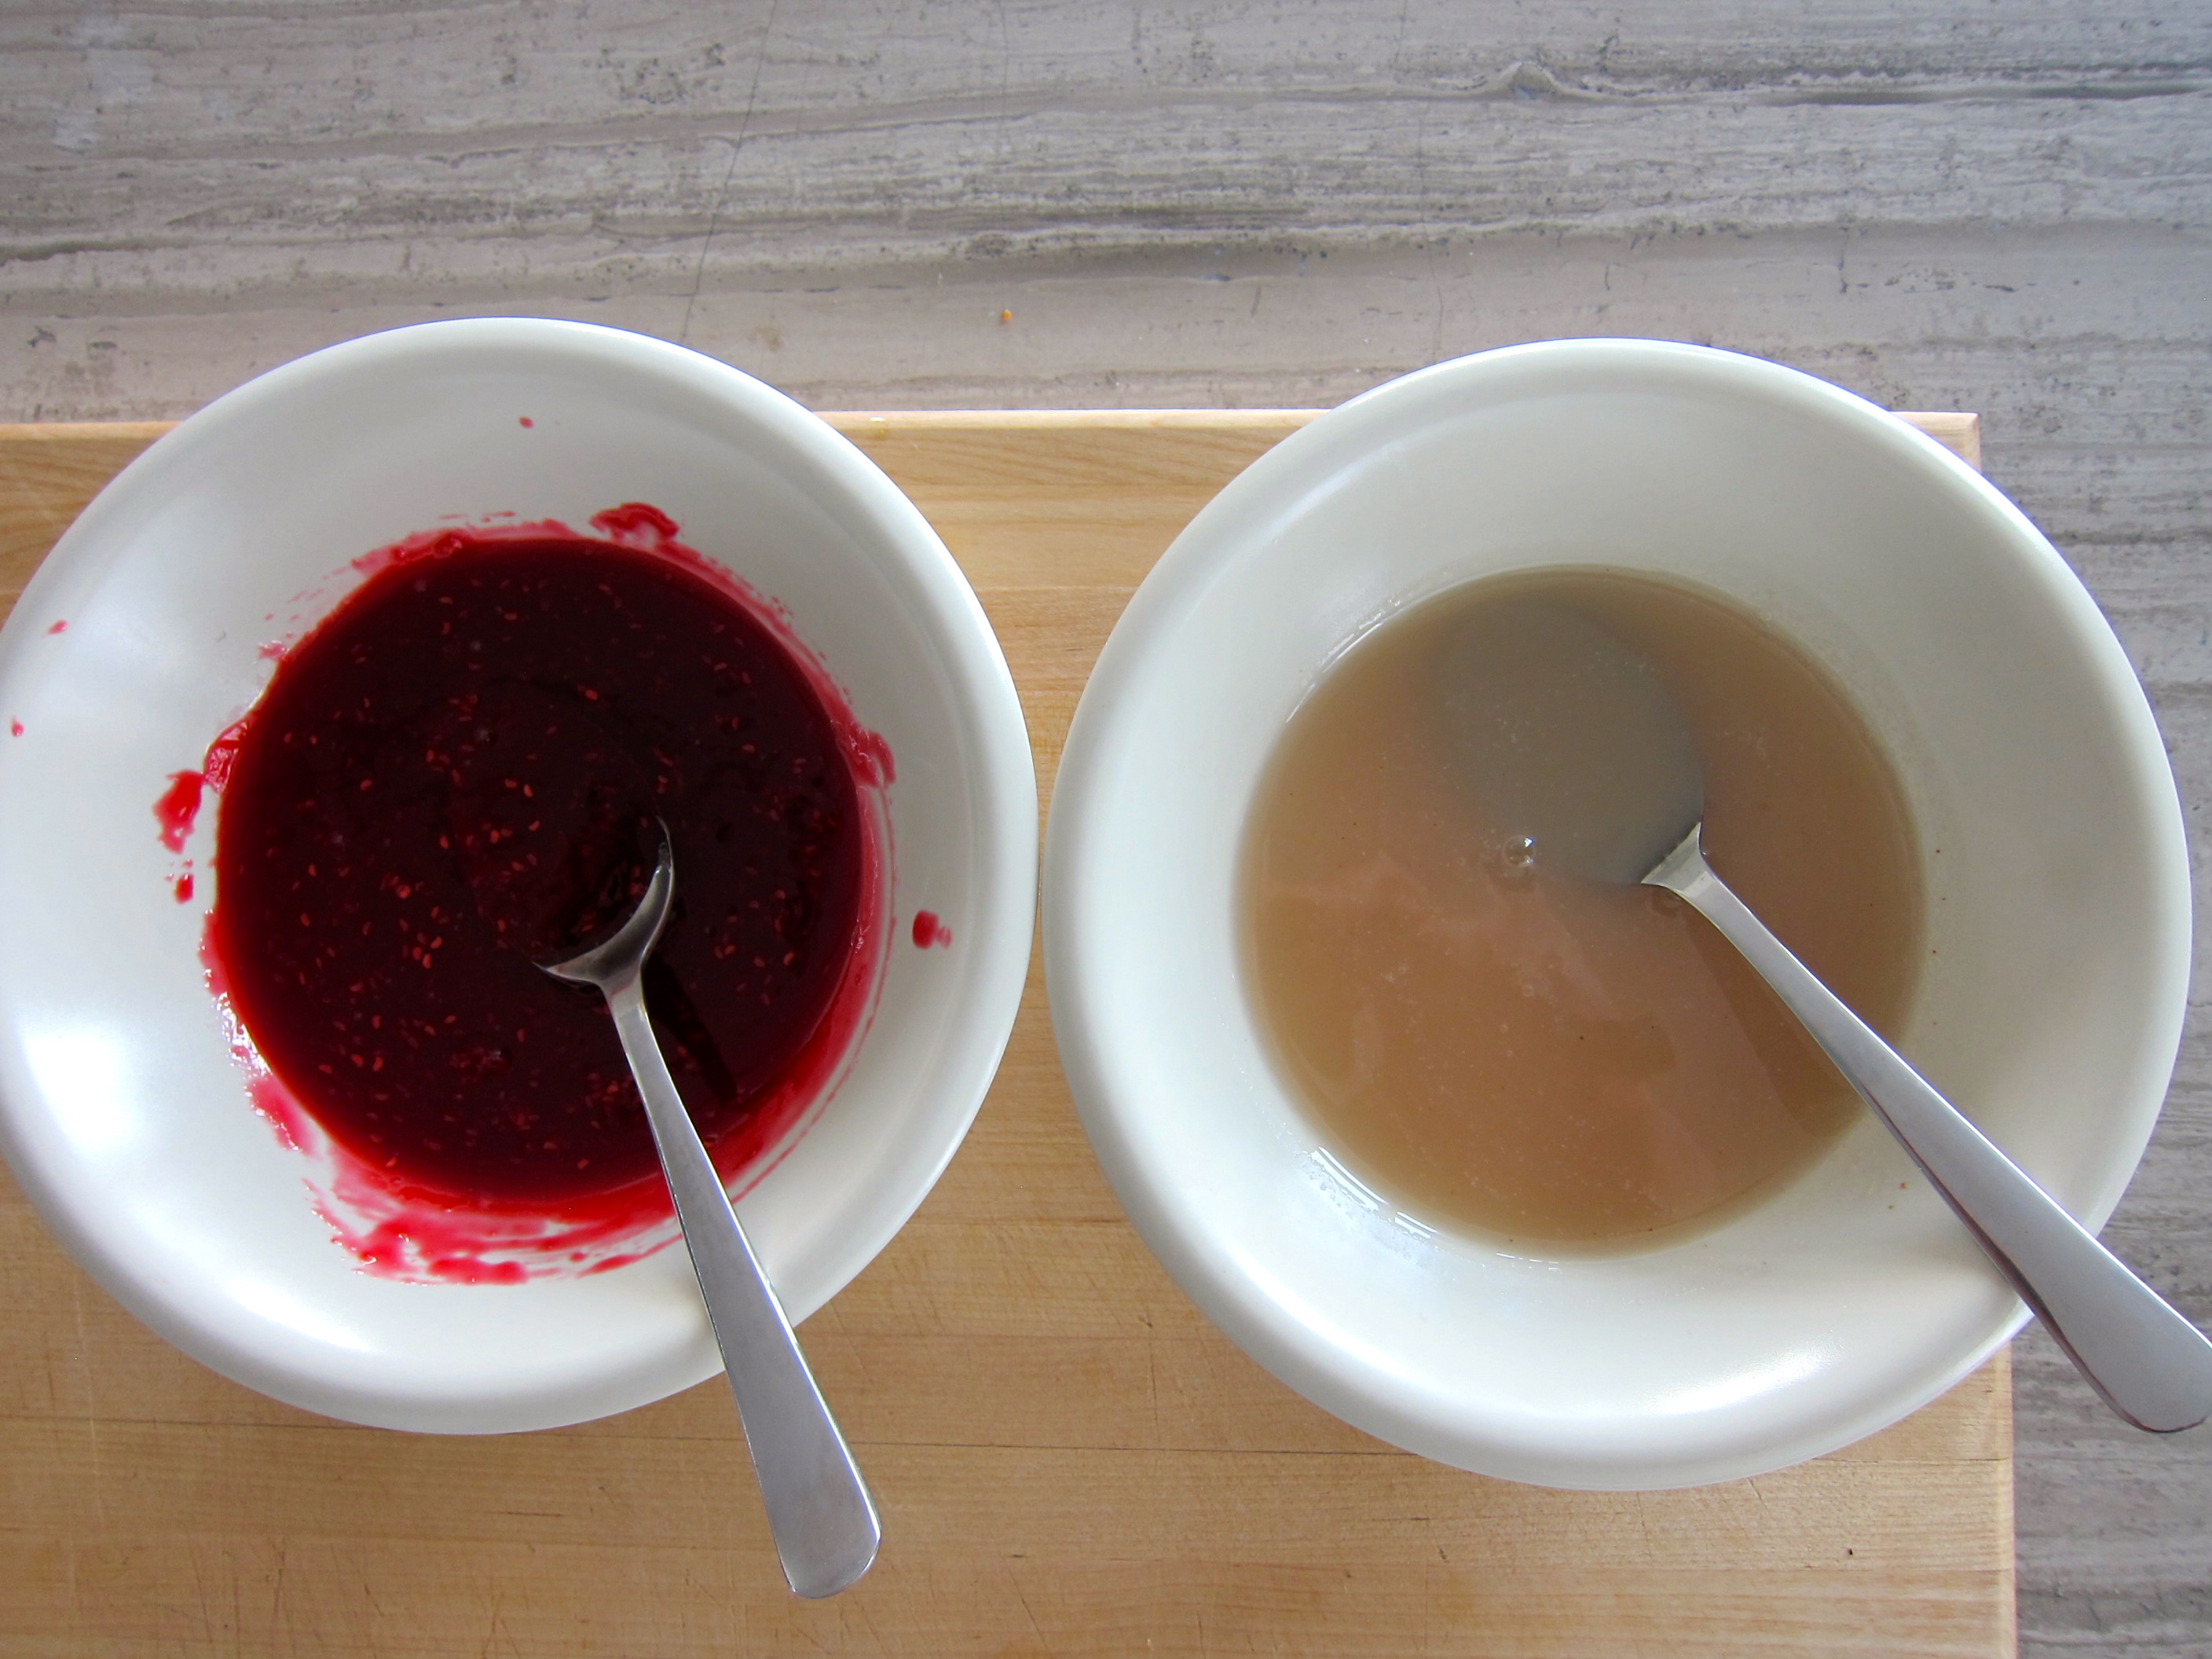
1 cup apricot jam
6 tablespoons all purpose-flour
1 egg, lightly beaten with 1 tablespoon of water, for eggwash
Directions:
Preheat the oven to 350 degrees. Lightly grease a 9 x 13 baking pan and line it with parchment paper (alternatively, grease, lightly dust with flour and shake out excess). In a medium bowl, whisk together 2 1/2 cups of flour, baking powder, and salt. Set aside.
In the bowl of a mixer, beat 3 eggs well, until they lighten in color, for 2-3 minutes. Add the sugar and continue to beat for another 2-3 minutes until they thicken and increase in volume. Add the oil, brandy, and zest and mix until combined. Add the flour mixture and using a spatula, fold together just until combined and no dry flour streaks are visible.
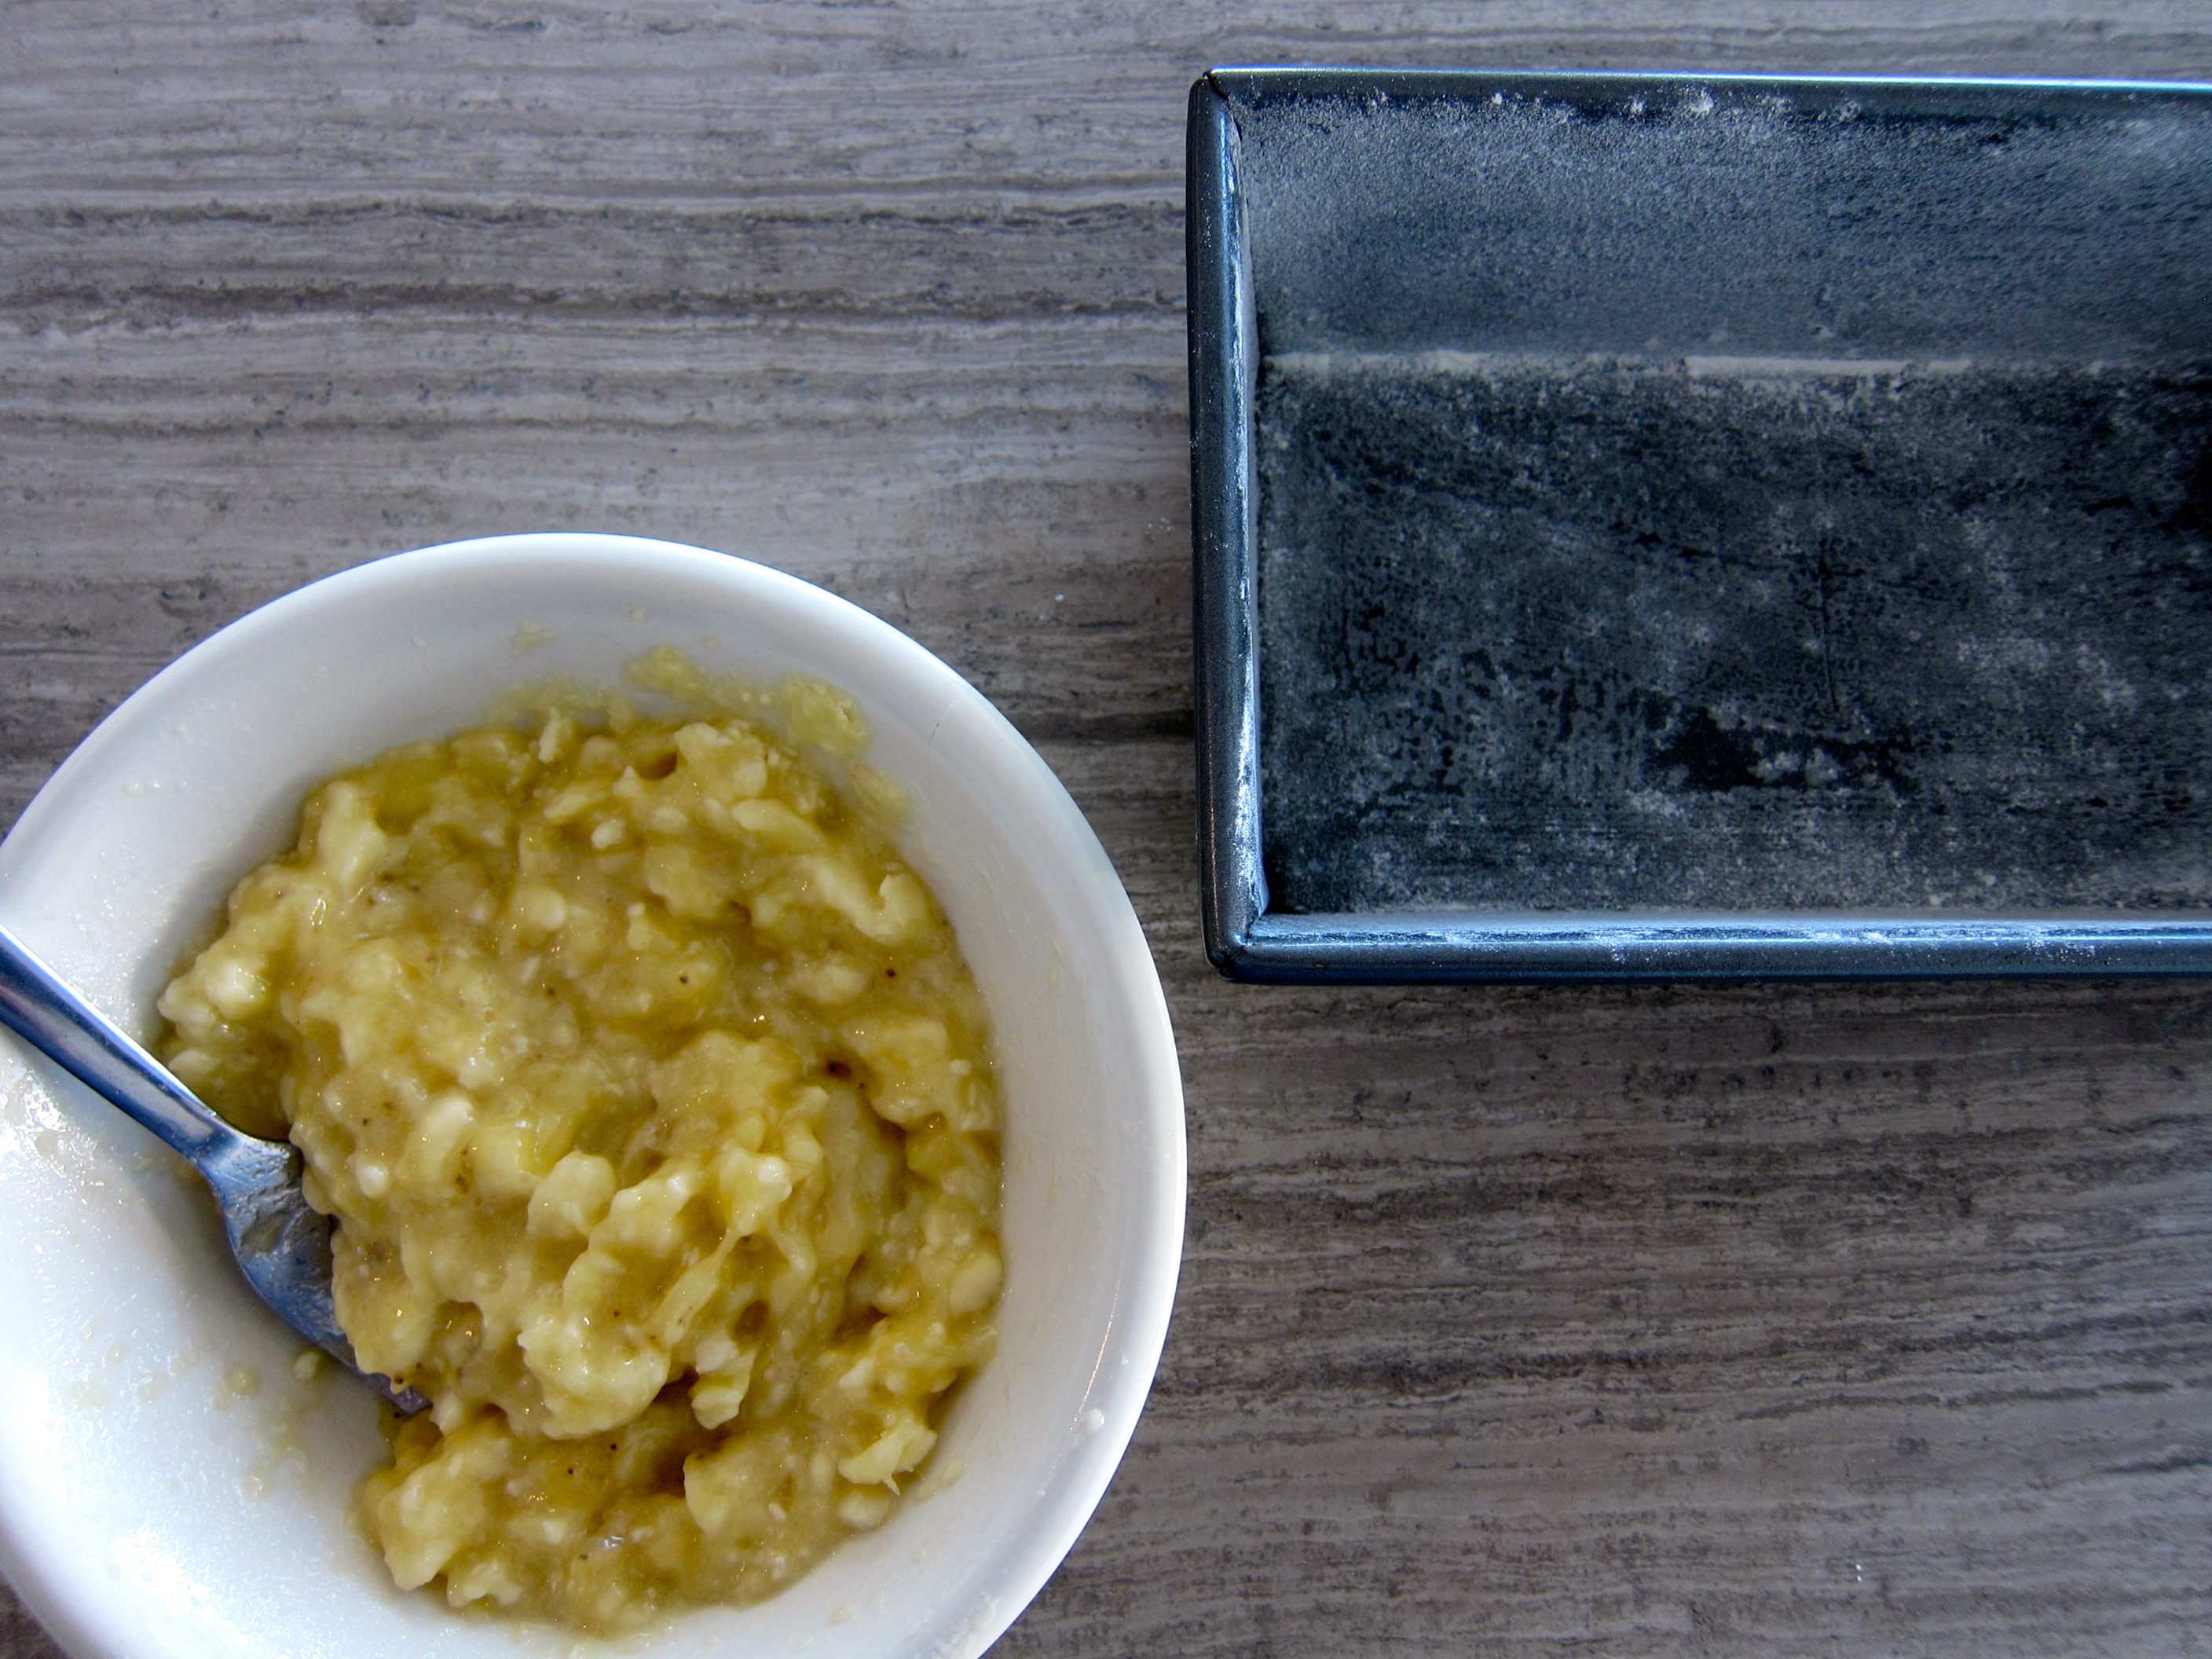
Take one cup of the batter out of the bowl and put it in a small bowl.
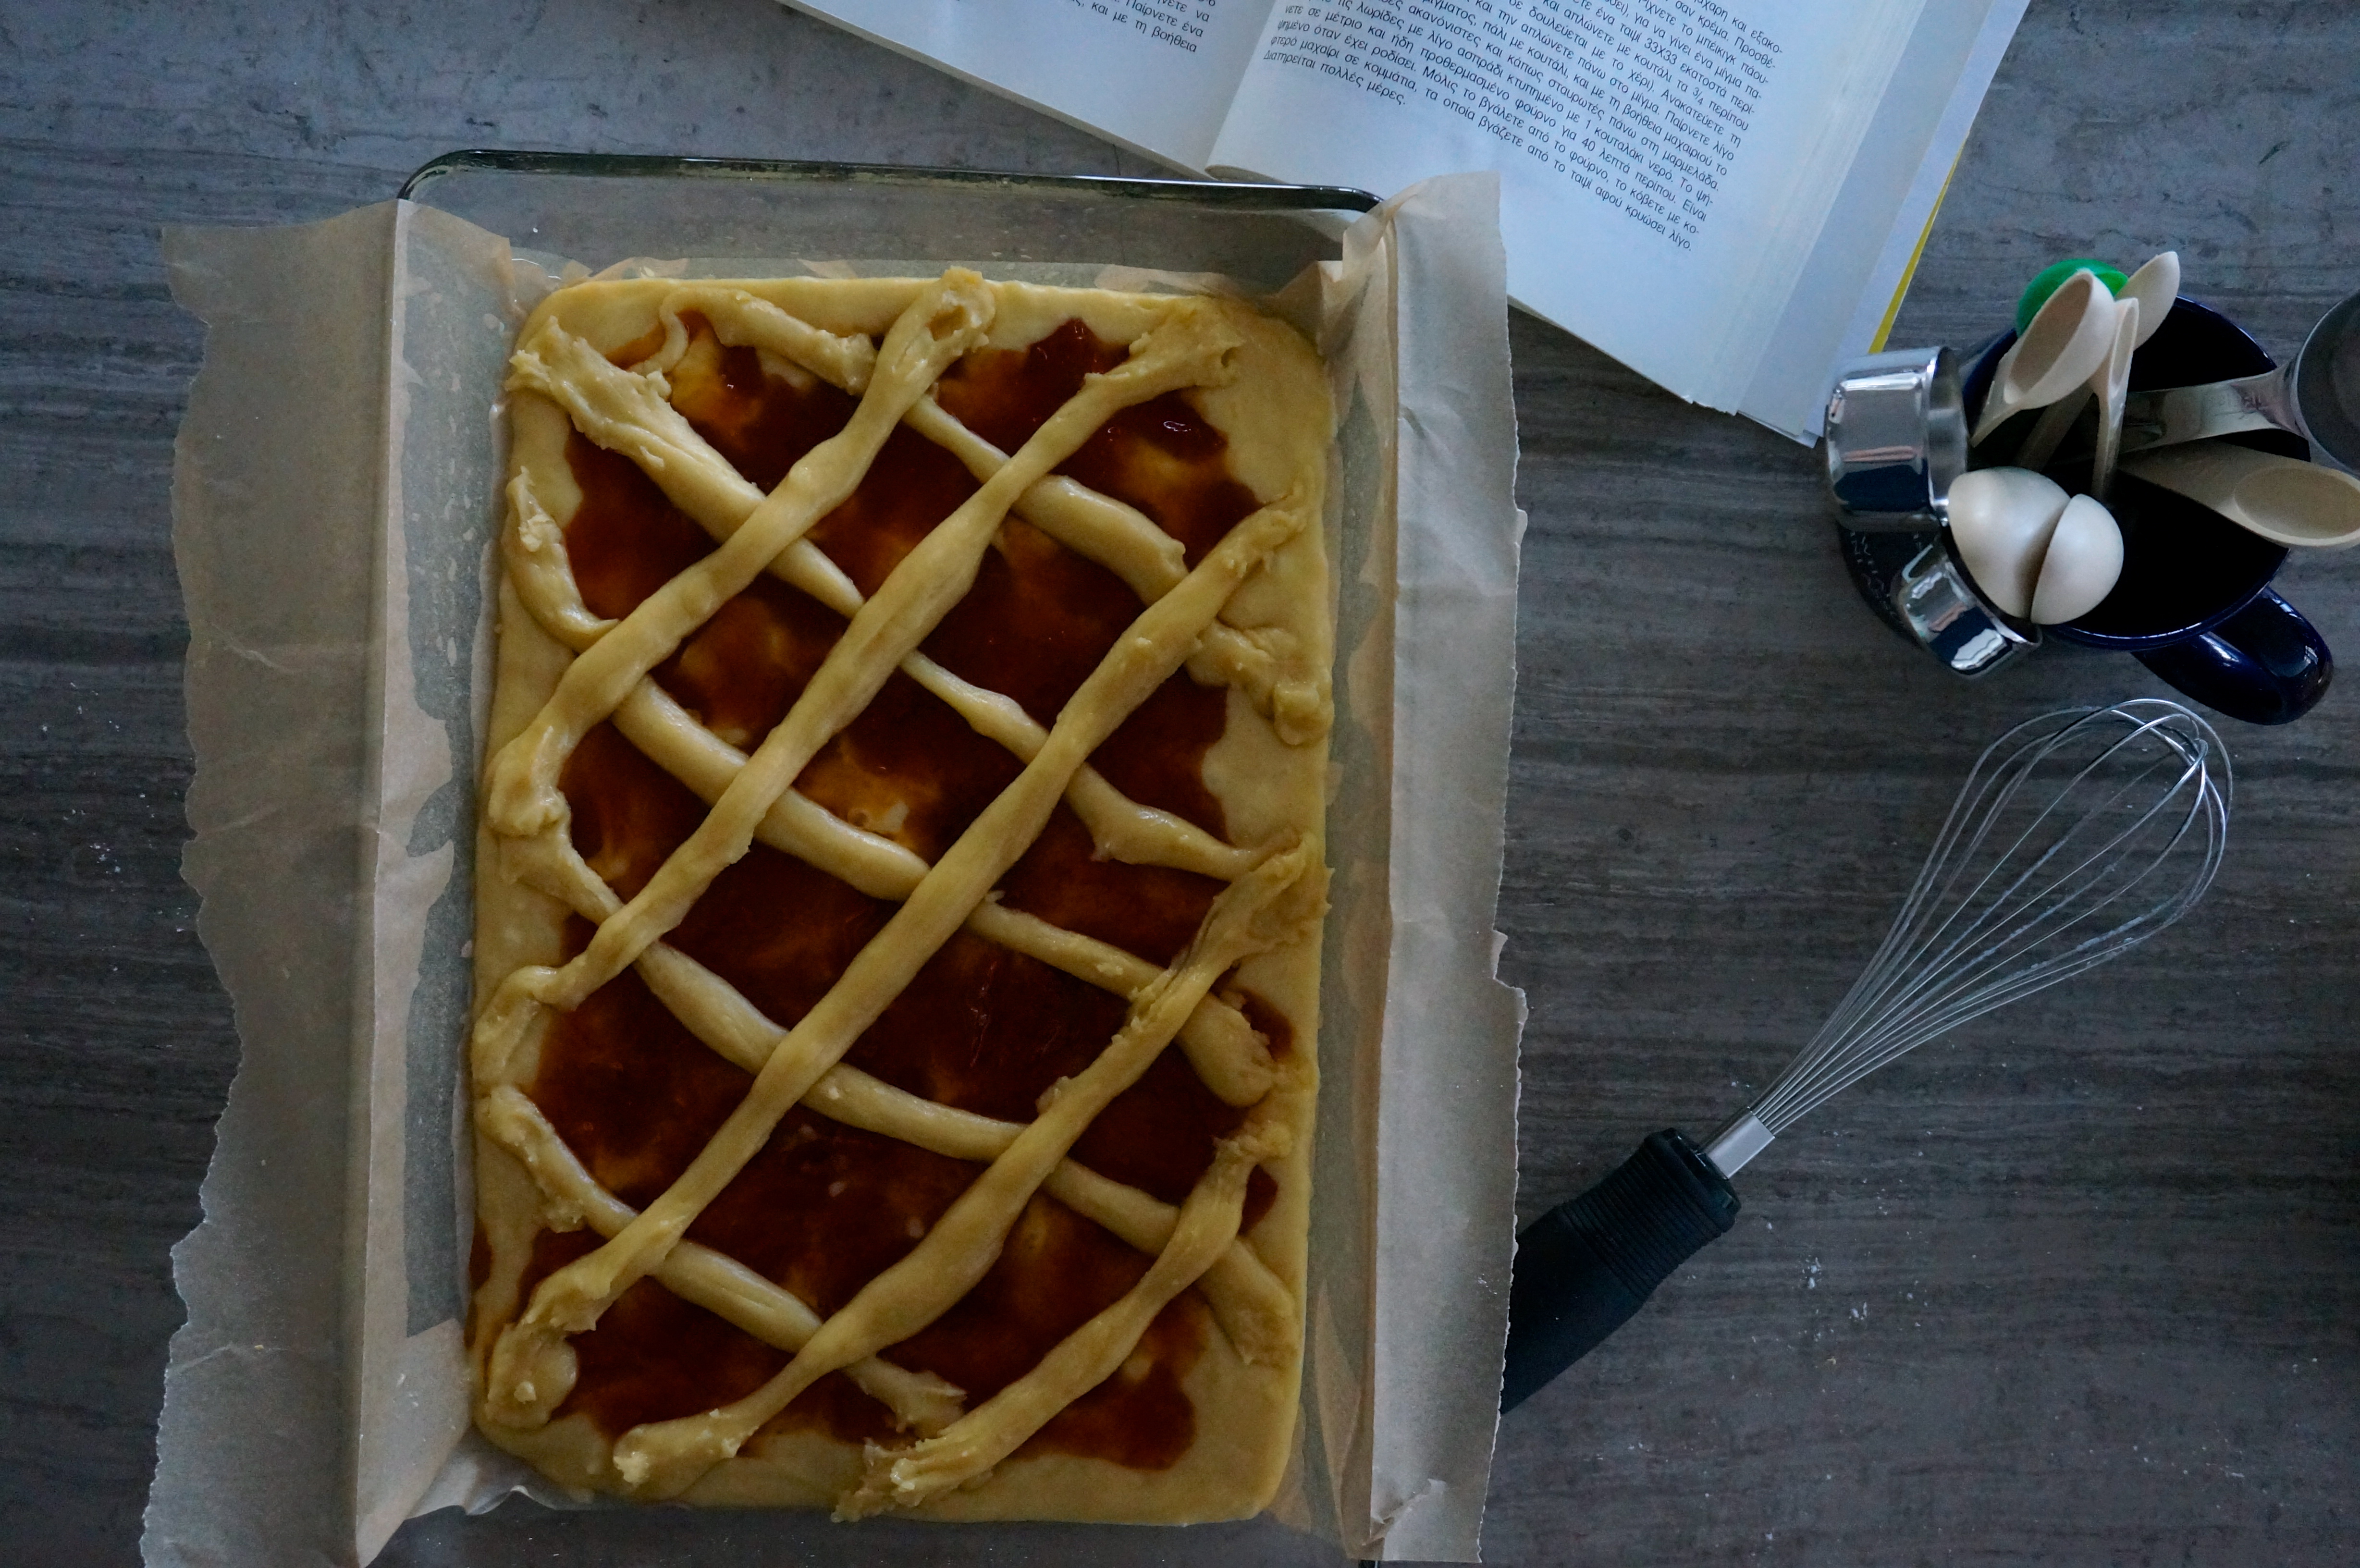
Pour the remaining batter in the prepared baking pan and smooth out the surface with spatula or back of spoon. Stir the apricot jam with a spoon to loosen it up and then carefully spread it on top of the batter in the pan, taking care not to press it into the batter too much. The best way is to just dollop it with a soup spoon and then use the back of the spoon to lightly spread it, leaving about a 0.5-1 inch border around the edge of the pan without jam.
In the small bowl with the 1 cup of batter, add 6 tablespoons of flour. Mix with a spoon until fully combined. The dough will be soft but you should be able to work with it with your hands. If you want, put some flour on your hands to prevent the dough from sticking. Take a piece of the dough and roll it gently between your hands to create a log about half an inch in diameter. Place it on top of the apricot jam diagonally. Continue until you have created a lattice pattern across the whole pan. Don’t worry too much if your lattice isn’t perfect. When it bakes it will puff up and change shape anyway.
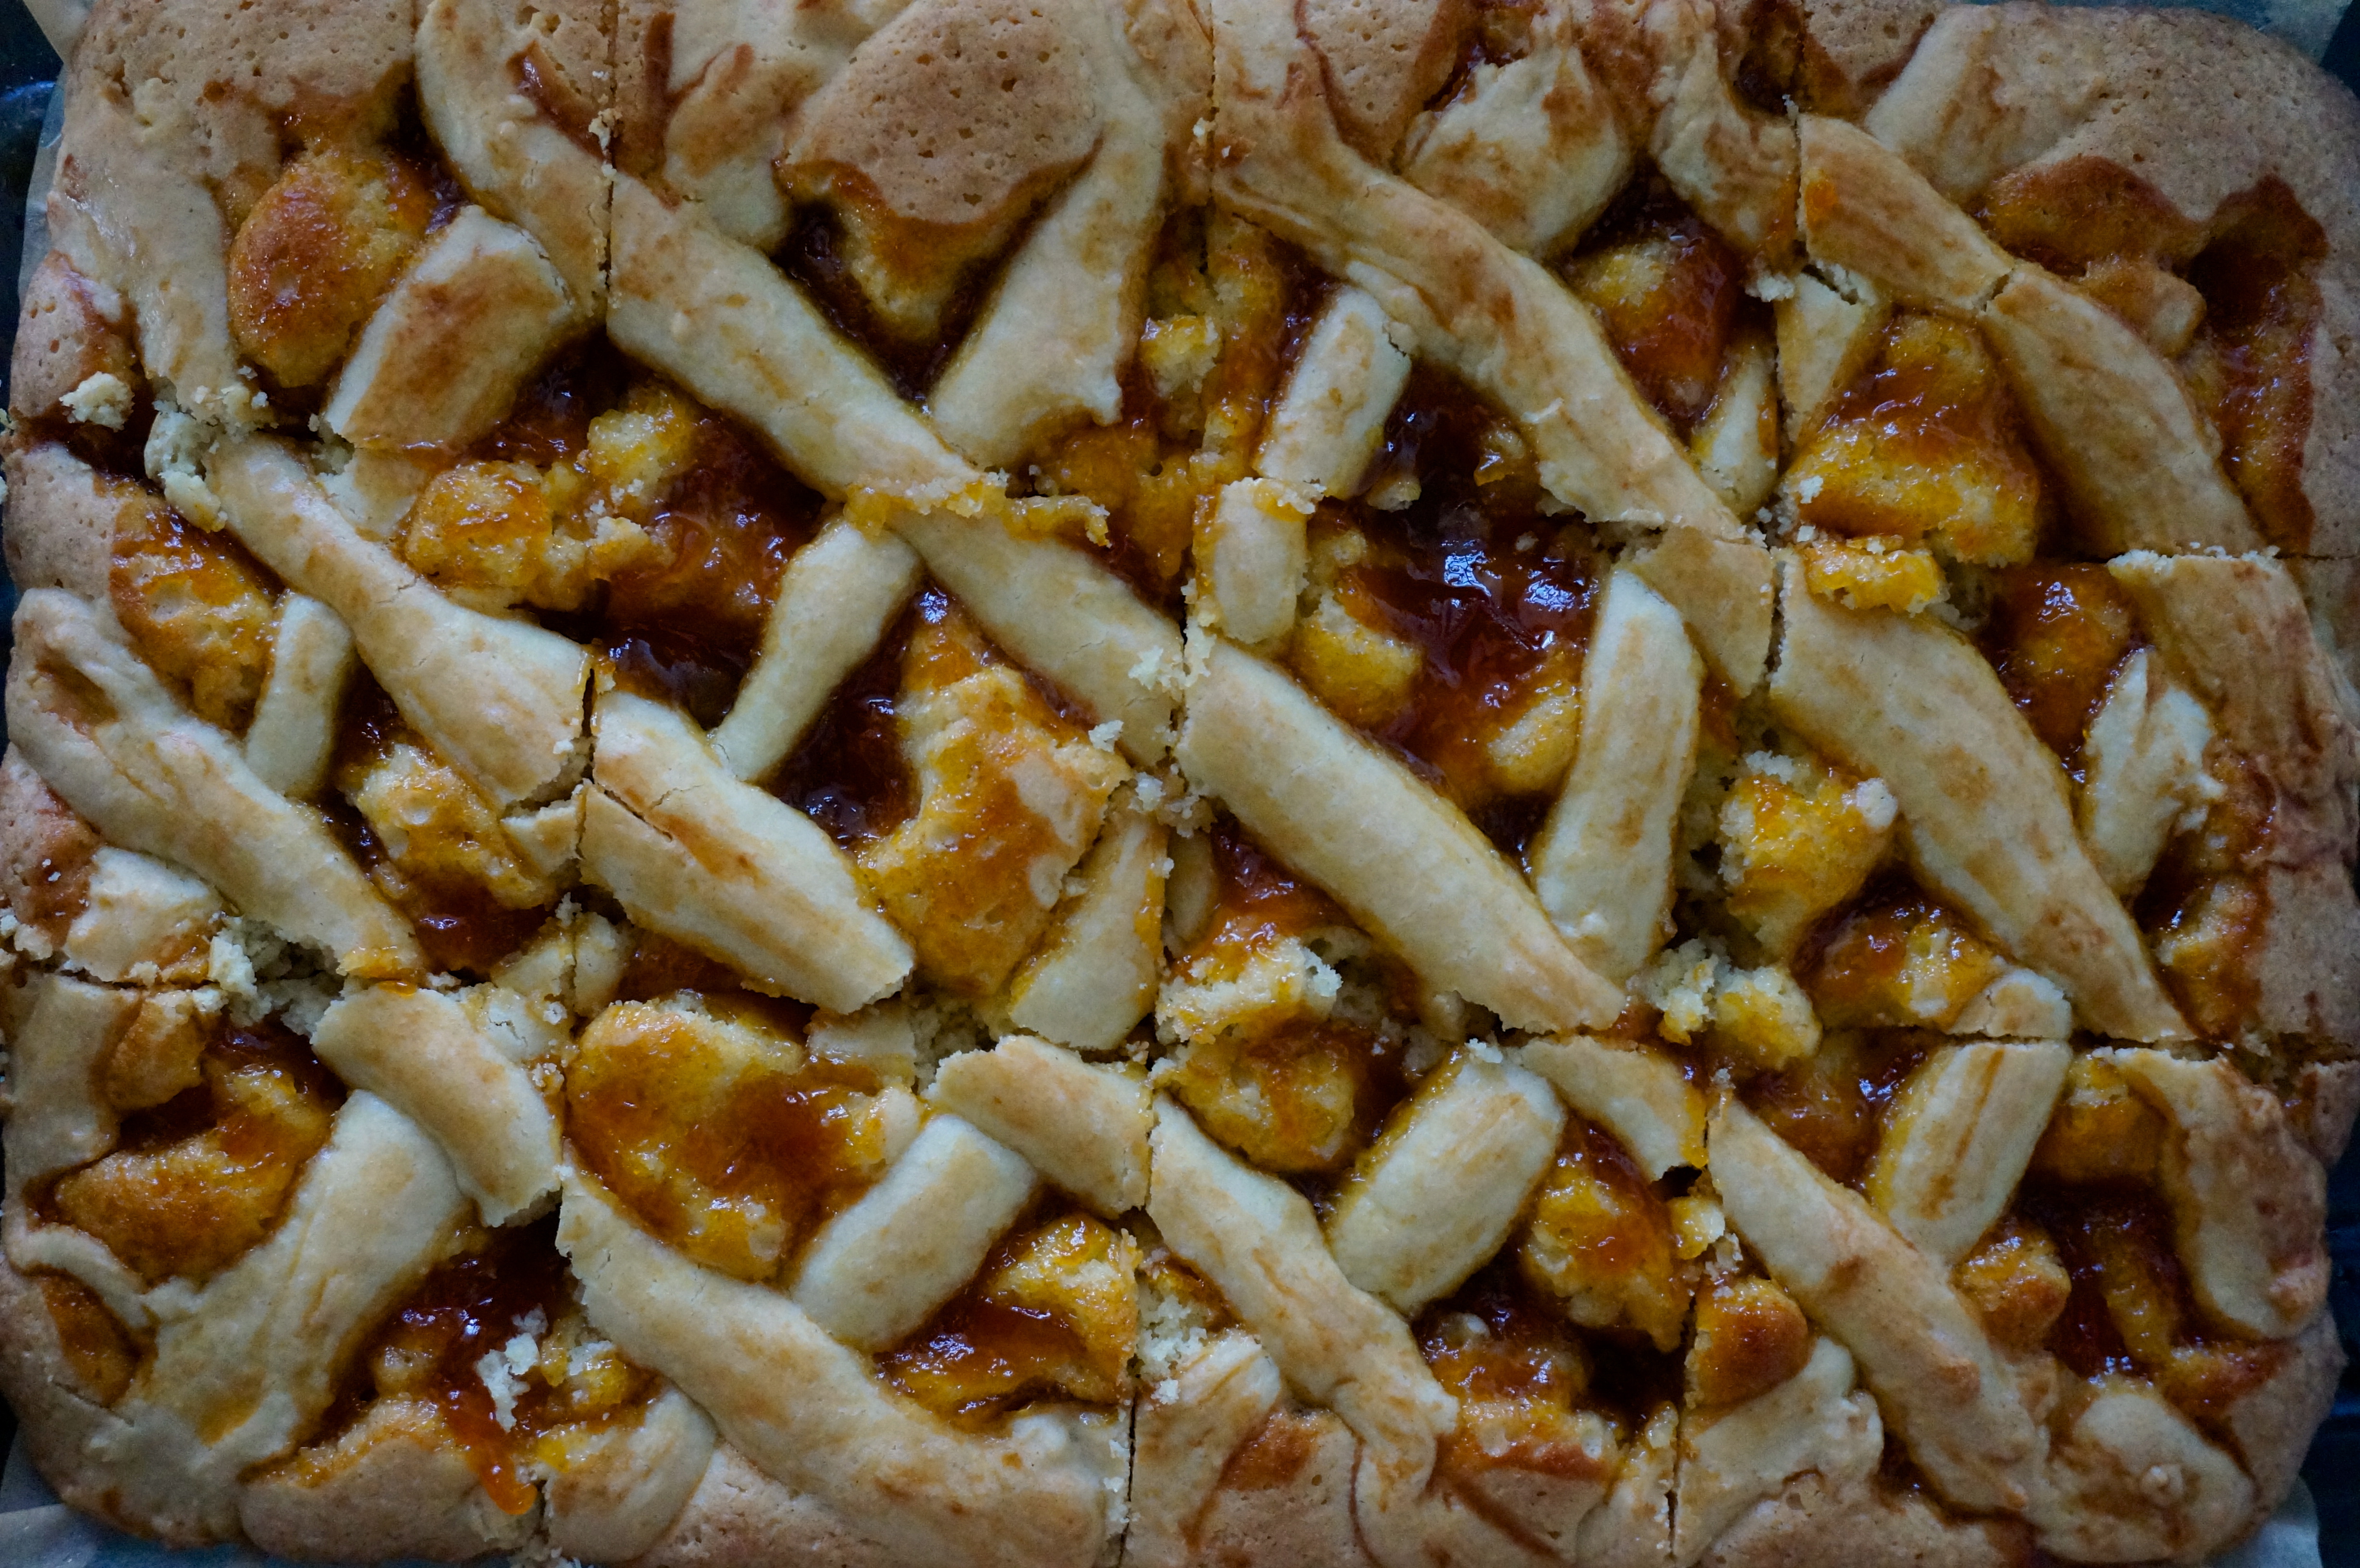
Very gently brush the lattice with the beaten egg. Bake for about 40 minutes until the top is golden brown and a knife inserted in the middle comes out clean.
Let cool for 10 minutes and slice into squares or rectangles. Allow the pasta flora to cool completely before you remove the slices from the pan. Store in an airtight container for 2-3 days or wrap slices with plastic wrap and freeze.


