Thai Chicken with Basil

When I tell people that I love to cook, the first thing many of them ask me is “what’s your favorite thing to cook?” I am always stumped by that question. I mean, with all the different foods and cuisines and ingredients in the world, how could I have just one thing that is my favorite thing to cook?

IMG_2617

Some ask me a variation of that question: “What type of cuisine do you most like to cook?” That’s a better question but one that I still have no answer for. There was a definite time about 20 years ago when I went through a Chinese phase. I bought books and woks and steamers and cooked Chinese food all the time. I had a mini Caribbean phase, mainly due to a cookbook someone gave me, and a mini Indonesian phase, again because of a cookbook I bought at a used-bookstore. But nowadays I cook food from many different cuisines.

IMG_2603

However, there is one type of cuisine that I have cooked very little from even though it’s one of my absolute favorites to eat: Thai food. I don’t know why but I never cooked much Thai food. Maybe it’s because nobody ever gave me a Thai cookbook. Nevertheless, Thai food (good Thai food) is an absolute delight to eat. Sweet and spicy, with huge umami flavors thanks to the use of fermented fish in the form of dried shrimp or fish sauce (nam pla), with abundant use of chiles and herbs, Thai food is a real party for your mouth.

IMG_2607

Unfortunately, most of the time in New York we get to eat bad Thai food with goopy sauces and huge chucks of the ubiquitous green and red italian peppers. I once ordered a pad thai at a restaurant in my neighborhood that was downright inedible. I mean, how difficult is it to make pad thai?

IMG_2611

So a couple of years ago I decided that I would take matters into my own hands for at least one Thai dish. I chose chicken with basil because I had a lot of basil that I needed to use and because I generally like the dish when I get it in restaurants. I did a pretty extensive research online and found a lot of recipes but I finally settled on one. Unfortunately, I don’t remember where I got it. Fortunately, it’s a winner

IMG_2615

This is a deceptively simple dish to make. It takes a little time to prepare and almost no time to cook. But it packs so much flavor, it will knock your socks off. Don’t be concerned that there is only a little sauce in your pan when you’ve finished cooking. It doesn’t need a thick and syrupy sauce like what you’d get in most restaurants. Serve it over plain white rice and you’ll see what I mean.

Thai Chicken with Basil

Makes 2 servings

1 pound boneless, skinless chicken breasts
2 tablespoons Asian fish sauce (nam pla or nuoc mam)
1 1/2 tablespoons soy sauce
1 tablespoon water
1 1/2 teaspoons sugar
2 tablespoons cooking oil
1 medium onion, cut into very thin slices
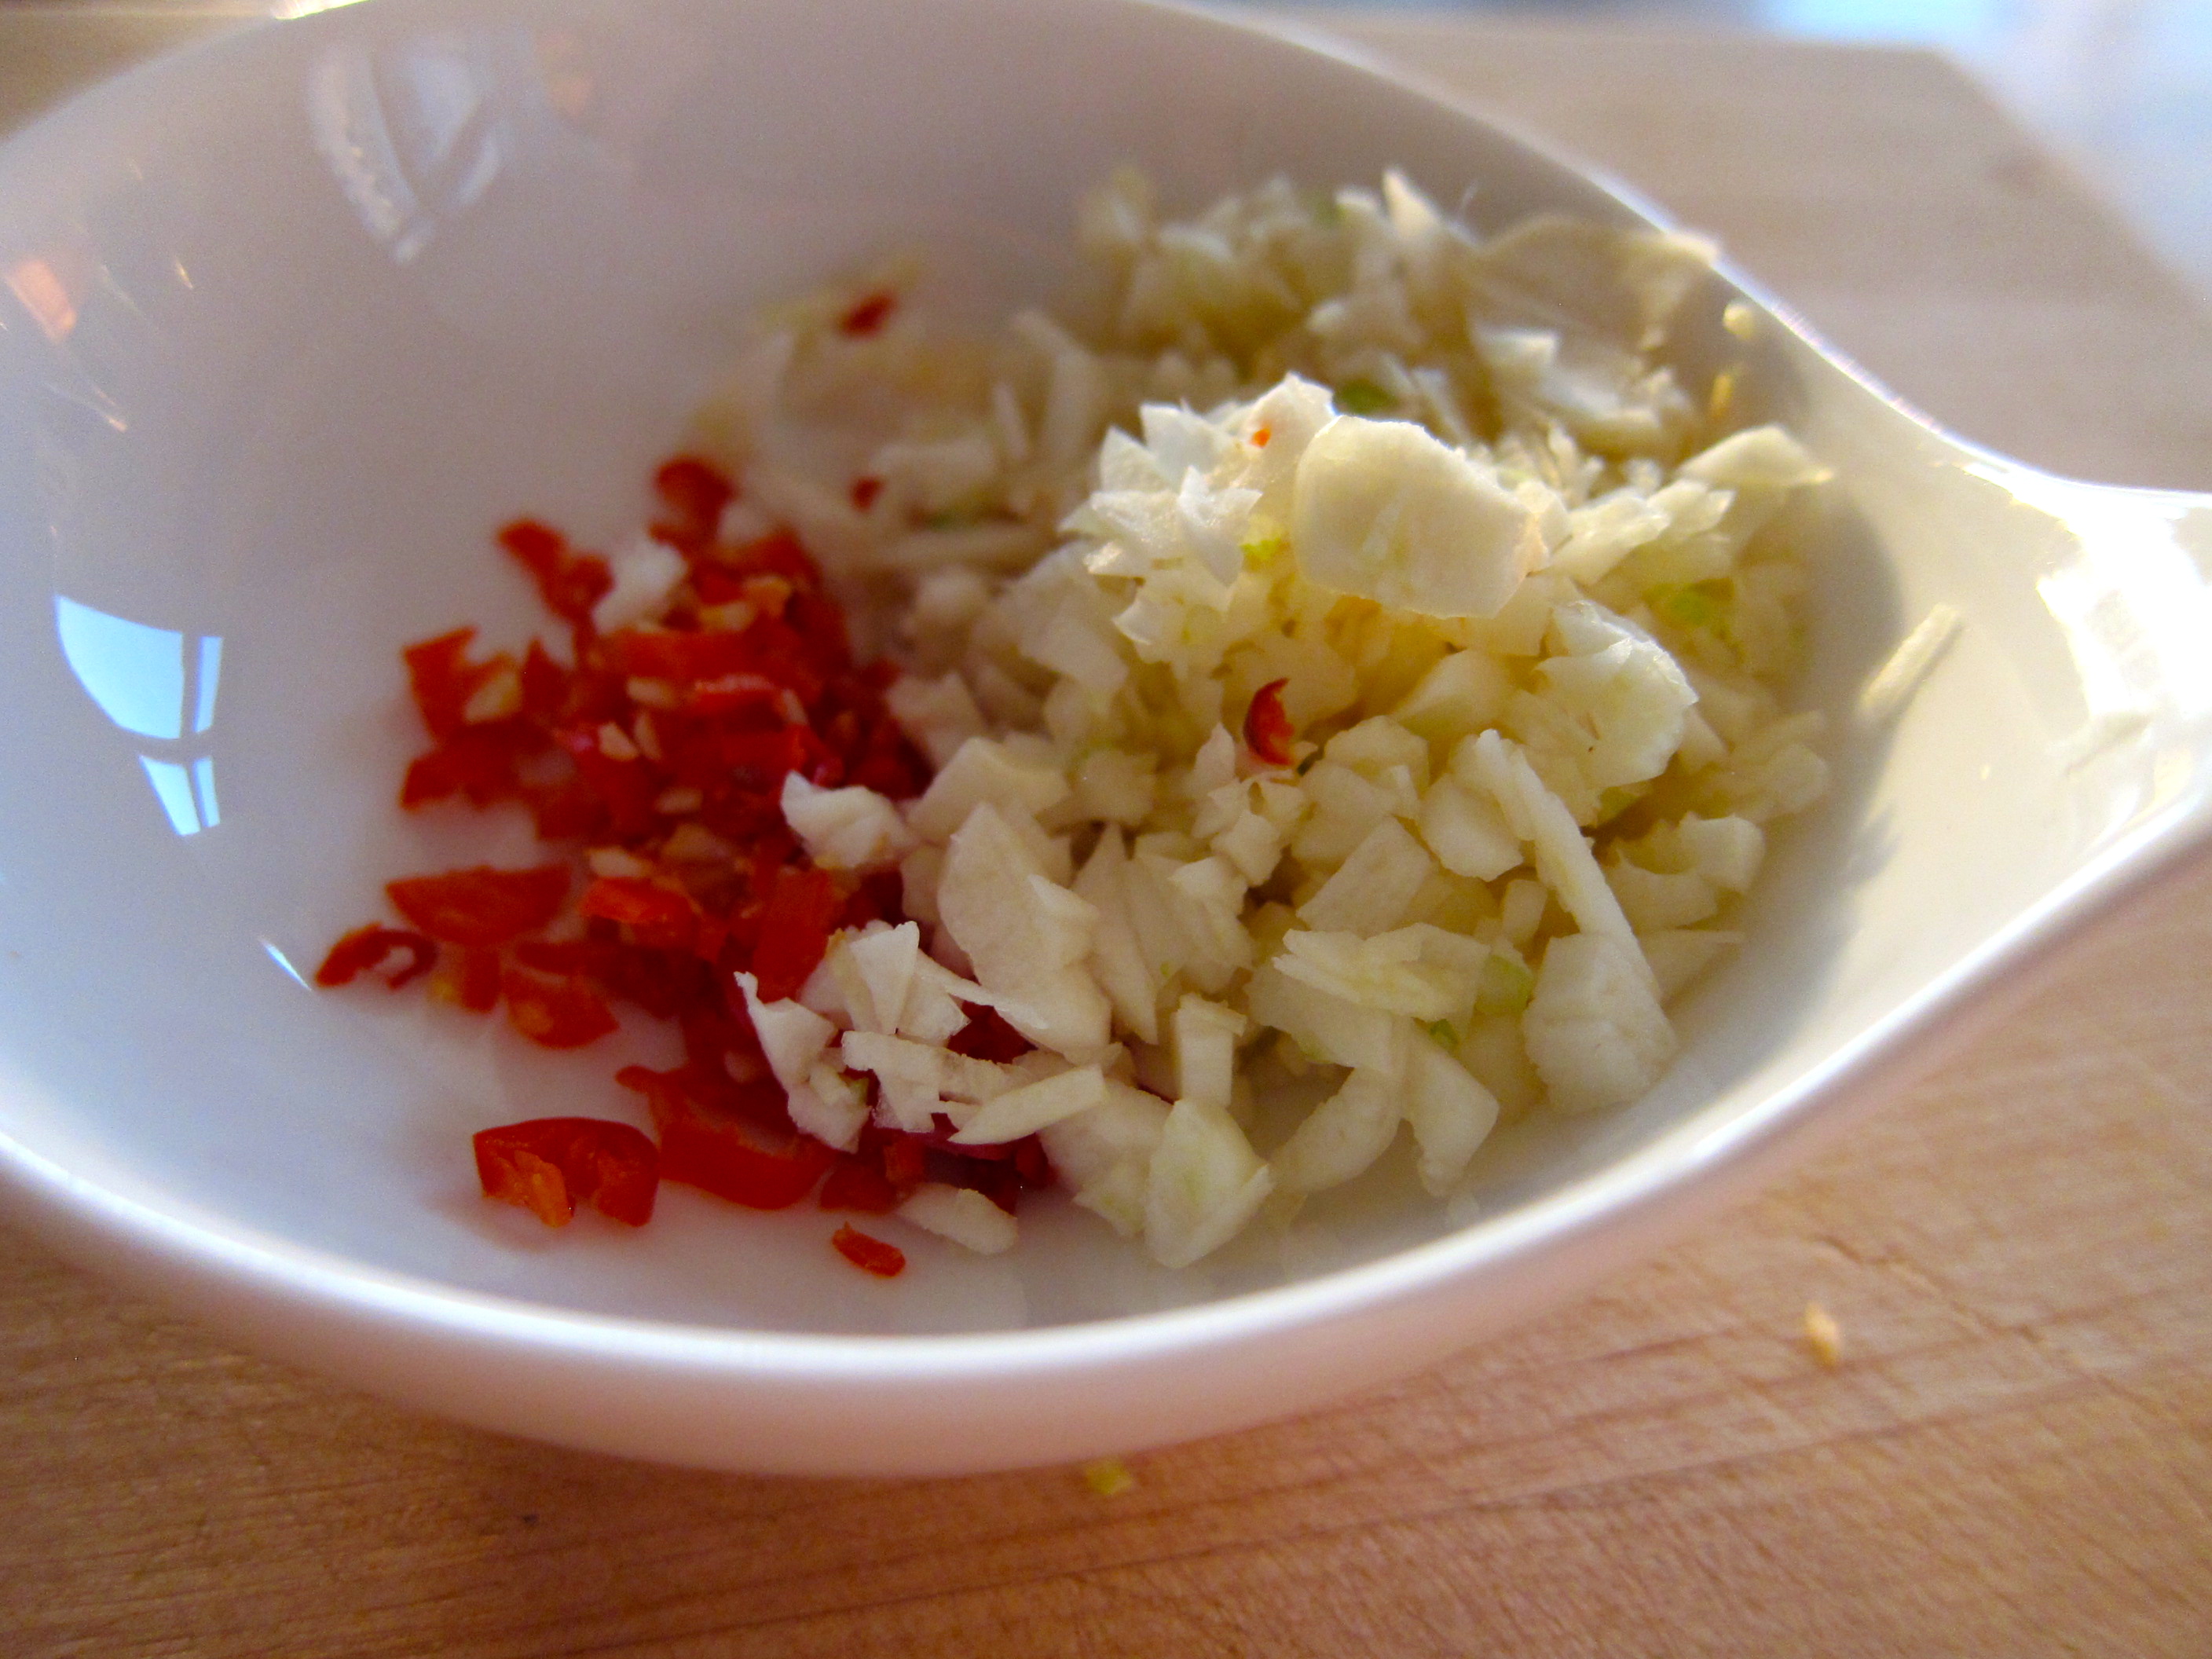
2-3 fresh red chiles, cut into very thin slices
3 cloves garlic, chopped
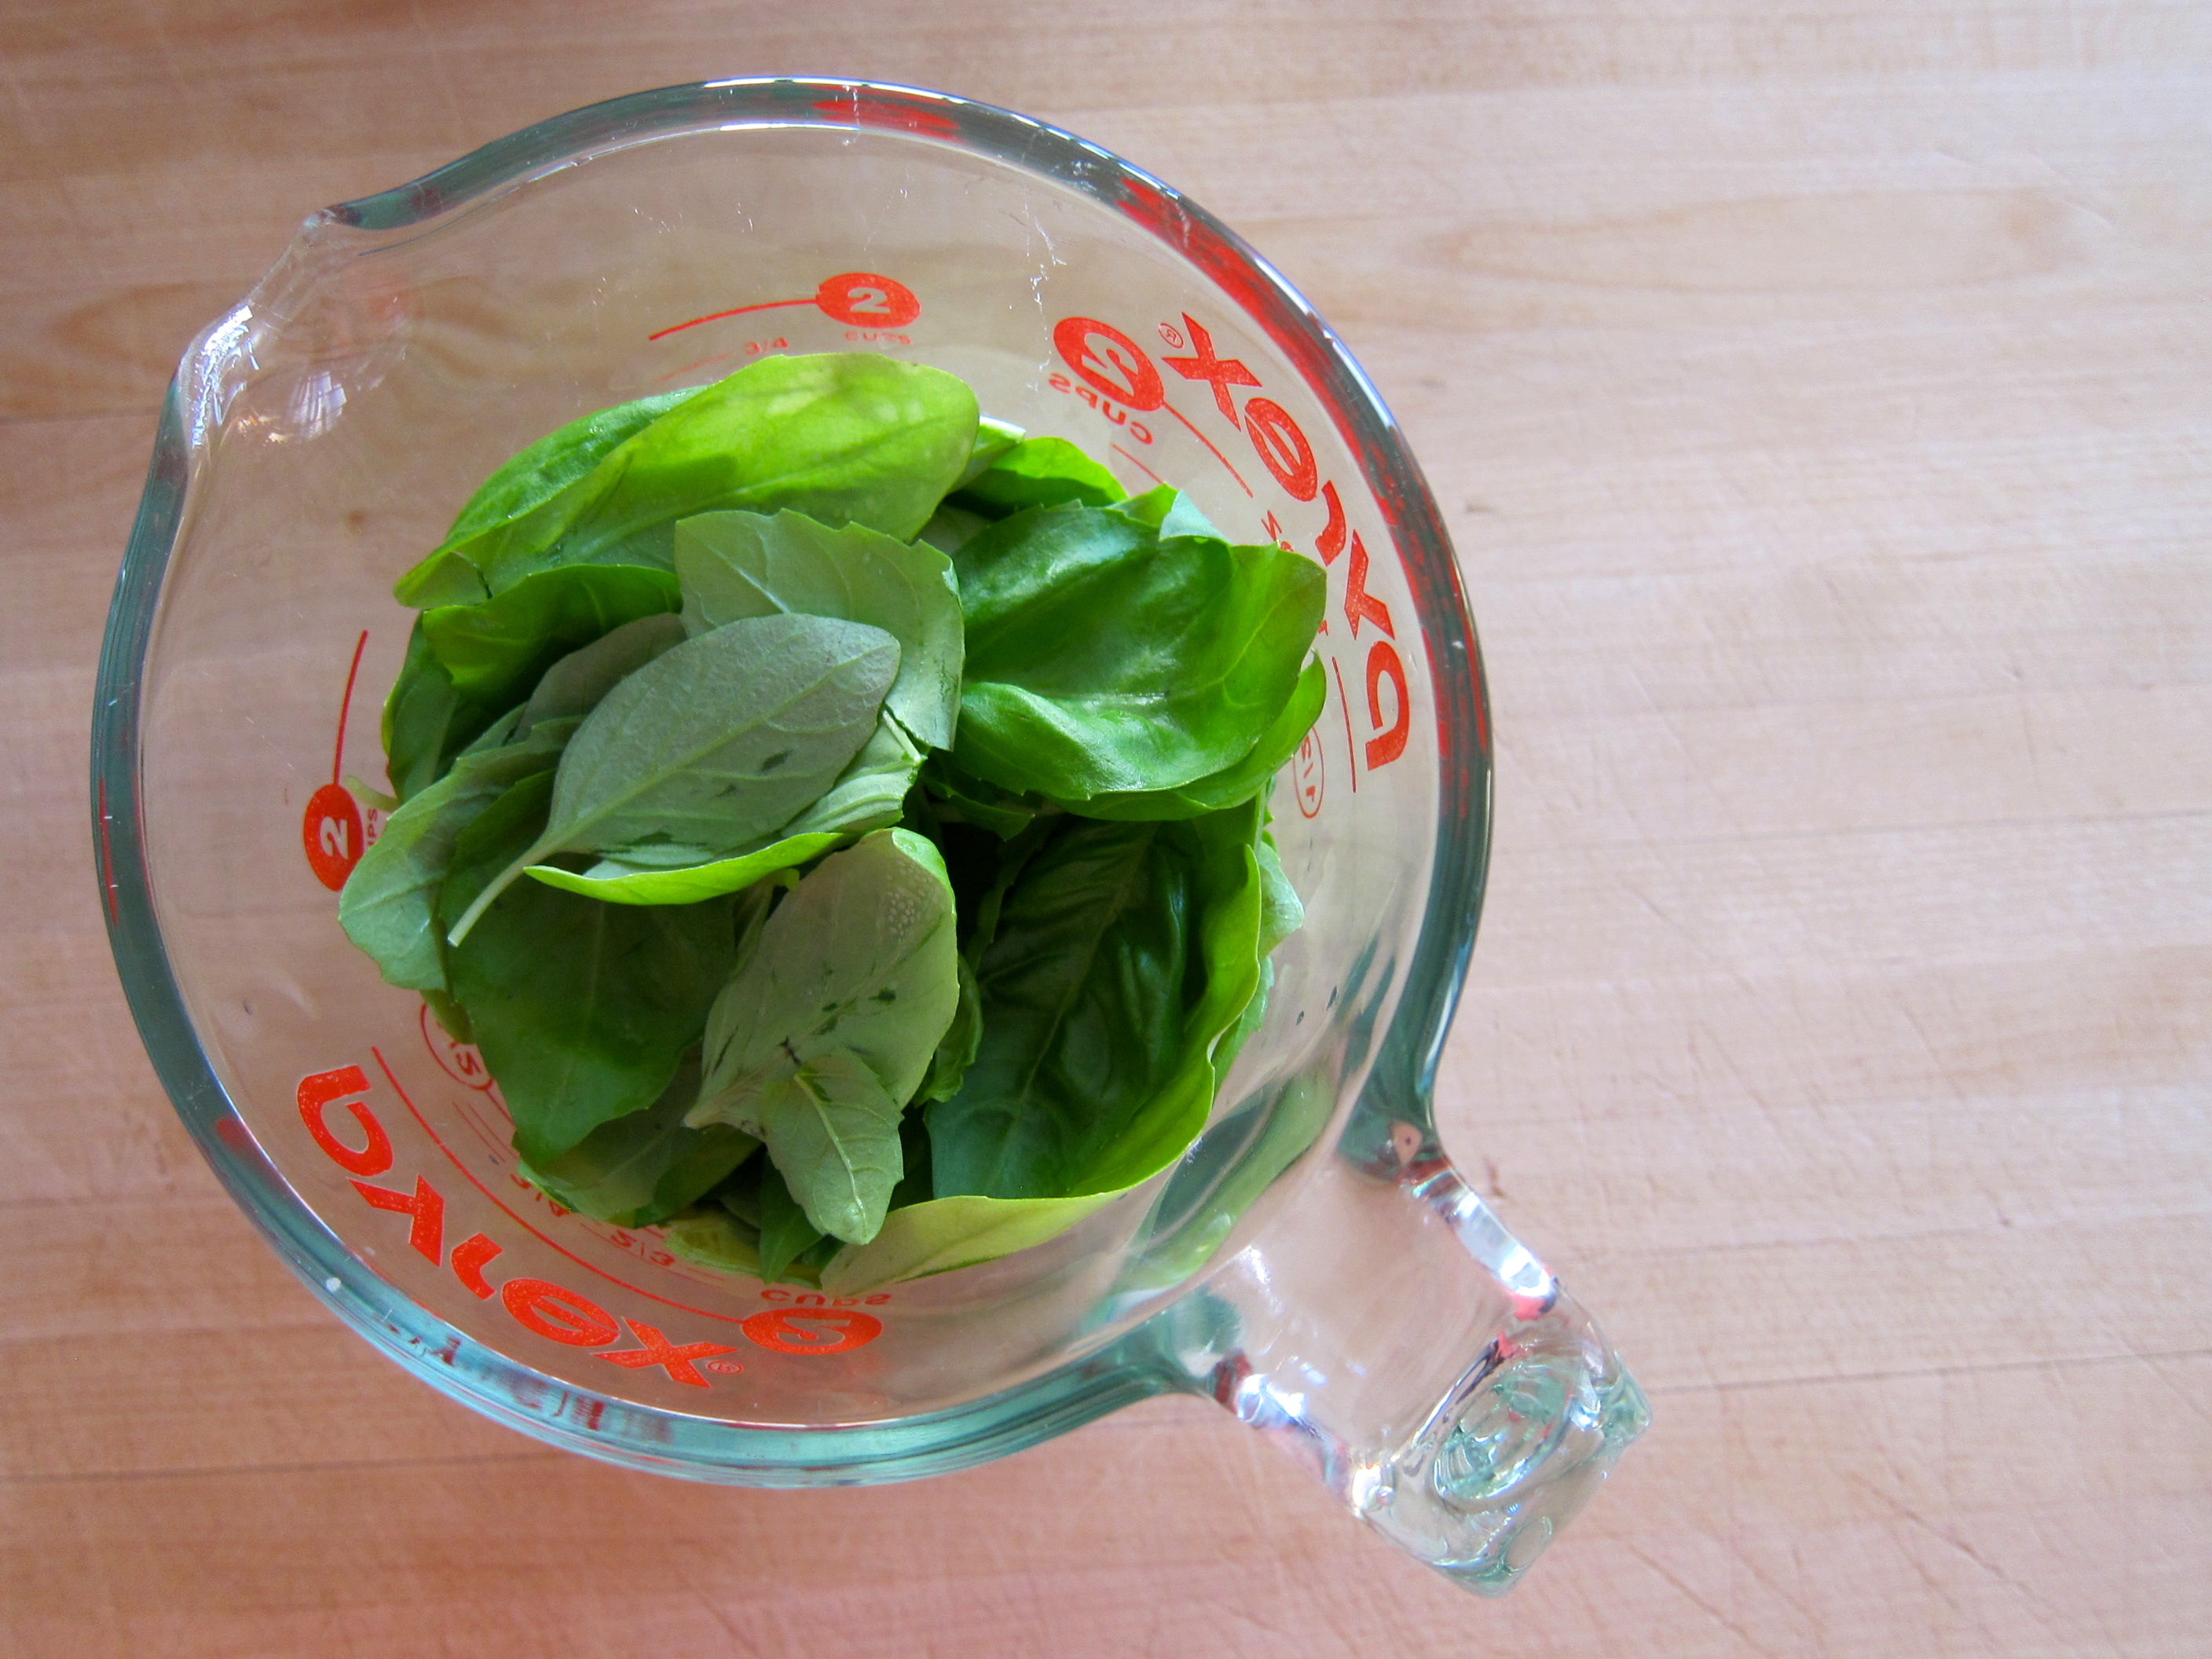
2 cups lightly packed basil leaves (holy basil or thai basil is best but regular green basil works fine too)

Using a very sharp knife, slice the chicken breasts crosswise into thin strips, about 1/4 inch wide. Then turn the cutting board 90° and chop the chicken strips into very small pieces. It should end up looking like coarse ground chicken. In a medium bowl, combine the chicken with the fish sauce, soy sauce, water, and sugar and let it sit at room temperature for about 15 minutes.

In a large nonstick frying pan or a wok, heat the oil over moderately high heat. Add the onion and cook, stirring, for about 2 minutes, until the onion has softened. Stir in the chiles and garlic and cook, stirring, 30 seconds longer.

Remove the chicken from the marinade with a slotted spoon and add it to the hot pan (very little marinade will remain in the bowl). Cook until no longer pink, stirring, about 3 minutes. Add the marinade left in the bowl and cook 30 seconds longer. Remove from the heat and stir in the basil until it’s wilted.

Serve immediately over plain rice.

Eliopitta / Ελιοπιττα (Olive and Mint Cake)

When I was a little kid I never did well in sports. I could never keep up with all the other kids and always ended up winded and tired, while everyone else was still running and kicking balls around. It was generally decided that I was just a “weak” kid, so I learned to live with that label and gave up on sports. It wasn’t until my early teen years that we found out the real reason for my “weakness.”

IMG_2567

I remember it was a night when my parents were out visiting some friends and my sister and I were home alone. This was a time when it was acceptable and safe to leave your young kids alone at home. I started coughing and the more I coughed, the harder it became for me to breathe, which made me cough even more, creating a vicious cycle that ended in my sister calling our parents and asking them to come home because I was having difficulty breathing.

IMG_2557

To make a long story short, we soon found out I had asthma (though it wouldn’t be until a couple of decades later that I would learn on my own that there is such a thing as exercise-induced asthma, explaining my “weakness” in sports). My parents were told to take me to an allergist, so one day my dad and I visited one. I still remember his office, a dark room that smelled of stale cigarettes (remember, this was in the early 80s) and old leather. He opened a large wooden box with several vials in it and pricked my arms to test my sensitivity to allergens. His verdict? I was allergic to olive tree blossoms.

IMG_2563

Now, keep in mind that I lived on a Mediterranean island. There were olive trees everywhere. There was even one outside my bedroom window, which my dad, in an attempt to help me, cut down completely. To this day, I don’t really believe that I have a specific allergy to olive blossoms. I do have seasonal allergies and I do have exercise-induced asthma. But olive blossoms specifically? Doubtful.

IMG_2560

Fortunately, the allergist didn’t tell us that I was allergic to olives themselves because I would then have missed out on this olive and mint savory cake that my mom made regularly. It was a great snack or quick breakfast that my sister and I loved to eat. It features a divine trinity of flavors: olives, mint, and onions. The onions turn sweet and combine with the briny saltiness of the olives, only to be confronted with the aromatic mint, in a combination that is as salient in my childhood as peanut butter and jelly is to most kids in the U.S.

IMG_2569

Eliopitta / Ελιοπιττα (Olive and Mint Cake)

Note: I like to make this cake in a bundt pan because that’s how my mom always made it but you can use two regular loaf pans instead. I’ve also made this into muffins that are great for a picnic or a party. If you make muffins, adjust the cooking time down.

4 eggs
1 12 oz can of evaporated milk (unsweetened)
1/3 cup olive oil (plus some more to grease pan)
2/3 cup vegetable oil
1 medium onion, chopped
1 cup of pitted, black olives, coarsely chopped
3 tablespoons chopped, fresh mint or 2 tablespoons of dried mint
3 cups (375 gr) all-purpose flour (plus some more for plan)
3 1/2 teaspoons baking powder

Preheat oven to 350°.

Use a little olive oil to grease either one bundt cake pan or two 9×5 inch loaf pans. Sprinkle with flour and shake out excess. Set pan(s) aside.

In the bowl of a mixer beat eggs well for a few minutes until they have expanded in volume and they are pale yellow and creamy. Add the evaporated milk and the oils and beat until combined.

In a medium bowl whisk together flour and baking powder. Add the flour mixture to liquids. Mix with a spatula until just combined. Do not overmix. Fold in olives, onions, and mint. Pour batter into prepared pan(s) and bake for about 50-60 minutes, until a knife inserted in the middle comes out clean.

Let cool in the pan for 10 minutes and then invert onto rack to cool completely.

Pain d’Epices (Spice Cake)

People who have visited Paris have all kinds of special memories from there. Seeing the Eiffel Tower lit up at night. Walking the Champs Elysées. Kissing along the Seine. Finding an amazing little bistro hidden in the 20th arrondissement. It’s a city filled with memories, just waiting to be made.

IMG_2436

One of my own all time favorite memories is a little different than most people’s. It’s my first visit to the Salon Saveurs des Plaisirs Gourmands, an exhibition of independent, artisanal food makers. Just imagine: a huge exhibition space, filled with hundreds of stands, each one a different, small producer of some of the most amazing food and drinks you’ll ever taste. From chocolates to breads, to cheeses and wines, to sausages and foie gras, to cakes and candies, to sauces and jams. The moment I walked into the space I almost passed out from excitement. Then, I started walking and sampling.

IMG_2429

I could write an entire book on everything I tasted during my three (yes, three) visits to the Salon. But one of them sticks to mind especially well. In a corner stand, a man and a woman were selling slices of pain d’épices, the traditional french spice cake that is sold in every patisserie and bakery in Paris. These were not your usual pain d’épices though. They were round and about a foot tall, the biggest ones I’ve ever seen. There were two or three different variations available but I first tasted a sample of the orange flavored one and my life changed forever. Ok, I’m exaggerating but my view of the pain d’épices definitely changed from that point on.

IMG_2425

This cake was light and moist with an intense flavor of honey and orange. The spices were definitely there but they were not too strong. Instead, they worked as a base or a background to let the honey and orange shine. I circled back to that stand a few more times to get more samples. It was, and still is, the best pain d’épices I have ever tasted.

IMG_2424

I’ve never been able to recreate it exactly on my own, even though I’ve tried several times. Different recipes have resulted in cakes that are either too dense, too dry, or too spicy. The closest I’ve come is with the recipe I have for you here. It’s by Clotilde Dusoulier, the brilliant mind behind the Chocolate & Zucchini blog, as well as a few cookbooks.

IMG_2431

It’s an incredibly easy recipe to make and the cake it produces is moist and intensely flavorful. It also keeps very well for 3-4 days and even gets better in taste as it “ages” on the countertop. She proposes several variations in her book, such as one with chopped crystallized ginger (which is the one seen in these photographs), but our favorite is the one with orange rind and a tiny bit of orange extract. As an added bonus, the recipe can be easily made vegan by substituting the milk with coconut milk. I’ve made both versions and we’ve never been able to taste the difference.

IMG_2433

Pain d’Epices (Spice Cake) – Slightly adapted from “Chocolate and Zucchini: Daily Adventures in a Parisian Kitchen

1 1/2 cups whole milk (or coconut milk if you want a vegan version)
2/3 cup honey
1/3 cup molasses
1/8-1/4 teaspoon orange extract (optional)
1 cup all-purpose flour
1 cup whole wheat flour
2 teaspoons baking powder
1 teaspoon baking soda
1/4 teaspoon salt
1/2 teaspoon ground cinnamon
1/2 teaspoon ground ginger
1/2 teaspoon ground cloves
1/2 teaspoon ground nutmeg
1 tablespoon of finely grated orange zest

Preheat the oven to 350° F. Grease a 9 by 5-inch loaf pan with about a tablespoon of vegetable oil. Line the bottom of the pan with parchment paper.

In a small saucepan, combine the milk, honey, and molasses. Stir over medium heat until the honey and molasses have completely dissolved. Remove from heat and add the orange extract, if using. Set aside as you continue with the recipe.

In a large bowl, whisk together the flours, baking powder, baking soda, salt, spices, and orange zest. Form a well in the center of the flour mixture and slowly pour the milk mixture in while whisking from the center out, in a circular motion. Whisk until all the flour has been incorporated. The batter will be thin.

Pour the batter in the prepared loaf pan and bake for 40-50 minutes, or until a knife inserted in the center comes out clean.

Transfer the pan to a rack and let it cool for 20 minutes. Run a knife along the sides of the pan and unmold the cake. Cool completely on the rack and store at room temperature wrapped in foil or in a cake saver.

Anna Maria’s Dinner

photo 1

This is Anna Maria. She was the chef that cooked for us twice while we were staying at the Podere Scopicciolo in Tuscany this past week. The first meal was on the night we arrived. It was a great dinner, which included probably the best lasagna I’ve ever had, and it really wasn’t matched by anything we ate until four nights later when we hired to cook for us again.

photo 2 (1)

We arrived to the Podere after a long day of sight seeing and found her in the beautiful kitchen putting the finishing touches on our dinner. We quickly sat down, like little children coming in from playing outside all day, hungry for their mom’s home cooked meal. She started us off with a baked casserole of shredded zucchini and spinach with a crunchy topping.
photo 3

It was probably the best thing we ate in Tuscany all week. I can’t even begin to describe the richness of flavor and the contrast of textures, between the crunchy top, the soft interior, and the crusty bottom. We licked that casserole dish clean. Even Anna Maria was impressed.

photo 4

The next dish, the primi, was another baked dish. This time it was crespelle, small crepes that were stuffed with ricotta and spinach and cooked with tomatoes. It was another comforting dish that easily let each ingredient shine.

photo 1 (1)

Our next course, the secondi, was a traditional beef stew called peposo. Tender chunks of beef were cooked in a wine sauce, flavored simply with whole black peppercorns and bay leaves. Once again, it was a simple dish that was full of concentrated flavors, perfect with the Chianti wine we drank.

photo 2

And for the finale, she made a panna cotta with chocolate sauce, something I noticed was available in many Tuscan restaurants. She also prepared a fruit tart for us but by then we were so full, we barely touched it.

photo 3 (1) photo 4 (1)

On our last night, someone in our group asked everyone to name their favorite dishes from the week in Tuscany. Anna Maria’s lasagna and zucchini/spinach casserole were unanimously placed at the top of the list.

Mina Harissa

This week we are on vacation in Italy with a group of friends. We rented a house in Tuscany and are living the country life, Italian style. I wish I could report many amazing meals, but in our three days here we’ve had only two good meals. One was cooked by the Italian cook who cooks for the house we rented and the other one was at a restaurant in Siena. The others have been so-so to downright bland. But we have several days to go so hopefully our luck will improve.

IMG_2543

No recipe today either. Instead, I have harissa. Harissa is a condiment commonly seen in North African countries like Tunisia, Algeria, and Morocco. It’s usually a mixture of peppers (almost always hot), garlic, spices, and oil, ground into a paste. I’ve tried several brands of harissa, especially in France, where moroccan and tunisian food is very common. They all tended to be thick pastes with concentrated, pungent flavor. It wasn’t until I happened to find Mina harissa in New York, however, that I found one I absolutely loved.

IMG_2545

Unlike much of the other harissas I tried, which were canned or available in a tube, this one is in a jar and can be refrigerated for a long time once opened. It’s not too spicy (there’s even a sweet version) and it tastes of fresh peppers and garlic. Its bright red color is matched by its bright flavor. We love it on its own or mixed with some olive oil and lemon juice to create a spicy dressing for meat or fish. I’ve also mixed a teaspoon of it with a tablespoon of softened butter and put a pat of that on top of steaks.

I bought Mina in two specialty food stores in the New York area but you can also buy it at Crate and Barrel or online at Amazon.

Braised Endives

I’ve been visiting my family this week so I haven’t cooked at all. I’ve been eating my mom’s food, which is what primed me through childhood for a food-obsessed life. When I come to visit, she makes some of my favorites, like koupepia (grape leaves stuffed with meat and rice) and ttava (a meat stew with tomatoes, onions, and cumin, baked in a clay pot).
IMG_2534

I’ve also been eating some of the sweets I remember fondly from my childhood. Just this morning, my sister, my mom and I went downtown for a coffee and we shared a big slice of shamali, a semolina-based cake that is flavored with mastique and soaked in a sugar syrup. It was cold and refreshing on a hot, sunny day and we ate it quickly, washing it down with frappés, the ubiquitous iced coffee drinks made with instant coffee.

IMG_2537

Now that I’ve teased you with the descriptions of all of those delectable temptations, you’re probably expecting a recipe for something along those lines. I’m afraid I’ll disappoint you. The recipe I’m sharing today may not feature syrup-soaked cakes or cumin-scented stews, but I promise you that you’ll love it anyway.

IMG_2540

There are a lot of people who are not big fans of endives. They can be bitter or bland at times. This is a very simple and quick way to turn then into something pretty extraordinary. A quick sear in hot oil caramelizes their surface and is followed by a relatively fast braise in stock and a little vinegar. The process is transformative. The resulting endives are sweet and tangy, with maybe hints of bitterness but not enough to cause displeasure to the palate. By leaving the core intact, the endive halves stay together but still cook soft enough to cut through them easily. They make a great side dish and a great way to use that fancy vinegar you got as a gift that one time, many as part of a gift basket, and never knew what to do with it.

IMG_2547

Braised Endives

3 tablespoons olive oil
2 large endives (or 3 small ones)
1/2 cup chicken stock
2 tablespoons of your favorite vinegar (red wine, sherry, balsamic, cider, or any fruit vinegar)
salt and pepper

Cut the endives in two lengthwise, leaving the core intact. Sprinkle the cut sides with salt and pepper.

In large saute pan, add olive oil and heat over medium-high heat until the oil shimmers. Place the endives, cut side down, in the pan. Cook without stirring or moving them for about 4 minutes, until their surface has caramelized and turned dark golden brown. Turn endives on round side and cook for an additional 2 minutes.

Turn endives again on cut side and add stock (be careful, the stock will steam). Immediately reduce heat to medium-low and cover the pan. Cook covered for about 7 minutes. Uncover and add vinegar. Cover and cook for another 3 minutes.

Uncover the pan and turn the endives to coat them in sauce. Return them to cut side down. Turn the heat to medium-high and cook for another 5-7 minutes until the sauce has reduced and slightly thickened.

Serve immediately with additional salt and pepper on top, to taste.

Olive Oil and Maple Granola

I’ve been watching the new season of “Mad Men” and, like most people who watch the show, I’ve been pretty disappointed by it. I’ve been a really big fan of the show since it started. The first season was remarkable simply for the 60s factor and the “remember when [blank] was acceptable” game. Drinking at work, smoking everywhere, sexual harassment in the office. They were all there for us to watch and laugh at, feeling smug in our contemporary,better lives, but also a little nostalgic for our childhoods.

IMG_2484

By season too, the show became more than a neat time trick. It started exploring the main characters more deeply by placing them in situations that showed their inner gears. The writing was taut and the direction was beautiful but not showy. Some episodes were like literature. There was the one titled “The Suitcase” that was pure magic. A year or two ago there was an article on “Mad Men” in Entertainment Weekly and they asked the cast members to name their favorite episode. Most of them said it was “The Suitcase.”

IMG_2472

But this season has been uneven, at best. There have been what, four, five episodes? And yet it feels like nothing’s happened. Everyone seems to just be going through the motions and each episode is written less about the characters and more about a different important historical event of the late 60s. It’s like a history lesson with actors.

IMG_2477

I’ve read a few articles bemoaning this and analyzing the reasons for the show’s slump. But for me the reason is clear: there are just too many characters. As the main ones (Don, Peggy, Joan, Pete, and Roger) started to get married, divorced, remarried, to have lovers and parents and kids, too many people joined the show and the focus was lost. The show never spends enough time on the few important characters because it now has to also cover everyone else, even a little bit. The result is a watered down, overloaded soap opera.

IMG_2481

It’s the same with food (I know you were wondering where I was going with the “Mad Men” diatribe). There is such a thing as too many ingredients, one too many techniques, or too many courses. Most of the time, I’d rather have few, good ingredients that come together beautifully and support each other in the final product, than a complicated recipe with fifteen ingredients and thirty steps to make.

This recipe for olive oil and maple granola is somewhere in the middle. It has quite a few ingredients, all easy to find, but very few steps. Mix and bake, stirring a few times along the way. The result is probably the best granola I’ve ever tasted. It’s not too sweet, with a good combination of nuts and seeds, along with toasted coconut flakes to up the ante. The olive oil is all the way in the background, a grassy note to complement the maple syrup’s smoky sweetness. It all comes together perfectly, like an early episode of “Mad Men.”

IMG_2485

Olive Oil and Maple Granola – Adapted from Orangette

Makes about 7 cups

300 grams (3 cups) rolled oats (not the quick cooking kind)
125 grams (1 cup) raw hulled pumpkin seeds (aka pepitas)
130 grams (1 cup) raw hulled sunflower seeds
50 grams (1 cup) unsweetened coconut chips (you can substitute unsweetened, grated coconut if you can’t find the chips)
135 grams (1 ¼ cup) raw pecans, whole or chopped (you can also use any combination of nuts; almonds and pistachios work well)
85 grams (packed ½ cup) light brown sugar
1 tsp. kosher salt
175 ml (¾ cup) maple syrup
120 ml (½ cup) olive oil

Preheat the oven to 300°F and line a rimmed baking sheet with parchment paper.

In a large bowl, combine the oats, pumpkin seeds, sunflower seeds, coconut chips, pecans, light brown sugar, and salt. Stir with a spoon or spatula to mix. Add the olive oil and maple syrup, and stir until everything is well combined. Spread the mixture in an even layer on the prepared sheet pan. Bake, stirring every 15 minutes, until the granola is golden brown and toasted, about 45-55 minutes. If you like your granola more clumpy, stir only once or twice in the beginning and then do not stir anymore.

Remove the granola from the oven and cool completely on a wire rack. Store in an airtight container, where it will keep for about a month.